When Symptoms Signal the Need for Home Air Quality Testing
Poor indoor air quality often reveals itself through persistent headaches, throat irritation, coughing, fatigue, and allergy flare-ups. These symptoms frequently improve when occupants leave the property, creating a pattern that points to an underlying building issue. A professional air quality assessment can identify hidden problems with ventilation, humidity levels, combustion appliances, mold growth, or outdoor pollutants entering the home.
Testing becomes most valuable when symptoms or building conditions suggest a problem. Waiting for visible mold or persistent odors allows moisture and pollutants to spread throughout the structure.
Recognizing When Your Home Requires Testing
Schedule indoor air quality testing when household members experience repeated respiratory symptoms that improve after leaving the property. Testing also makes sense after water leaks, flooding, renovations, pest treatments, or heating and cooling system replacements.
Consider testing if your home has any of these conditions:
- Musty odors, visible mold, or recurring condensation on windows
- A basement, crawl space, or bathroom with persistent moisture
- Fuel-burning appliances, an attached garage, or a wood stove
- Poor airflow, dusty rooms, or spaces that feel consistently stuffy
- Older insulation, flooring, paint, or building materials
- Radon concerns based on local geology or home sale requirements
A home air quality assessment also proves useful before purchasing a property, particularly when the inspection reveals moisture damage or inadequate ventilation.
Understanding What Air Quality Testing Measures
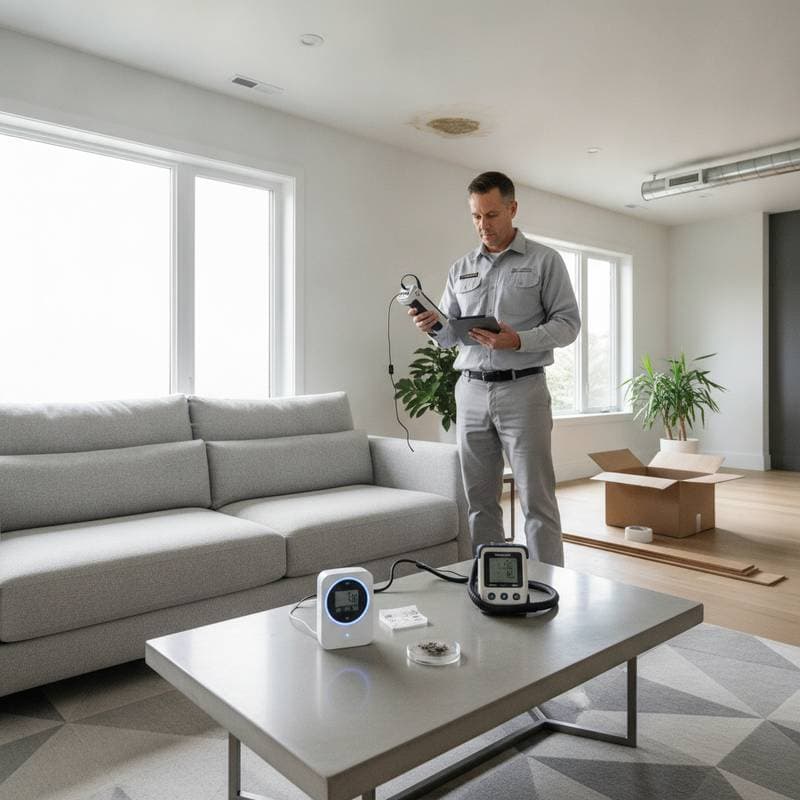
A basic inspection measures temperature, relative humidity, carbon dioxide, carbon monoxide, particulate matter, and volatile organic compounds. Some tests collect air or surface samples for mold analysis. Radon requires a dedicated test because concentrations vary by location and building conditions.
Carbon monoxide alarms provide essential protection, but they do not replace professional testing. A monitor can warn about dangerous gas levels while an air quality assessment examines broader ventilation and pollutant concerns.
The Environmental Protection Agency recommends controlling pollution at the source, improving ventilation, and using filtration when appropriate. Testing identifies which of these steps deserves attention first.
Understanding Testing Costs and Value
Home air quality testing commonly costs between $200 and $800. A basic indoor check may cost $150 to $300, while a broader assessment with multiple samples, mold analysis, or volatile organic compound testing can reach $500 to $1,000.
Radon testing often costs $150 to $300. Follow-up mold sampling, laboratory fees, travel, and larger homes can raise the total. Ask whether the quote includes a written report, laboratory analysis, equipment rental, and recommendations.
Avoid choosing a provider based only on the lowest price. A useful report should identify tested pollutants, sampling locations, laboratory methods, and practical corrective steps.
How Professional Testing Works
A qualified professional should follow these steps:
- Discuss symptoms, odors, renovation history, moisture issues, and ventilation concerns
- Inspect visible conditions around HVAC equipment, bathrooms, kitchens, and crawl spaces
- Place calibrated monitors or collect samples from selected rooms
- Compare results with recognized health guidance and building conditions
- Provide a written report that separates urgent hazards from routine improvements
Testing usually takes one to three hours, with laboratory results taking longer when samples are required.
Choosing Between DIY Monitoring and Professional Assessment
Low-cost monitors can track humidity, carbon dioxide, temperature, and particulate matter. These devices help spot trends, but consumer equipment varies in accuracy and cannot diagnose mold or confirm radon safety.
Hire a qualified professional for unexplained symptoms, suspected carbon monoxide, extensive mold, renovation dust, or conflicting monitor readings. Never rely on an air purifier to correct a fuel appliance problem.
Taking Action After Testing Results
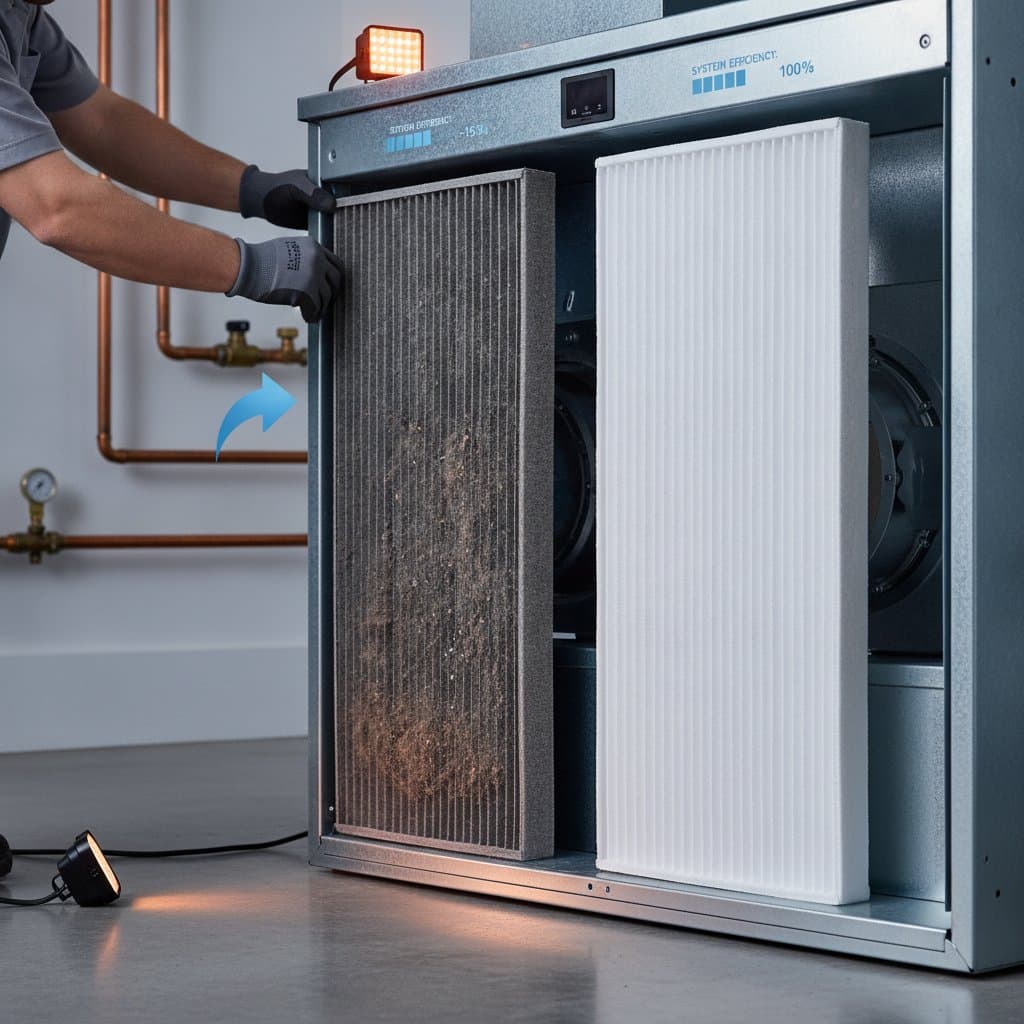
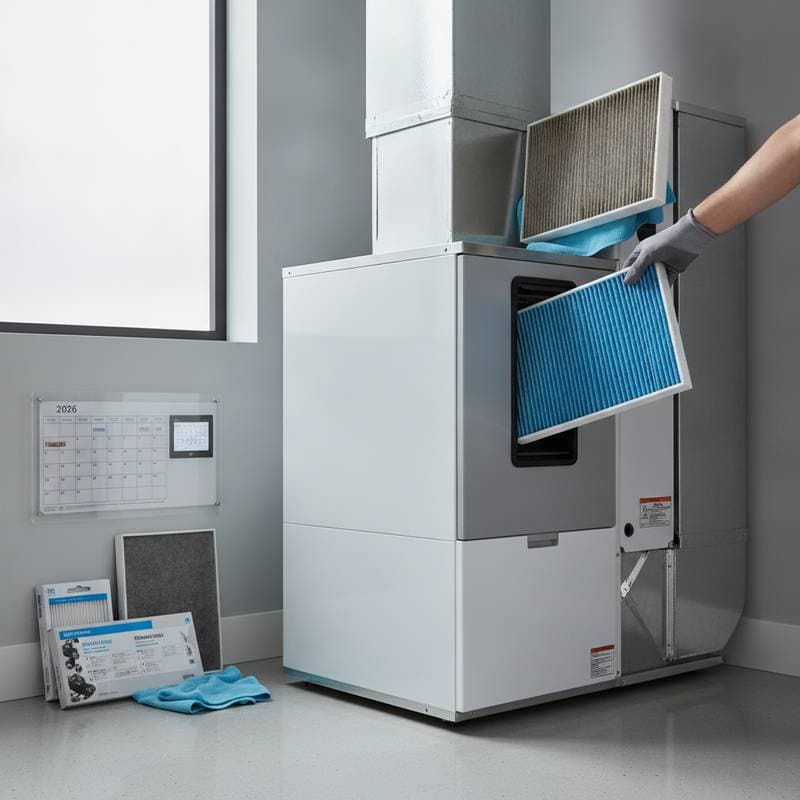
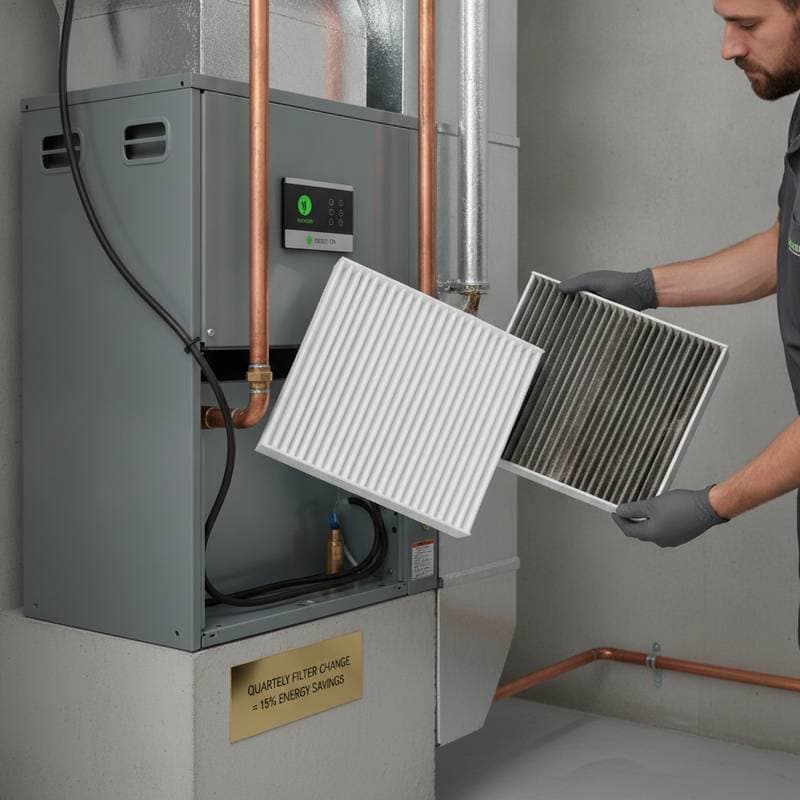
Reduce moisture by repairing leaks, running bathroom exhaust fans, and keeping indoor humidity between 30 and 50 percent. Replace HVAC filters according to system instructions, seal obvious duct leaks, and ventilate during cleaning or painting.
When results show a serious hazard, correct the source before purchasing additional equipment. A targeted repair often costs less and works better than treating the entire home with unplanned filters or purifiers.
Building a Healthier Indoor Environment
Once testing identifies specific issues, focus on the most effective solutions first. Address moisture problems before investing in air purification systems. Improve ventilation in problem areas rather than masking symptoms with filters alone.
Regular maintenance of heating and cooling systems prevents many air quality issues from developing. Schedule annual HVAC inspections and change filters according to manufacturer recommendations. These simple steps maintain the improvements identified through professional testing.
Monitor indoor conditions seasonally, as humidity levels and ventilation needs change throughout the year. Adjust your approach based on actual measurements rather than assumptions about what might improve air quality.