Greywater Installation Costs, Permits, and Savings
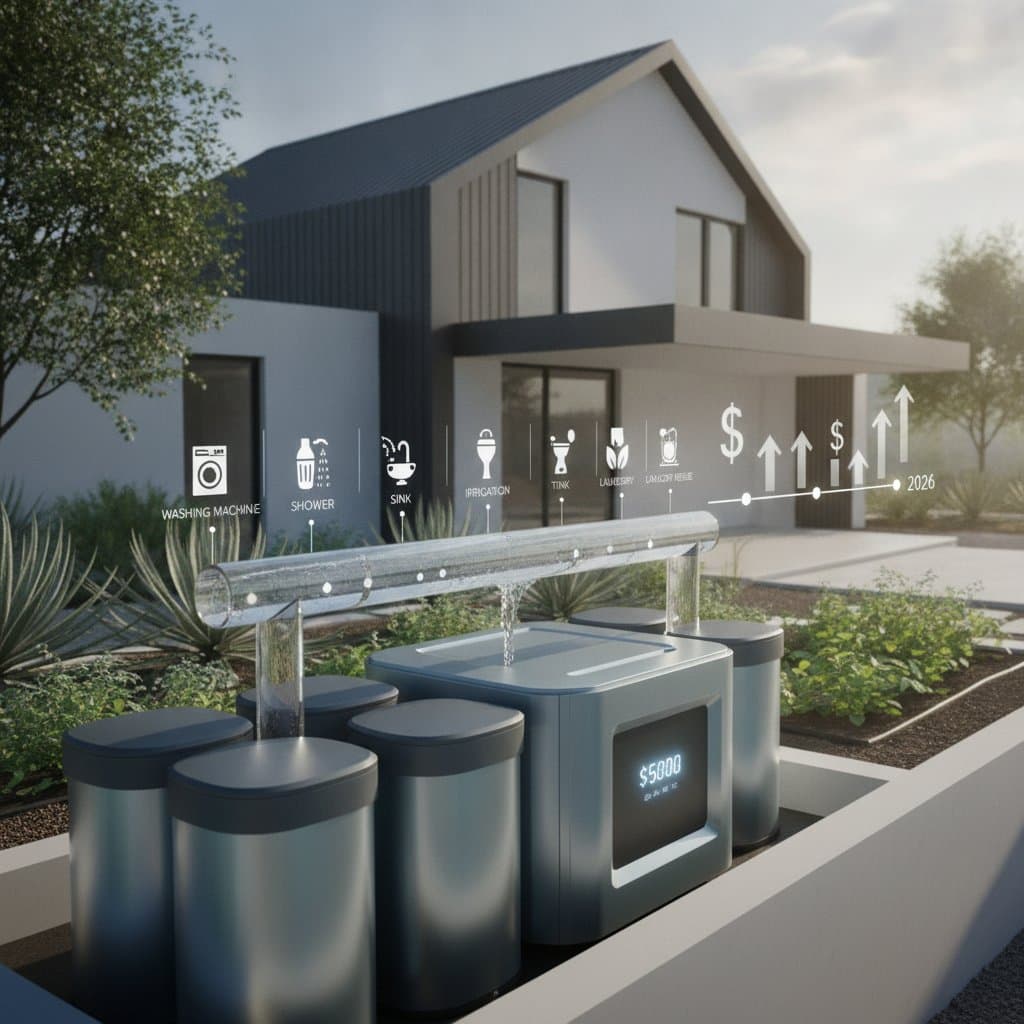
Recycling greywater offers a practical method to decrease household water consumption and lower utility expenses while advancing sustainable practices. Homeowners can redirect water from showers, sinks, and laundry machines for irrigation or toilet flushing, which substantially reduces overall water usage. Before proceeding with installation, individuals must evaluate the associated costs, permitting processes, and potential long-term financial benefits.
Greywater systems require thoughtful design, modifications to existing plumbing, and adherence to local regulations. Options range from basic laundry diverters to comprehensive whole-house setups. These investments yield returns through diminished water bills and enhanced water management resilience.
Understanding Greywater Installation Costs
The overall expense of installing a greywater system varies based on the system's complexity, the property's configuration, and the choice between self-installation or professional services.
Typical Cost Ranges
- Basic DIY systems: $200 to $600, typically for diverter valves linked to laundry or bathroom drains.
- Professional residential systems: $2,000 to $8,000, influenced by scale, customization, and automation features.
- Large or complex systems: Over $10,000, especially for integrations in new builds or extensive retrofits.
These figures fluctuate due to the need to customize each setup to the home's plumbing and reuse purposes.
Factors Influencing Pricing
-
System Type: Basic diverters reroute water with minimal alterations, keeping costs low. Whole-house models incorporate pumps, storage tanks, and distribution controls, which elevate both materials and labor expenses.
-
Property Layout: Greater distances between sources and end-use areas demand longer piping and extended installation efforts. Sloped terrains often necessitate extra pumping mechanisms.
-
Local Regulations: Jurisdictions may mandate certified designs or inspections, adding fees while guaranteeing adherence to safety standards.
-
Filtration and Treatment: Incorporating advanced filters or sanitizers increases initial outlay but supports sustained performance and hygiene.
-
DIY versus Professional Labor: Labor often comprises up to 50 percent of the total. Experts bill for planning, approvals, setup, and verification, whereas self-installation cuts these charges but demands expertise.
DIY Considerations: Savings and Potential Pitfalls
Self-installation appeals to those proficient in plumbing and construction. A laundry-to-landscape configuration might complete over a weekend for several hundred dollars. However, errors in slope alignment, joint sealing, or valve placement risk leaks or contamination, potentially leading to repair costs or penalties that surpass professional fees.
Cost Comparison Table
| System Type | DIY Cost Range | Professional Cost Range | Maintenance Level |
|---|---|---|---|
| Laundry diverter | $200–$600 | $500–$1,500 | Low |
| Branched drain | $500–$1,200 | $2,000–$4,000 | Moderate |
| Whole-house | $1,000–$2,500 | $5,000–$10,000 | High |
DIY versus Professional Installation: Key Decisions
The decision between self-guided and expert-led installation hinges on personal expertise, familiarity with plumbing, and jurisdictional guidelines.
Advantages of DIY
- Reduced Upfront Expenses: Acquire materials and execute tasks to avoid thousands in service fees.
- Customization Control: Tailor the system's appearance and operations to specific preferences.
- Educational Value: Gain insights into home plumbing and consumption patterns through direct involvement.
Drawbacks of DIY
- Technical Challenges: Rerouting pipes and computing drainage require precision.
- Regulatory Hurdles: Certain locales demand professionally stamped plans for approval.
- Troubleshooting Burden: Address malfunctions independently without external guidance.
Benefits of Professional Installation
- Regulatory Assurance: Experts navigate codes and facilitate permit acquisition.
- Enhanced Durability: Installations feature optimized sizing for flow, security, and performance.
- Guaranteed Support: Providers often extend warranties or service agreements.
Drawbacks of Professional Installation
- Elevated Expenses: Design and labor premiums inflate the budget.
- Timeline Constraints: Contractor schedules may prolong project starts.
Essential Skills and Tools for DIY
Prospective self-installers need proficiency in cutting and connecting PVC or PEX pipes, a diversion strategy that prioritizes safety, and equipment like cutters, tees, and shutoffs. Familiarity with area-specific codes proves indispensable. Projects involving pumps, automated filtration, or subsurface lines benefit from specialist intervention to minimize hazards.
Installation Time Estimates
Basic laundry setups require mere hours. Comprehensive retrofits span days. Professionals accelerate processes with specialized tools, minimizing daily disruptions.
Safety Protocols and Risks
Greywater carries residues from soaps, hair, and organics, making it viable for landscaping but incompatible with drinking supplies. Improper components or neglected maintenance invite smells, blockages, or sanitary concerns. Opt for non-toxic cleaners and integrate backflow preventers.
Essential Greywater Queries Addressed
Industry specialists provide responses to frequent inquiries.
Potential Savings on Water Bills
Systems reduce usage by 20 to 40 percent, contingent on capacity and landscape needs. These reductions recoup investments over time.
Required Maintenance
Basic units demand filter and valve cleaning seasonally. Sophisticated versions with reservoirs and pumps need regular examinations, rinses, and calibrations.
Permit Necessity
Laundry diverters frequently qualify for exemptions, but expansive systems require official clearance. Consult plumbing or health authorities prior to commencement.
Eligible Water Sources
Suitable origins include showers, tubs, vanity sinks, and washers. Exclude kitchen or lavatory discharges owing to pathogen presence.
Installation Duration
Simple assemblies finish in one day; professional full-home variants extend to three through five days, factoring in reviews.
Suitability for Edible Crops
Direct greywater contact with leafy greens or herbs poses risks; reserve for ornamentals or tree fruits via buried delivery.
Frequent Homeowner Challenges
Filter obstructions, inconsistent dispersal, and residue accumulation occur commonly. Proactive care and suitable selections mitigate them.
Impact on Property Value
Eco-friendly attributes like water reuse attract purchasers, provided installations meet standards and include records.
Distinction from Rainwater Collection
Greywater repurposes indoor fixture outputs; rainwater gathers rooftop runoff. The approaches integrate well for comprehensive conservation.
Storage Feasibility
Viable with purification, though immediate dispersal averts microbial issues in homes.
Odor Management
Well-engineered designs eliminate smells; issues signal backups or inadequate gradients.
Detergent Recommendations
Choose eco-friendly, sodium-scarce options certified for greywater. Shun halogens, boron compounds, or fabric enhancers that damage flora.
Laundry Connections
Confident individuals manage diverter additions; broader integrations warrant licensed oversight for code adherence.
Filter Maintenance Schedule
Rinse monthly based on volume; replace yearly. Certain designs permit repeated cleaning.
System Failure Responses
Bypass mechanisms route flows to sewers during faults. Verify operations pre-launch.
Step-by-Step Selection Process
Determine the optimal approach by reviewing site conditions, finances, and objectives.
Step 1: Site Evaluation
Pinpoint reusable sources, gauge drain-to-zone spans, and test soil permeability alongside plant varieties.
Step 2: Capability Review
DIY suits tinkerers with pipe-handling experience; novices should engage experts to evade errors.
Step 3: Comprehensive Cost Analysis
Account for peripherals like implements, spares, fees, and upkeep. Initial economies may escalate with fixes.
Step 4: Hazard Evaluation
Anticipate pollutant spread, overflows, or jams. Install safeguards against potable contamination.
Step 5: Commitment
Weigh economies against dependability. Professionals ensure execution; DIY fosters engagement at lower cost.
Project Preparation Essentials
Thorough groundwork streamlines execution and optimizes functionality.
Research and Design
Examine codes for approvals, map plumbing access, and select supply fixtures plus destinations.
Materials Procurement
Compile inventories of conduits, controls, strainers, and lines. Secure supplies in advance.
Location Setup
Remove obstacles from deployment zones, locate services, and establish gradients.
Scheduling and Financial Planning
Establish feasible chronologies and buffers for variances like extra connectors.
Execution Best Practices
Differentiate lines with hues, tag controls, validate currents pre-covering, and standardize usages for ecosystem balance.
Sustaining Benefits Through Maintenance
Durable systems thrive with consistent attention, averting issues and preserving purity. Quarterly inspections of components sustain efficacy.
Diminished invoices and vitalized grounds emerge, particularly amid droughts. This reuse fortifies resource stewardship and enduring viability.