Essential Fall Chimney Maintenance Checklist
Chimneys require seasonal attention to avoid structural issues, fire hazards, and high repair costs. Neglect during fall can lead to problems like water damage, creosote fires, or carbon monoxide leaks once winter heating begins. Homeowners benefit from a systematic approach that combines self-inspections with professional help. The following steps provide a clear path to readiness, emphasizing safety and longevity for your home heating system.
Step 1: Inspect the Chimney Exterior
Begin the process with a thorough visual examination from the ground level. Use binoculars if the chimney sits high on the roof. Search for visible damage such as spalling bricks, where the surface flakes due to freeze-thaw cycles, or efflorescence, indicated by white, powdery deposits on the mortar.
Key areas to evaluate include the overall masonry integrity. Cracks exceeding one-eighth inch in width invite water infiltration, which expands when frozen and worsens damage. Apply a high-heat masonry sealant to seal these minor fissures promptly. Next, verify the chimney cap remains in place and free of rust or bends. Without a functional cap, precipitation, leaves, and wildlife gain easy access to the flue, promoting corrosion and blockages.
Examine the chimney crown, the concrete topper that directs water away from the structure. A properly sloped crown prevents pooling; repair cracks with a specialized waterproof sealant to maintain this protection. Finally, inspect the flashing, the metal seal at the roof-chimney junction. Deteriorated flashing often results in interior leaks, visible as water stains in the attic or on ceiling joists below. Early fixes here cost two hundred to five hundred dollars, far less than the thousands required for full reconstructions.
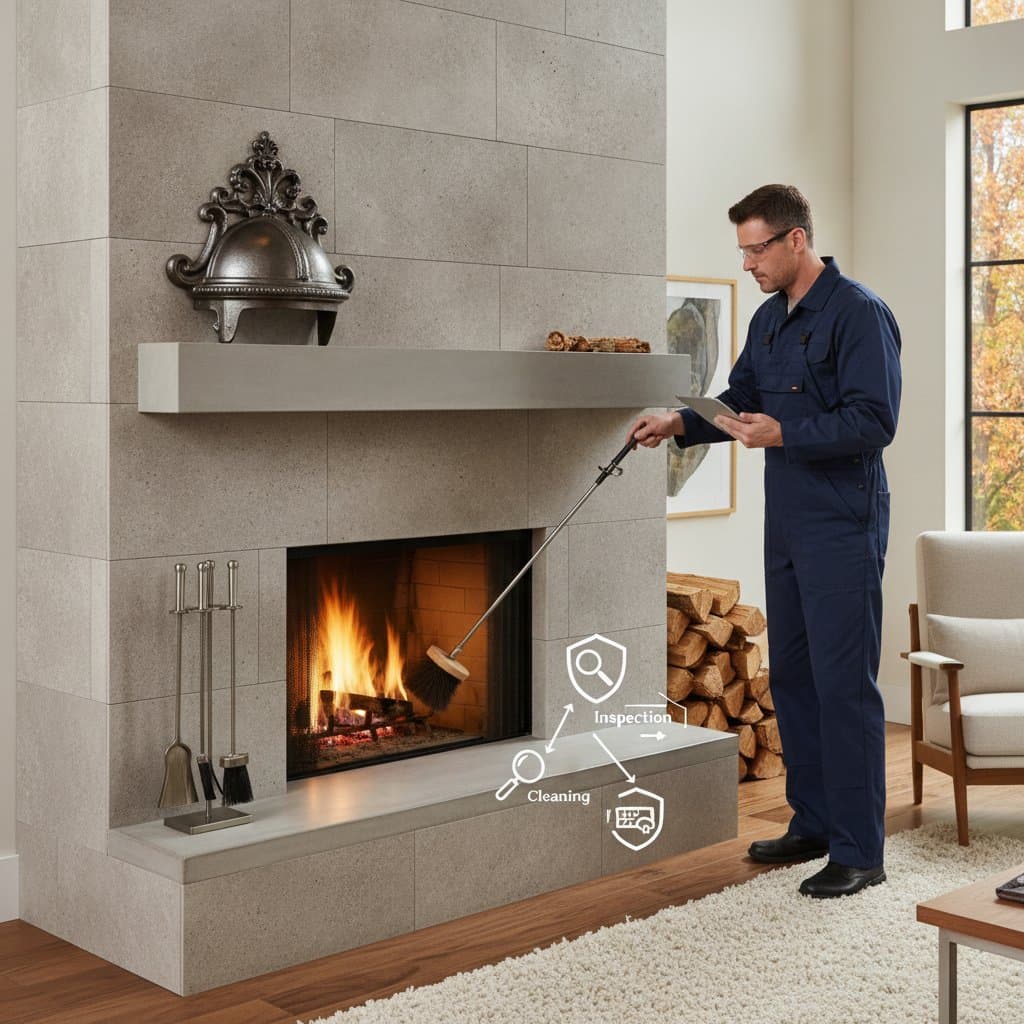
Step 2: Clean Creosote from the Flue
Creosote, a tar-like byproduct of wood burning, accumulates inside the flue and poses a fire risk if it reaches one-eighth inch thick. Fall cleaning removes last season's residue before new fires start. Homeowners with basic tools can handle light buildup, but professionals use specialized brushes and vacuums for thorough results.
To perform a basic clean, attach a flue brush to a sturdy rod and lower it from the top if accessible. Work the brush up and down to dislodge deposits, collecting debris in a drop cloth below. Dispose of creosote safely, as it burns readily. For heavy accumulations or complex chimney designs, hire a certified sweep; their services typically range from one hundred fifty to three hundred dollars and include a full assessment. Regular cleaning enhances draft efficiency, reduces smoke backflow, and lowers the chance of chimney fires, which cause significant property damage annually.
Step 3: Check the Damper and Flue Operation
The damper regulates airflow and seals the chimney when the fireplace remains unused. Test its operation by opening and closing it fully several times. Rust or debris may cause sticking, leading to energy loss through drafts or poor combustion.
Clean the damper with a wire brush to remove corrosion, then apply a high-temperature lubricant sparingly to restore smooth movement. Proceed to the flue inspection using a bright flashlight and angled mirror inserted through the damper opening. Identify any obstructions like animal nests, fallen branches, or dislodged firebrick. These blockages force smoke into living spaces, creating health risks.
If creosote glazing appears thick or flue tiles show cracks, avoid DIY fixes. A damaged liner compromises the chimney's ability to vent gases safely, potentially costing one thousand to three thousand dollars to reline. Professional evaluation ensures compliance with building codes and optimal performance.
Step 4: Test Smoke and Carbon Monoxide Detectors
Functional detectors provide early warnings for fireplace-related hazards. Place smoke alarms near the fireplace and carbon monoxide detectors on every level, including bedrooms. Test each monthly by pressing the button; replace batteries if chirping occurs.
For fireplaces, confirm detectors activate without delay during a simulated fire scenario, such as using a smoke pencil. Carbon monoxide, an odorless gas from incomplete combustion, demands vigilant monitoring. If alarms fail or show age beyond ten years, install new models certified by Underwriters Laboratories. This simple step safeguards occupants, especially during overnight heating, and meets insurance requirements for many policies.
Step 5: Inspect the Fireplace Interior
Shift focus inside to the firebox, where heat and flames directly impact components. Scrutinize bricks for cracks or eroded mortar, which expose the surround to excessive heat. Repoint joints with refractory mortar designed for high temperatures, available at hardware stores.
Ensure the grate or andiron set remains stable and unwarped; replace if metal shows pitting from prior use. Clear out accumulated ash, retaining only a one-quarter-inch layer for insulation. For gas units, shut off the supply valve before inspecting the pilot assembly and burner orifices for clogs from dust or insects. Clean gently with compressed air, avoiding water near electrical parts.
Soot on glass doors or an irregular flame pattern signals issues like improper venting. Immediate technician intervention prevents gas leaks, which carry explosion risks. These checks maintain aesthetic appeal and operational reliability.
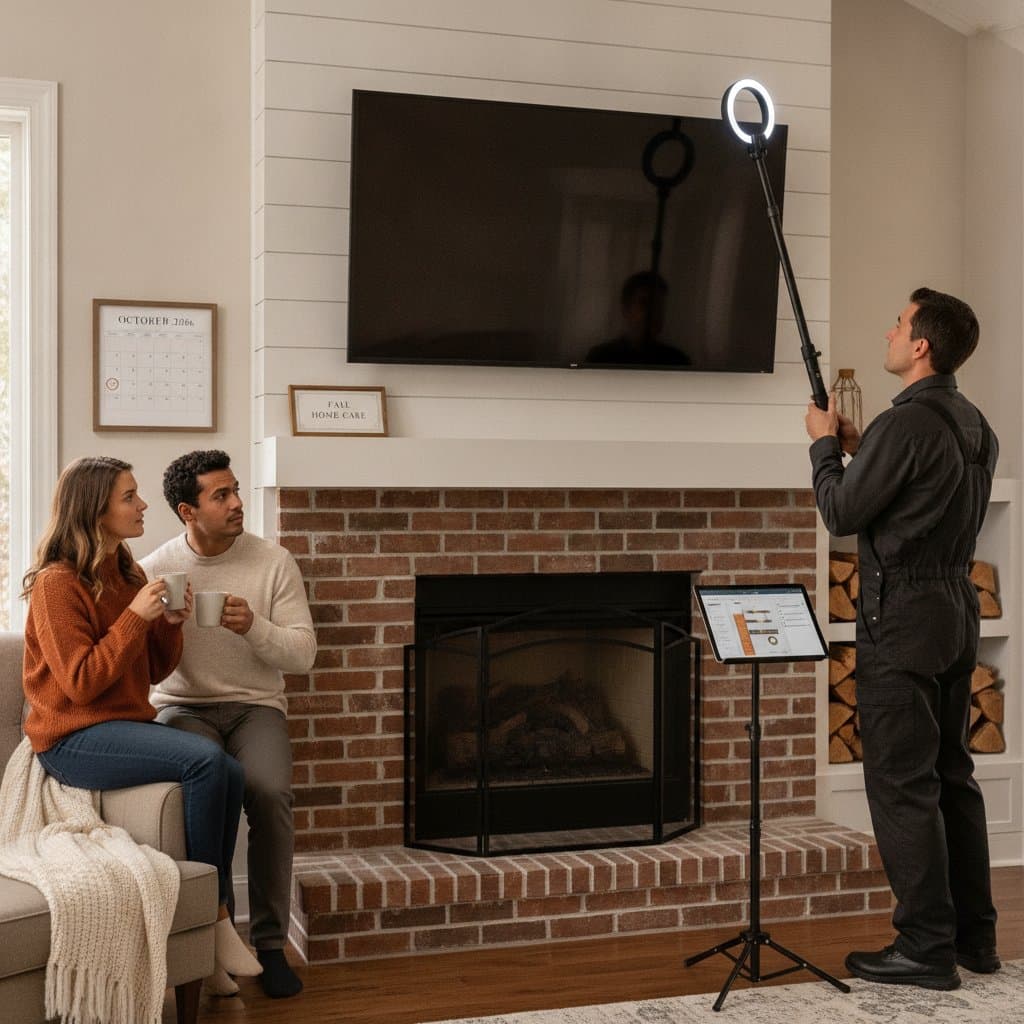
Step 6: Schedule a Professional Inspection
While DIY efforts cover basics, certified chimney sweeps offer Level 1, 2, or 3 inspections based on usage and condition. A standard visual check suffices for routine maintenance, but video scanning detects hidden flaws like internal corrosion.
Contact professionals through the Chimney Safety Institute of America directory. Expect costs from two hundred to six hundred dollars, depending on scope. They verify damper seals, flue integrity, and compliance with local codes, often uncovering issues invisible to untrained eyes. Annual or biennial visits extend chimney lifespan and qualify for warranties on repairs.
Step 7: Seal and Waterproof the Chimney
Water penetration accelerates masonry breakdown through repeated freezing. Select a silane- or siloxane-based sealer that allows vapor escape while repelling liquid. Apply via low-pressure sprayer after cleaning the surface, ensuring even coverage on bricks and mortar.
One gallon typically protects one hundred square feet and lasts three to five years. Focus extra sealant at vulnerable spots like the crown edges and below the cap. Reinforce roof flashing with silicone caulk compatible with roofing materials. These measures prevent efflorescence, spalling, and interior water damage, preserving structural stability.
Step 8: Stock Supplies and Plan for Use
Prepare essentials like fire starters, seasoned firewood, and ash buckets for efficient operation. Store wood under cover to keep it dry, aiming for less than twenty percent moisture content to minimize creosote. Review your homeowner's insurance for fireplace coverage limits.
Install a spark screen if absent, reducing ember escape. For multi-fuel systems, confirm compatibility with pellets or gas logs. These preparations streamline winter routines and enhance enjoyment.
Step 9: Monitor and Maintain Through Winter
After setup, observe the first few fires for unusual odors, smoke, or drafts. Log any anomalies for the next sweep. Consistent monitoring catches minor problems early, avoiding disruptions during cold snaps.
Long-Term Benefits of Fall Preparation
Investing time in fall maintenance yields safer, more efficient heating and protects property value. Homeowners report fewer emergency calls, lower energy bills from improved drafts, and confidence in their home's integrity. By addressing vulnerabilities now, you ensure cozy winters without unexpected expenses.