Smart Sensors That Stop Water Damage in 2026 Homes
A small leak can turn into a major problem before detection occurs. Cracked pipes behind walls or slow drips under sinks often cause thousands of dollars in hidden damage. Smart water sensors address this issue directly. They identify moisture at early stages, shut off supplies automatically, and send instant alerts to prevent escalation. Homeowners gain reliable protection through this technology upgrade.
Why Smart Leak Detection Matters
Water damage ranks among the most frequent and costly home issues. Burst pipes release hundreds of gallons hourly and saturate floors within minutes. Small leaks lead to mold, rot, and structural warping when undetected. Traditional devices only activate upon contact with water. Smart sensors track humidity, pressure, and temperature shifts to flag problems before visible signs appear.
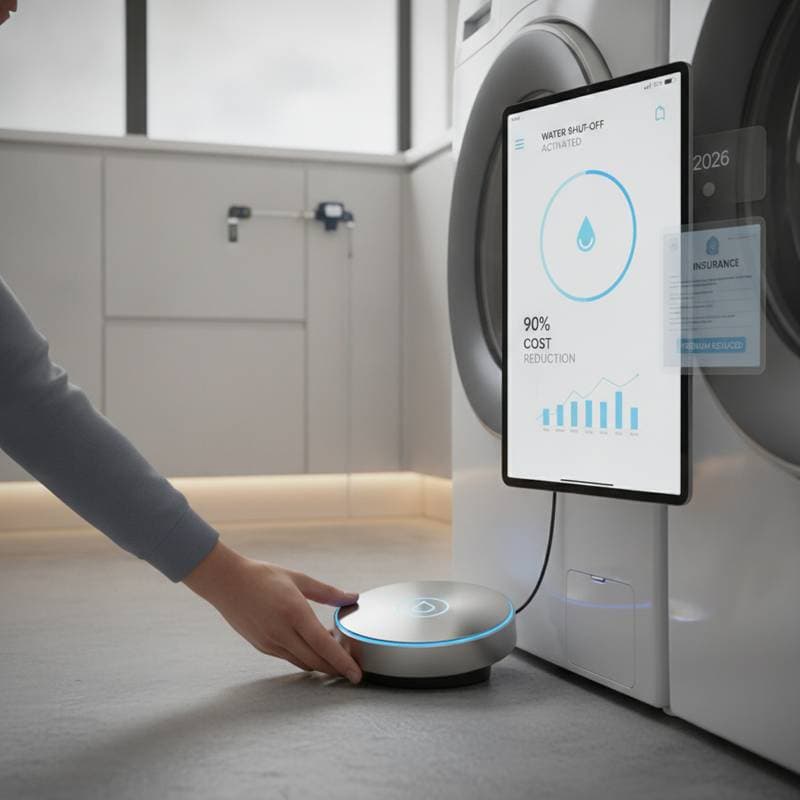
Proper installation reduces repair costs by up to 90 percent. Many insurers offer premium reductions because these systems limit losses proactively.
How Smart Water Sensors Work
Each device includes a moisture probe, wireless chip, and optional shutoff valve. The combination creates continuous home monitoring.
- Detection occurs when sensors near sinks, toilets, heaters, or basements register moisture above set levels.
- Communication routes signals through Wi-Fi, Zigbee, or Bluetooth to a hub or phone app.
- Action follows with automatic valve closure on the main line within seconds.
This sequence allows response even during absences from the property.
Typical Sensor Specifications
| Feature | Standard Range | Ideal Performance |
|---|---|---|
| Detection threshold | 0.05 to 0.10 inches of water | 0.05 inches for early detection |
| Operating temperature | 32 to 122 degrees F | 40 to 100 degrees F |
| Battery life | 2 to 5 years | 3 years average |
| Wi-Fi range | 100 to 300 feet | 200 feet with repeater |
Where to Install Smart Moisture Sensors
Effective coverage requires placement at both visible and concealed leak sources.
- Under sinks, position units on cabinet floors near drain traps with one inch of wall clearance.
- Behind toilets, locate sensors within six inches of supply valves.
- Around washing machines, place units at back corners near hose connections.
- Near water heaters, set sensors within twelve inches of bases where pooling begins.
- In basements or crawl spaces, space multiple units every eight to ten feet.
Pair point sensors with main-line flow valves for layered defense across the entire system.
Installation Guide for Homeowners
Basic sensor setup remains straightforward while valve integration demands careful execution. Follow these steps for reliable results.
- Gather a screwdriver, wrench, plumber tape, and smartphone.
- Shut off the main water valve before any plumbing work.
- Mount sensors flat using adhesive or screws on target surfaces.
- Install shutoff valves immediately after the water meter with secure fittings.
- Pair each component through the app and verify connections.
- Test by introducing small amounts of water near sensors to confirm alerts and closures.
Single units require about fifteen minutes. Full systems with valves take one to two hours for experienced users.
Common Mistakes to Avoid
Poor placement or maintenance undermines even advanced equipment.
- Sensors must rest flat on surfaces rather than elevated positions.
- Battery checks every six months prevent missed signals from power loss.
- Network strength tests avoid delayed notifications; add repeaters when needed.
- Clear app labels such as Kitchen Sink reduce confusion during events.
- Post-installation leak simulations confirm full system response.
Complex plumbing or inaccessible mains warrant professional installation at costs between 150 and 400 dollars.
Cost and Maintenance Overview
| System Type | Average Cost | Ideal Use |
|---|---|---|
| Standalone sensor | 40 to 80 dollars | Small apartments or single fixtures |
| Sensor kit with hub | 150 to 250 dollars | Whole-home monitoring |
| Full system with shutoff valve | 400 to 900 dollars | Large homes or high-risk properties |
Ongoing care involves battery replacement every few years, twice-yearly tests, and app firmware updates. Some models issue alerts for low battery or connection issues.
Smart Features That Make a Difference
Advanced systems extend beyond basic alarms.
- Temperature monitoring identifies freezing risks in pipes.
- Humidity tracking supports mold prevention in damp areas.
- Flow analysis detects hidden continuous usage patterns.
- Voice assistant links provide status updates via Alexa or similar platforms.
- Geofencing automates shutoff during departures and reactivation upon return.
These capabilities minimize false triggers and adapt to household routines.
Accessibility and Smart Home Integration
Battery-powered units suit users with mobility needs by eliminating routine checks. Integration with existing hubs supports unified control across other home systems. Multi-protocol support such as Zigbee ensures broad compatibility without additional wiring.
When to Call a Professional
Certain situations benefit from expert handling.
- Older galvanized pipes or corroded joints increase complexity.
- Hard-to-reach main valves require specialized tools.
- Custom automation wiring demands technical configuration.
Licensed plumbers ensure code compliance and may support insurance discount qualifications.
Pro Tips for Success
- Combine point sensors with flow detection for complete coverage.
- Store spare units for future appliance additions or renovations.
- Review event logs monthly to catch minor issues early.
- Install sensors on every floor in multi-level homes.
Long-Term Property Protection
Strategic sensor deployment delivers sustained defense against water incidents through early intervention and automated responses.