Seasonal HVAC Filter Replacements: A Guide to Efficiency and Clean Air
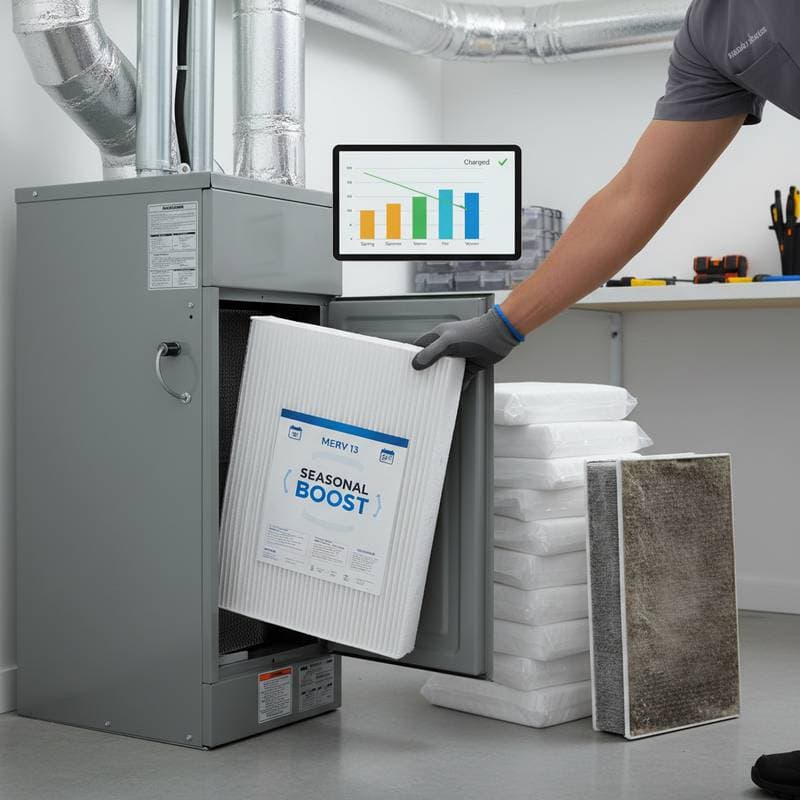
Maintaining clean indoor air ranks among the most straightforward methods to enhance home comfort, energy efficiency, and resident health. Homeowners often neglect regular HVAC filter replacements, yet these components play a vital role. Filters capture dust, pollen, pet dander, and other airborne particles before they circulate through the home. When filters become clogged, airflow diminishes, which forces the HVAC system to work harder. This strain results in elevated utility bills, inconsistent temperatures, and poorer air quality.
A structured seasonal replacement schedule aligns filter changes with environmental shifts and system demands. Such a plan ensures the HVAC operates at peak efficiency while delivering consistently fresh indoor air. This guide provides a practical calendar, decision-making framework for DIY or professional services, insights into filter ratings, and strategies for long-term air quality management.
Seasonal HVAC Filter Replacement Calendar for 2026
Timing filter replacements to seasonal changes optimizes performance and addresses specific air quality challenges. Spring and fall typically demand more frequent changes due to pollen and allergens, while summer and winter focus on efficiency during heavy usage. Consult this 2026 calendar to stay proactive.
- January (Winter Peak): Replace filters after holiday gatherings to remove accumulated dust and debris from increased indoor activity. This prevents strain on heating systems during cold months.
- March (Pre-Spring Transition): Change filters to combat emerging pollen as outdoor temperatures rise. Improved airflow supports smoother cooling preparation.
- June (Early Summer): Swap filters before air conditioning season intensifies, capturing outdoor pollutants entering through open windows and doors.
- September (Fall Preparation): Install fresh filters ahead of heating season to handle leaf debris and allergens, ensuring even warmth distribution.
- November (Late Fall): Perform a final change to address wood smoke or construction dust, maintaining efficiency as winter approaches.
Adjust this schedule based on household factors, such as pets, smoking, or nearby construction. For homes with high occupancy or allergy sufferers, consider monthly checks during peak seasons.
Understanding MERV Ratings for Optimal Filtration
MERV stands for Minimum Efficiency Reporting Value, a standard that measures a filter's ability to capture particles of varying sizes. Higher ratings indicate finer filtration, but they also increase airflow resistance, which can strain some systems. Select the appropriate MERV based on your HVAC capacity and air quality needs.
- MERV 8-11: Suitable for most residential systems. These filters trap larger particles like dust and lint, offering a balance of efficiency and system compatibility.
- MERV 12-16: Ideal for homes with allergies or pets. They capture smaller allergens such as pollen and mold spores, though professional assessment ensures no performance impact.
- MERV 17+: Reserved for commercial or medical settings. Avoid in standard homes, as they may reduce airflow and raise energy use.
Consult your HVAC manual or a technician to match MERV ratings with your unit's specifications. Upgrading to a higher MERV can significantly improve air quality, but only if the system handles the added resistance.
DIY Versus Professional HVAC Filter Replacement
Deciding between self-replacement and hiring a professional hinges on your technical comfort, system accessibility, and environmental demands. Both approaches maintain clean air when executed properly, yet they differ in cost, convenience, and scope.
Advantages and Challenges of DIY Replacement
DIY offers an accessible entry point for maintenance. Homeowners purchase filters from hardware stores or online retailers at a fraction of service fees. The task typically requires under ten minutes: locate the filter slot, slide out the old unit, insert the new one, and secure the panel.
However, errors occur if the wrong size or type is selected, potentially worsening airflow. DIY also overlooks broader system issues, such as duct leaks or coil dirt. Success depends on establishing reminders, like calendar alerts or dated filter frames, to avoid oversight.
This method suits straightforward setups, like basement or closet air handlers. Always power off the system, verify airflow arrows on the filter align with duct direction, and wear a mask to avoid inhaling dust.
Benefits and Limitations of Professional Service
Professionals deliver thorough inspections beyond mere filter swaps. Technicians examine coils, belts, and motors for wear, identifying problems early. They handle challenging locations, such as attics or rooftops, with specialized tools and safety gear.
Costs range from fifty to one hundred dollars per visit, plus filter expenses, making it pricier than DIY. Scheduling may introduce delays, especially during peak seasons. Despite these factors, professionals provide tailored recommendations on MERV upgrades or air purifier integrations.
Opt for this service in multi-story homes, zoned systems, or when unusual noises or odors suggest deeper issues. Annual contracts often include two filter changes and tune-ups, yielding long-term savings.
Cost Comparison
DIY costs average ten to twenty dollars per filter, with replacements every one to three months yielding annual expenses of forty to two hundred dollars. Professional services add labor fees, totaling one hundred to three hundred dollars yearly for biannual visits. Factor in energy savings: clean filters reduce bills by five to fifteen percent, often offsetting professional costs over time.
Step-by-Step Guide to Choosing Your Approach
Navigate the decision process systematically to align with your home's needs and lifestyle.
-
Evaluate Indoor Air Quality: Observe dust accumulation on surfaces, allergy symptoms among residents, or persistent odors. High pollution levels, indicated by these signs, justify more frequent or advanced filtration.
-
Review System Accessibility and Your Expertise: Accessible units in utility rooms favor DIY. Elevated or concealed handlers benefit from professional reach and knowledge.
-
Analyze Financial Implications: Tally filter purchases, potential energy rebates, and service charges. Tools like online calculators estimate savings from regular maintenance.
-
Weigh Potential Hazards: Clogged filters shorten equipment life by overworking components, leading to repairs costing hundreds. Inconsistent changes risk health issues from poor air circulation.
-
Select and Implement: Embrace DIY for simplicity by stocking filters and using apps for reminders. Choose professionals for assurance, booking spring and fall appointments.
Sustaining Superior Indoor Air Year-Round
Exceptional air quality demands ongoing vigilance attuned to seasonal and household variations. Stockpile filters in various MERV levels to respond to sudden needs, like post-renovation dust. Integrate complementary habits, such as vacuuming with HEPA filters and ventilating during low-pollen hours.
Monitor system performance through smart thermostats that alert for restricted airflow. Annual professional audits complement your efforts, catching inefficiencies before they escalate. Consistent application of this plan not only curbs energy costs and repair bills but also fosters a healthier, more comfortable home environment.


