Essential Maintenance to Keep AC Running All Summer
A reliable air conditioner transforms a home into a comfortable retreat during peak summer heat. Regular maintenance ensures the system operates efficiently, averts expensive breakdowns, and prolongs its operational life. Homeowners often delay action until cooling falters, yet proactive care year-round delivers superior performance, enhanced comfort, and notable energy savings.
This guide details critical maintenance tasks to sustain smooth AC operation through summer. It distinguishes between DIY efforts and those requiring professional intervention, empowering informed decisions for optimal system health.
Key Components That Need Regular Attention
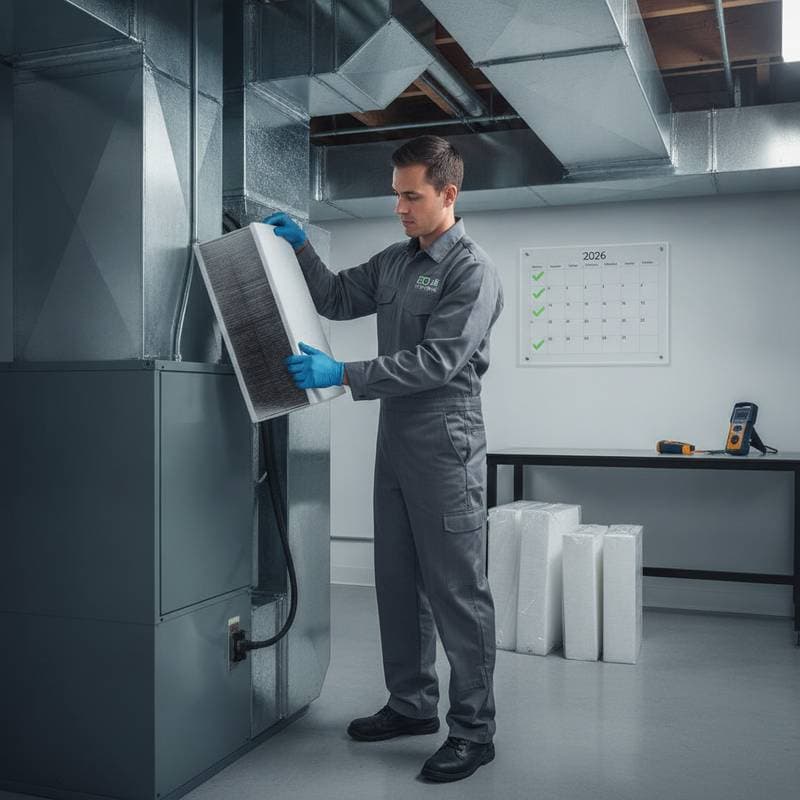
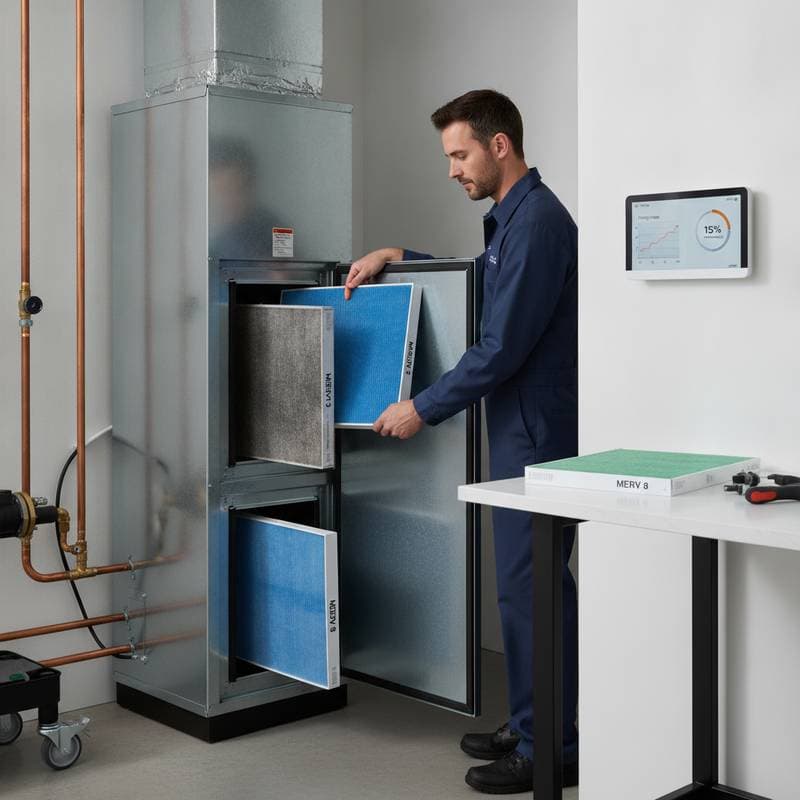
1. Air Filters
Air filters capture dust, pollen, and debris to protect internal components and maintain air quality. When clogged, they impede airflow, compel the blower to strain, and elevate energy consumption. Inspect filters monthly during cooling season; replace standard fiberglass types every one to three months, or more often in dusty environments or homes with pets. Opt for pleated filters with a MERV rating of 8 to 13 for balanced filtration without excessive restriction.
2. Condenser and Evaporator Coils
These coils facilitate heat exchange: the evaporator absorbs indoor heat, while the condenser releases it outdoors. Accumulated dirt insulates the coils, diminishes heat transfer, and forces the compressor to overwork, potentially leading to failure. Prior to summer, shut off power at the breaker, then apply a no-rinse coil cleaner spray followed by a garden hose rinse on low pressure. For stubborn buildup, employ a soft-bristle brush, avoiding high-pressure washers that could bend delicate fins.
3. Condensate Drain Line
This line expels condensation formed as the AC dehumidifies indoor air, preventing water damage to floors or walls. Clogs from algae, mold, or sediment cause overflows, fostering humidity and mold growth. Flush the line quarterly using a solution of one part white vinegar to ten parts water, poured slowly into the access point near the indoor unit. Insert a wet-dry vacuum at the drain's end to extract debris, ensuring clear flow and reducing overflow risks.
4. Thermostat
The thermostat regulates cycles to achieve set temperatures without excess runtime. Inaccurate calibration results in short cycling or prolonged operation, wasting energy and stressing components. Test accuracy by placing a thermometer nearby; if discrepancies exceed two degrees, recalibrate or replace with a smart model that learns habits and adjusts automatically. Programmable options allow scheduling setbacks during unoccupied hours, potentially cutting energy use by up to 10 percent.
5. Ductwork
Ducts distribute cooled air evenly; leaks or contamination undermine this process, causing hot spots and higher bills. Up to 30 percent of cooled air can escape through unsealed joints. Examine accessible ducts in attics or basements for gaps, dents, or insulation wear; apply mastic sealant or foil tape to seal imperfections. Professional cleaning every three to five years removes accumulated dust, allergens, and microbes, improving indoor air quality and system efficiency.
When to Call a Professional
Homeowners can manage basic cleaning and inspections, but complex diagnostics demand certified expertise to avoid voiding warranties or causing harm. Annual professional tune-ups, ideally in spring, uncover hidden issues early. Technicians perform these vital checks:
- Assess refrigerant charge and add or recover as required to maintain optimal pressure and cooling capacity.
- Examine capacitors, relays, and wiring for corrosion or looseness, preventing electrical faults.
- Evaluate compressor and fan performance through amperage tests and vibration analysis.
- Lubricate moving parts and balance blower wheels to minimize noise and wear.
- Detect refrigerant leaks using electronic detectors and repair with brazing techniques.
Such services not only forestall major failures but also optimize efficiency, often yielding 15 to 20 percent energy reductions. They uphold safety codes and preserve warranty validity, safeguarding long-term investments.
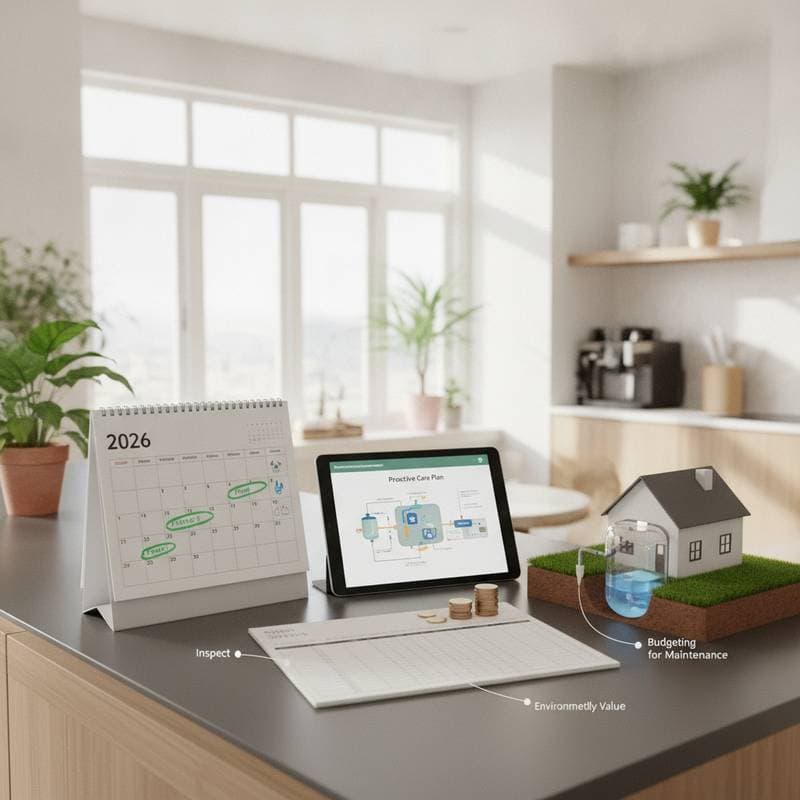
Seasonal Preparation Tips
Anticipating summer demands readies the AC for sustained demands without interruptions. This checklist streamlines preparation for dependable cooling:
- Examine the outdoor condenser unit. Clear leaves, grass clippings, or winter debris from the base and surrounding area; ensure at least two feet of clearance on all sides for ventilation.
- Address coils and fins. Spray coils with approved cleaner, rinse thoroughly, and use a fin comb to realign any flattened sections, restoring maximum surface area for heat dissipation.
- Verify thermostat functionality. Switch to cool mode, set to 72 degrees Fahrenheit, and monitor response time; adjust settings or batteries if delays occur.
- Conduct a full system test. Operate the unit for 15 minutes, gauging airflow strength from vents, temperature drop across the coils (aim for 15 to 20 degrees), and any irregular vibrations or sounds.
- Book a technician visit. Professionals use gauges and tools to fine-tune refrigerant, electrical, and mechanical elements, confirming readiness for heat waves.
These steps minimize surprises, enabling the AC to deliver consistent cooling from season's start.
How to Decide: Your Step-by-Step Guide
Step 1: Assess Your System’s Condition
Observe operational cues like weak airflow from registers, uneven room temperatures, or rising utility bills. Unusual humming, rattling, or hissing signals potential issues such as loose parts or refrigerant shortages. Document symptoms over a week to inform discussions with service providers.
Step 2: Evaluate Your Skills and Tools
Basic tasks like filter swaps require only a screwdriver and replacements; drain flushing needs vinegar and a funnel. Advanced work, including coil deep-cleaning or electrical checks, risks injury without proper gear like multimeters or recovery machines. If unfamiliar with HVAC specifics, defer to experts to prevent damage.
Step 3: Calculate True Costs
DIY supplies cost under 50 dollars annually, but factor in time and potential errors leading to repairs. Professional visits range from 75 to 150 dollars, yet they include diagnostics that avert 500-dollar-plus emergencies. Weigh savings from efficiency gains, which recoup fees through lower monthly bills.
Step 4: Review Safety Risks
High-voltage components pose shock hazards; low refrigerant levels indicate leaks that release harmful gases. Protective gear like gloves and goggles is essential for any hands-on work. When safety concerns arise, professional intervention eliminates personal liability and ensures compliance with local regulations.
Step 5: Make the Final Call
Newer units under five years old often thrive with diligent DIY routines supplemented by yearly pros. Aging systems over 10 years warrant frequent expert oversight to extend usability. Balance comfort needs with budget to select the approach that sustains reliability.
Maximizing AC Longevity and Efficiency
Sustained care transforms AC ownership into a cost-effective endeavor. Annual technician evaluations catch wear early, while a detailed log of services and filter swaps tracks patterns for predictive maintenance. Prompt responses to odd odors, like mustiness signaling mold, or grinding noises indicating bearing failure, preserve system integrity. Unobstructed vents and furniture placement further enhance circulation, ensuring every room benefits from efficient cooling and supporting a healthier home environment.