Radon Testing and Mitigation: Your Home Safety Checklist
Radon is an invisible gas that can quietly build up inside homes and affect air quality along with long term health. Because it has no color, odor, or taste, homeowners often remain unaware of elevated levels. Regular testing combined with proper mitigation forms an essential practice for every property owner. This checklist covers when and how to test, compares available options, outlines typical costs, and explains maintenance steps that support safer indoor conditions.
Understanding Radon and Its Impact on Home Safety
Radon forms naturally when uranium in soil and rock breaks down. The gas enters homes through cracks in floors, walls, or foundations and can accumulate over time. Long term exposure to elevated levels increases health risks, which makes early detection a priority. Homes without basements remain vulnerable because radon travels through pipes, drains, and gaps around service lines. Testing provides the only reliable way to determine actual concentrations.
Testing Your Home for Radon
Testing serves as the foundation of radon safety. Two primary methods exist. Short term test kits measure levels over several days and deliver a quick snapshot of conditions. Long term test kits stay in place for several months and produce a more accurate average reading. Both options are available through online retailers and local hardware stores. Certified professionals can also perform assessments with specialized equipment for greater precision.
Test after moving into a new home, following renovations or foundation repairs, and every few years during routine maintenance. Elevated results indicate the need for mitigation.
Mitigation Options and Associated Costs
Mitigation systems lower radon concentrations through engineered ventilation. Costs depend on home design and the extent of the issue.
| Service Type | Typical Cost Profile |
|---|---|
| DIY test kit | Comparable to a small household tool |
| Professional test | Moderate fee with consultation |
| Basic mitigation system | Varies by system and layout |
| Ongoing maintenance | Minimal, focused on fan and filter checks |
A standard system uses a vent pipe and fan to draw gas from beneath the house and release it safely outdoors. Sealing cracks improves overall performance. Professional installation ensures correct sizing and reliable sealing.
Comparing DIY and Professional Approaches
The choice between do it yourself methods and professional services depends on comfort level, budget, and home layout.
DIY testing offers lower initial cost and suits basic checks. It also provides hands on learning for homeowners who prefer direct involvement. However, results may lack accuracy and systems may suffer from incomplete sealing or improper ventilation without a warranty.
Professional services deliver certified results, expert design tailored to the specific property, and ongoing support. The higher upfront cost is offset by reliability and reduced risk of rework.
Most homeowners find professional mitigation provides stronger long term value through accuracy and peace of mind.
Addressing Frequent Concerns on Radon Control
Homeowners often ask how often testing should occur. Testing every few years or after major structural changes keeps results current. Levels can shift with seasonal changes, soil moisture, and ventilation patterns. Newer homes can trap radon more readily due to tighter construction.
Installation usually requires one day. Fans operate quietly when placed outside or in the attic. Energy use increases only slightly because fans run continuously at low power. No effective portable solutions exist. Permanent systems remain the only reliable method. Sealing cracks helps but rarely resolves the issue alone. Testing afterward confirms whether further action is required. Permits are not needed for testing, though some areas require them for system installation. Tenants should share results with landlords, who typically handle mitigation.
Deciding on Next Steps for Your Property
Begin by assessing the home through an initial test to establish baseline levels. Evaluate personal skills honestly. Basic testing works for those comfortable with simple tools, yet mitigation benefits from professional expertise. Calculate total costs by including both upfront work and future checks. Prioritize safety because exposure accumulates gradually and prevention should begin promptly after high readings appear. Schedule mitigation without delay once levels exceed recommended limits.
Preparing for Implementation
Research qualified contractors in the local area. Plan for weather conditions because closed house testing requires windows to stay shut. Clear space around foundation walls or crawl spaces for system access. Budget for testing plus follow up verification. Document all results and system details for future reference during property transfers.
Sustaining Healthy Indoor Air Over Time
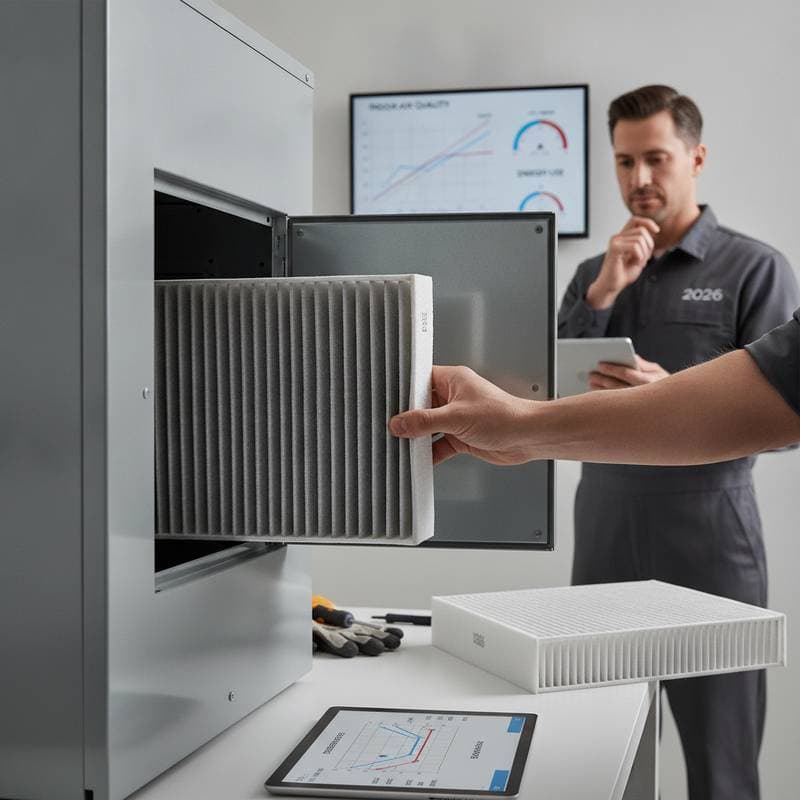
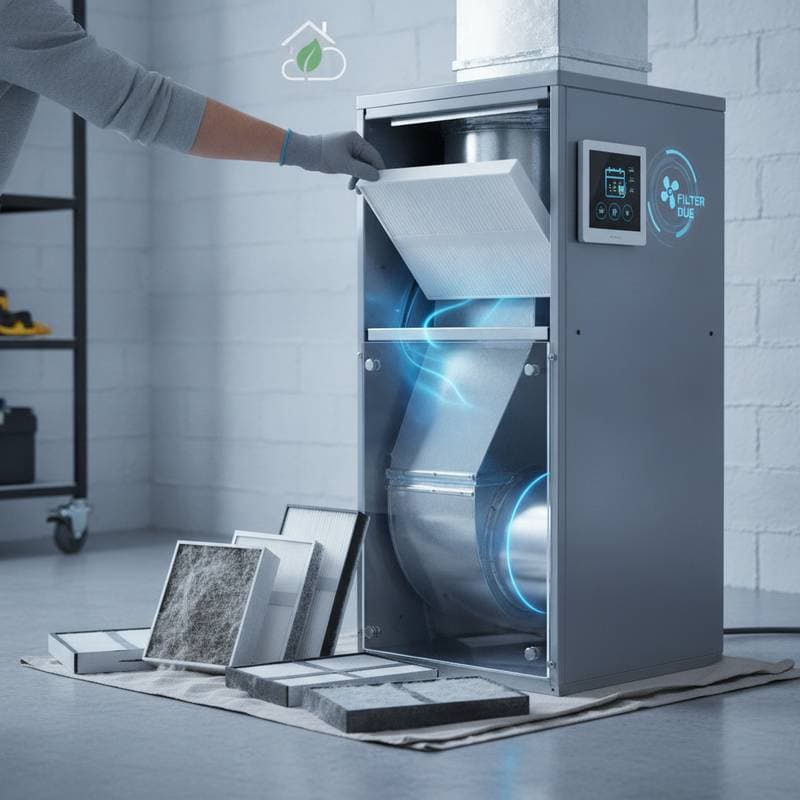
Re test every few years or after significant home changes. Keep fan units clean and confirm that vent pipes stay unobstructed. Consistent attention to these steps maintains clean indoor air and supports lasting household well being.