Follow This Bi-Annual HVAC Filter Schedule for Cleaner Air and Lower Bills
Your HVAC filter serves as the primary defense for indoor air quality and system efficiency. Many homeowners overlook how rapidly filters accumulate dust, pollen, and pet dander. This accumulation increases energy consumption and diminishes air cleanliness. A consistent bi-annual replacement plan addresses these issues directly.
This guide outlines a twice yearly schedule suited to most households. It details filter selection, performance tracking, and indicators that require attention.
Align Replacements With Seasonal Transitions
Schedule changes at the start of spring and fall. These periods coincide with shifts between cooling and heating demands. A clean filter supports smooth adaptation during each transition.
Spring Replacement
Rising pollen counts and outdoor dust increase during warmer months. A fresh filter reduces allergen circulation and eases air conditioner workload.
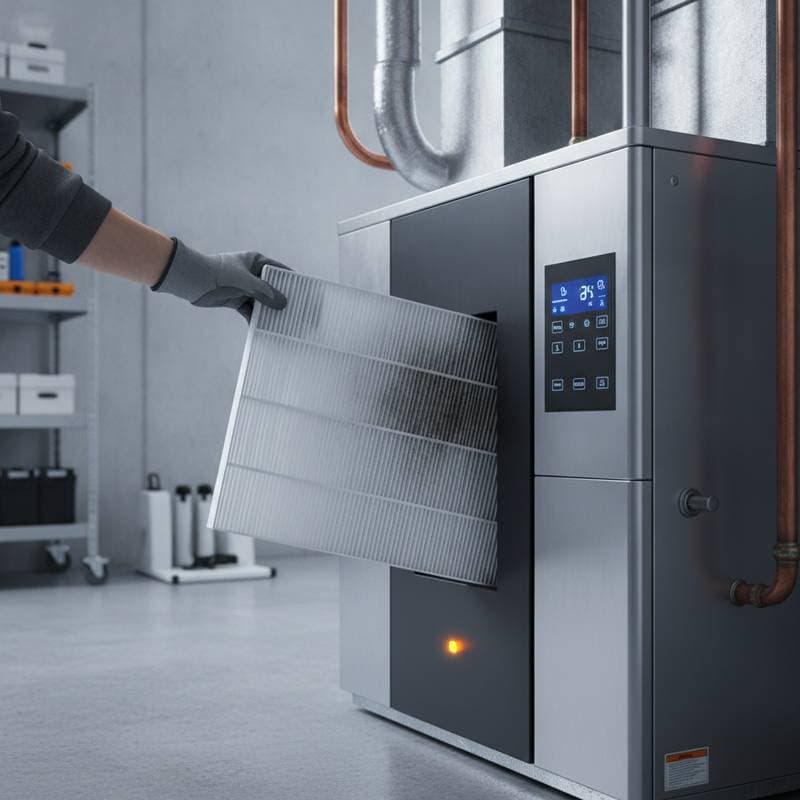
Perform these steps during spring replacement:
- Switch off the HVAC system.
- Remove the old filter without disturbing accumulated debris.
- Examine the filter slot and frame for residue.
- Install the new filter with the airflow arrow oriented toward the blower.
- Restore power and verify steady airflow.
Fall Replacement
Heating operation increases during cooler months. A clean filter limits circulation of soot and fine particles.
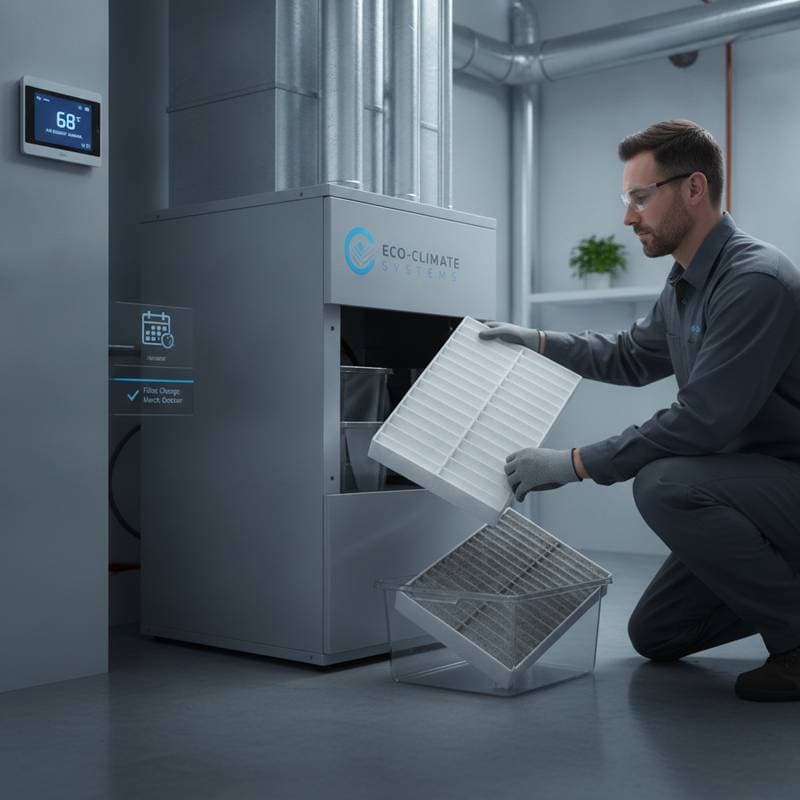
Complete these steps for fall replacement:
- Clear dust from the filter compartment.
- Ensure the new filter fits securely without forcing it into place.
- Mark the installation date on the filter frame.
- Seal the old filter in a bag before disposal.
Residents in high dust areas or homes with multiple pets should inspect filters monthly. Earlier replacement may prove necessary in these conditions.
Assemble Required Tools
Prepare the following items in advance:
- Correct size filter with appropriate MERV rating
- Screwdriver for panel removal
- Flashlight for compartment inspection
- Damp cloth for surface cleaning
- Permanent marker for date notation
- Vacuum with hose for light debris removal
Store these supplies near the HVAC unit to support consistent execution.
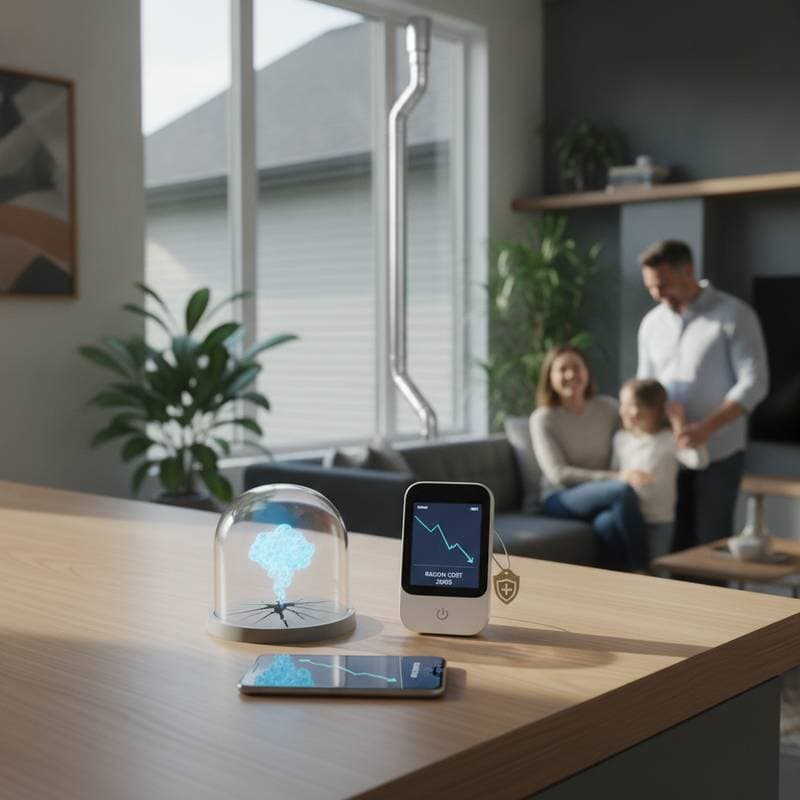
Monitor Results Over Time
Maintain a record of each replacement date, filter specifications, and observations about airflow or noise. Patterns in these notes reveal whether adjustments are needed. A filter that soils rapidly may require a different MERV rating. One that remains clean for extended periods indicates lower household dust production.
Calendar reminders or maintenance applications help sustain the schedule. The chosen method matters less than regular adherence.
Determine When Professional Support Is Appropriate
Filter changes remain suitable for most homeowners. Certain conditions warrant technician involvement.
DIY remains appropriate when the unit is accessible, the filter size is known, and power can be safely managed.
Contact a professional when airflow varies between rooms, mold appears near the filter, unusual sounds occur, or filter compatibility remains unclear. A technician can also assess refrigerant levels and duct integrity during the same visit.
Address Frequent Problems
Weak airflow after installation often results from reversed filter orientation. Confirm the arrow points toward the blower.
A collapsing filter indicates incorrect sizing. Measure the slot dimensions before purchase.
Persistent indoor dust suggests bypass around the filter or dirty ducts. Apply foil tape to seal gaps.
Frequent on off cycling may stem from excessive filter restriction. Select a lower MERV rating to improve airflow.
Protect Long Term System Performance
Regular filter changes support sustained efficiency and indoor comfort. Mark spring and fall dates on a calendar and keep spare filters available. Delivery services that ship replacements on schedule eliminate the need for manual tracking. These habits reduce operating costs and maintain steady air quality throughout the year.