DIY HVAC Prep: Checklist to Ready Your System for Winter
A cold snap always seems to arrive before you expect it. One day the air feels crisp. The next day you reach for the thermostat and hope your furnace fires up without a problem. Preparing your HVAC system before winter hits can save you from emergency breakdowns, high energy bills, and uncomfortable nights. With a few tools, a bit of time, and the right steps, you can make sure your home stays warm and efficient all season long.
This guide walks you through every part of a winter HVAC checkup. You will learn how to inspect, clean, and test your system. You will also learn when to call a professional and what mistakes to avoid. Follow this checklist, and you will head into the cold weather with confidence.
Essential HVAC Winter Checklist
- Replace or clean air filters
- Vacuum and wipe supply and return vents
- Check thermostat accuracy
- Inspect furnace burners and flame color
- Clean around the furnace and vents
- Test carbon monoxide detectors
- Clear outdoor heat pump or intake area
- Check ductwork for leaks or loose connections
- Schedule a safety inspection if needed
Replace or Clean Air Filters
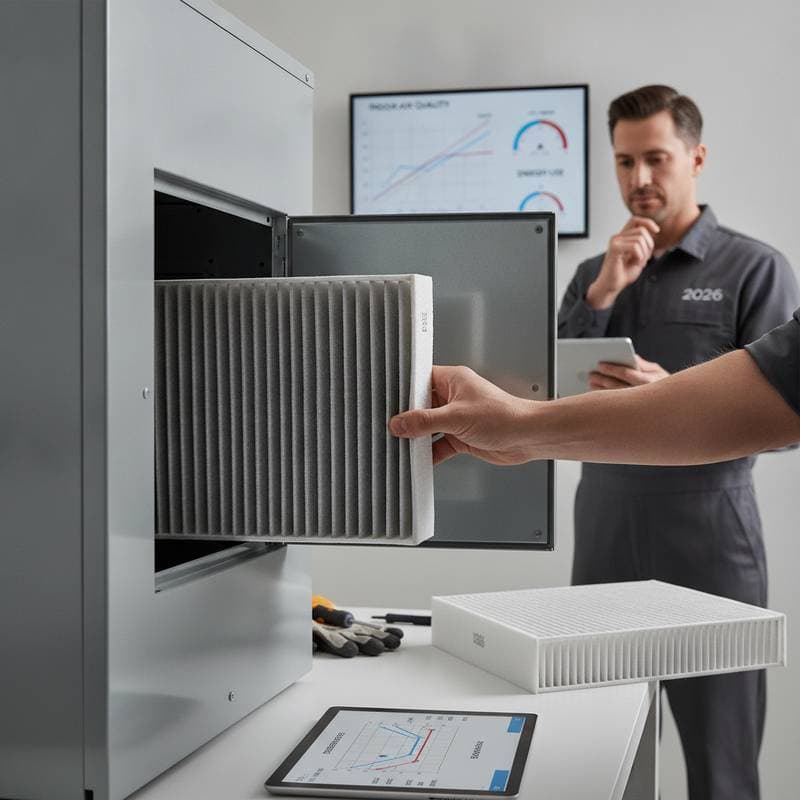
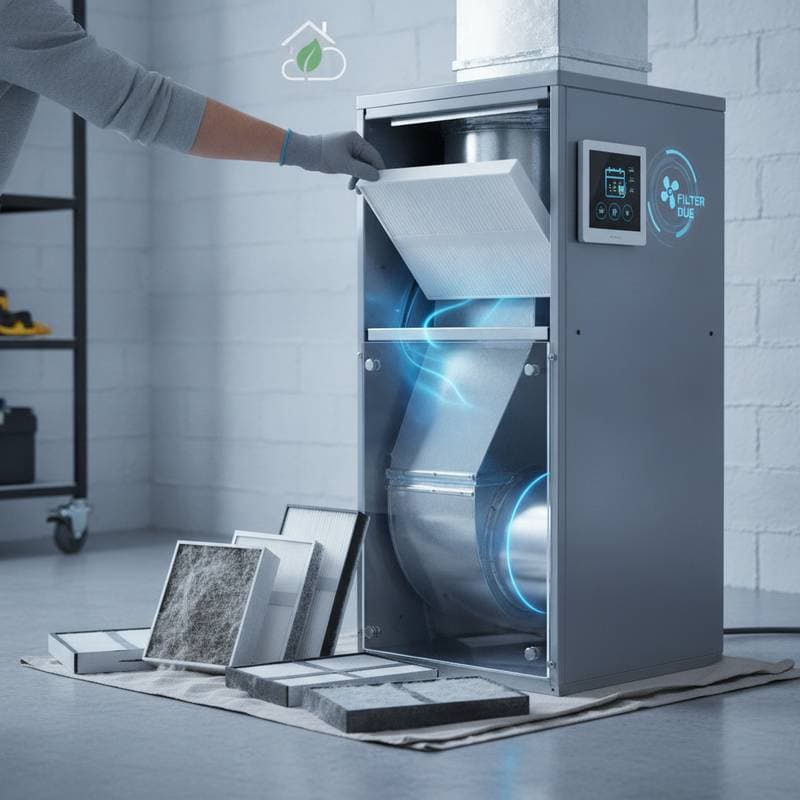
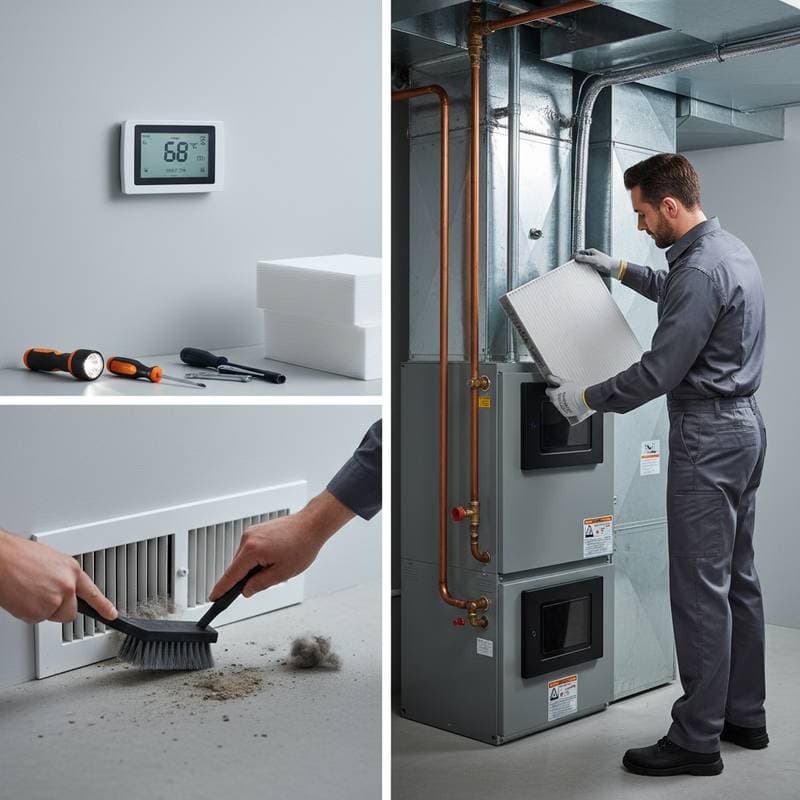
Dirty filters restrict airflow and force your furnace to work harder. This raises energy use and shortens equipment life. Check filters every month during the heating season. Replace disposable filters or clean reusable ones according to manufacturer instructions.
Vacuum and Wipe Your Vents
Dust often collects in vents and registers over the summer months. When you first turn on your heat, that dust burns off and produces a musty smell. Remove vent covers with a screwdriver. Use a vacuum with a brush attachment to remove debris from the duct opening. Wipe covers with a damp cloth before reinstalling. Make sure furniture or rugs do not block airflow.
For deeper cleaning beyond a few feet inside the ducts, consider hiring a duct cleaning service. Most professionals recommend this every five to seven years or sooner if you notice visible dust buildup or allergy issues.
Check Thermostat Accuracy
An inaccurate thermostat can cause your system to run longer than necessary. Place a separate thermometer next to the thermostat. Compare readings after fifteen minutes. Recalibrate or replace the unit if the difference exceeds two degrees.
Inspect Furnace Burners and Flame Color
A healthy flame should burn steady and blue. A yellow or flickering flame can indicate dirt buildup or improper gas mixture. Turn off the furnace power switch. Remove the burner cover. Use a flashlight to check for rust, soot, or debris. Turn the power back on and observe the flame through the inspection window.
If you see yellow flames or hear unusual noises, contact a licensed HVAC technician. Gas issues should never be handled without professional help.
Clean Around the Furnace and Vents
Clear away boxes, clothing, and other stored items from the furnace area. Dust and debris near the unit can enter the system and reduce efficiency. Vacuum floor grates and baseboards within three feet of return vents.
Test Carbon Monoxide Detectors
Every heated home needs working carbon monoxide detectors. A malfunctioning furnace can leak CO, a colorless and odorless gas that is deadly in high concentrations. Press the test button on each detector until you hear a loud beep. Replace batteries at the start of each heating season. Install detectors within fifteen feet of each sleeping area and near the furnace room.
If your detector ever goes off, shut down the furnace, open windows, and call emergency services immediately.
Clear Outdoor Heat Pump or Intake Area
Remove leaves, snow, and debris from around outdoor units. Maintain at least two feet of clearance on all sides. Trim nearby vegetation to prevent airflow restriction.
Check Ductwork for Leaks
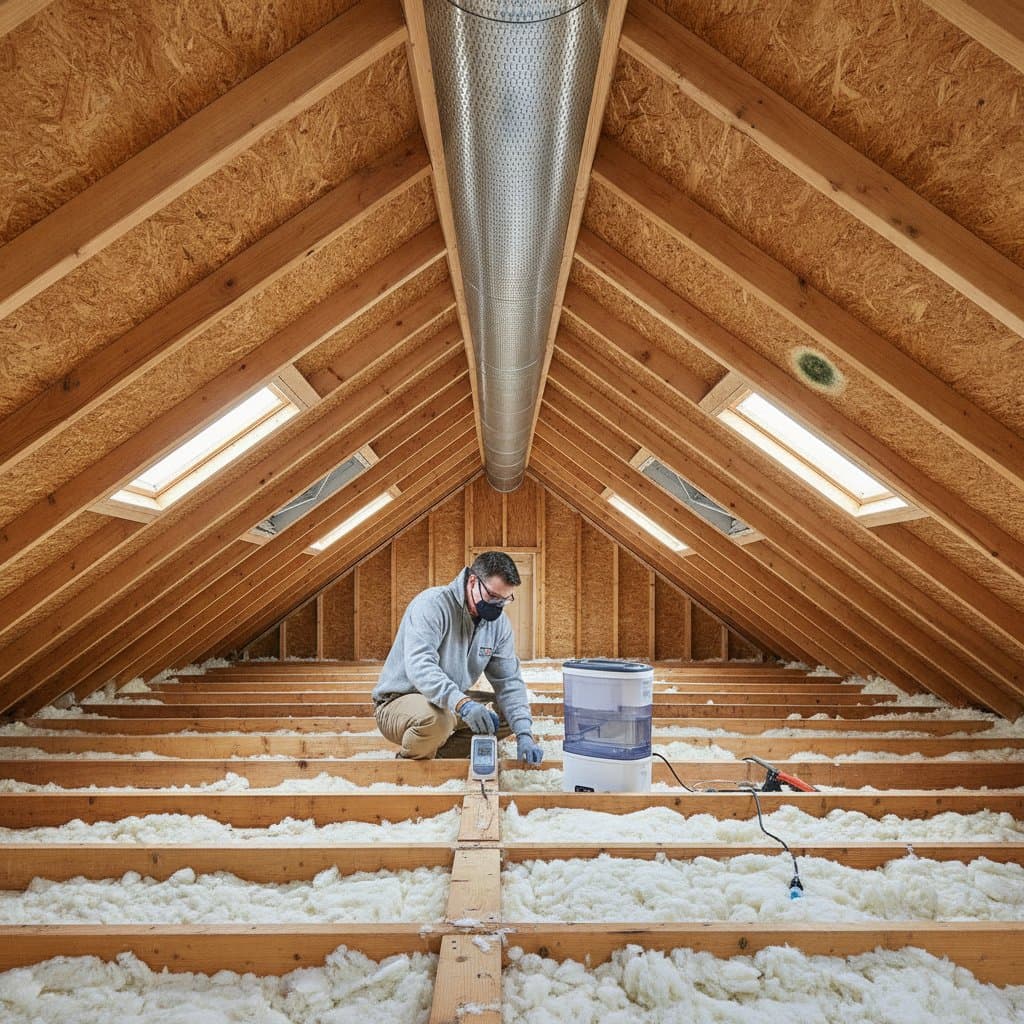
Leaky ducts can waste up to twenty to thirty percent of heated air, especially in basements or attics. Turn on the furnace blower fan. Run your hand along duct seams and joints. Feel for air escaping or listen for whistling sounds. Seal small gaps with UL 181-rated foil tape or mastic sealant. Avoid standard duct tape, which dries out quickly. For large leaks or inaccessible ducts, hire a professional to perform a pressure test and sealing service.
Schedule a Safety Inspection if Needed
Homeowners comfortable with basic tasks can complete most preparation steps. Gas lines, electrical components inside the furnace cabinet, and refrigerant systems require licensed technicians. Schedule a professional tune-up before the first cold snap if your system is older than ten years or shows prior issues.
Test the System Under Load
Once everything is cleaned and inspected, run your furnace through a full heating cycle. Set the thermostat five degrees higher than current room temperature. Listen for smooth startup and monitor how long it takes warm air to reach each room. Check vents for consistent airflow and even temperature. Uneven heating may point to duct leaks, closed dampers, or an undersized filter.
Accessibility and Safety Considerations
If you or a family member have mobility limitations, relocate thermostat controls to a reachable height between forty-eight and fifty-two inches from the floor. Choose thermostats with large, backlit displays and simple buttons. For households with respiratory concerns, install high-efficiency particulate air filters in compatible systems. Always verify your blower capacity before using higher MERV ratings because restricted airflow can strain the motor.
Required Tools for Homeowners
Most of the tasks above are well within reach for an average homeowner. You will need a screwdriver set, flashlight, vacuum with brush attachment, replacement air filter, foil duct tape or mastic sealant, soft cloths and mild cleaner, thermometer, and non-contact voltage tester for thermostat wiring. These tools handle about eighty percent of the prep work.
Benefits of Consistent Preparation
Regular winter preparation improves comfort, reduces monthly energy costs, and extends equipment life. Small maintenance steps completed each season prevent larger repairs later.