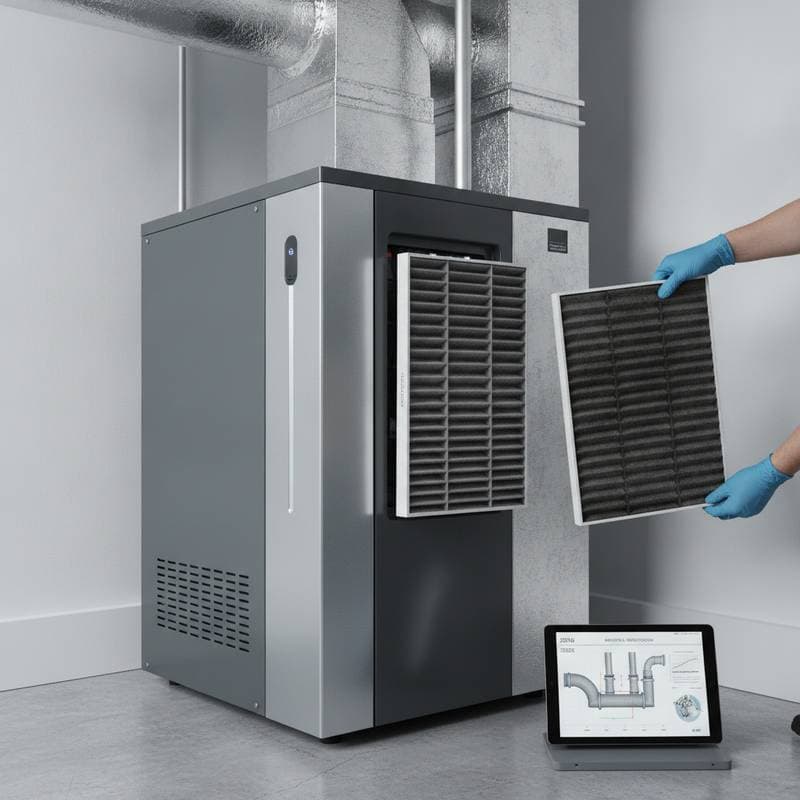

Achieve Optimal Air Quality: Your HVAC Filter Replacement Schedule
Clean air in the home requires deliberate maintenance of the HVAC system, particularly the air filters. Homeowners often wait until the system strains or dust appears around vents before replacing filters. At that point, efficiency has declined, and air quality has deteriorated. A structured HVAC filter replacement schedule prevents these issues and delivers consistent benefits.
This guide explains how to establish a dependable replacement schedule, select appropriate filter types, anticipate costs, and sustain peak system performance annually. Simple changes and a defined plan yield cleaner air, reduced energy expenses, and minimized repair needs.
Filter Ratings and Selection Guide
Understand the filter in use before planning replacements. The primary rating system is MERV, which stands for Minimum Efficiency Reporting Value.
- MERV 1-4: Basic fiberglass filters capture large dust particles yet offer limited protection against fine pollen or smoke.
- MERV 5-8: Pleated filters suit standard residential systems. They trap smaller particles and provide an effective balance of cost and performance.
- MERV 9-12: High-efficiency options capture finer particles, ideal for households with pets or allergy sufferers.
- MERV 13-16: Advanced filters trap bacteria and smoke. They benefit health-sensitive individuals or those in polluted urban environments.
Select a filter compatible with the HVAC system. Higher MERV ratings increase airflow resistance, which may strain systems not equipped for them. Consult the system manual or a licensed HVAC technician if uncertain about upgrades.
Clogged filters reduce airflow, forcing the system to work harder and increasing energy consumption by up to 15 percent, according to industry estimates. Regular replacement maintains efficiency and avoids this cost.
Seasonal Maintenance Strategy
A seasonal approach accounts for temperature shifts and varying system demands. Follow this outline to sustain airflow and performance.
Spring Preparation
Pollen surges as HVAC units ramp up. Replace the filter at season's start. Clean vents and check for dust accumulation. For higher MERV filters, inspect mid-season to detect clogging early.
Summer Intensity
Air conditioning operates continuously, drawing in more air and debris. Replace filters every 30 to 60 days based on usage intensity. Examine the outdoor condenser unit for obstructions like leaves or grass clippings that impede airflow.
Fall Transition
Heating systems activate as temperatures drop. Install a fresh filter before initial furnace use. Clear dust from air returns and ducts accumulated over summer.
Winter Vigilance
Heating cycles circulate dry air and dust. Monitor filters monthly, particularly with wood stoves or fireplaces that introduce ash particles. Replace promptly to preserve air cleanliness and system consistency.
This cycle prevents operation with restricted filters and reveals performance trends over time.
Step-by-Step DIY Replacement Process
Air filter replacement ranks among the simplest home maintenance tasks. The process requires under ten minutes and no special tools for most setups.
-
Power Down the System: Shut off the HVAC unit before handling the filter. This step avoids drawing dust into the blower.
-
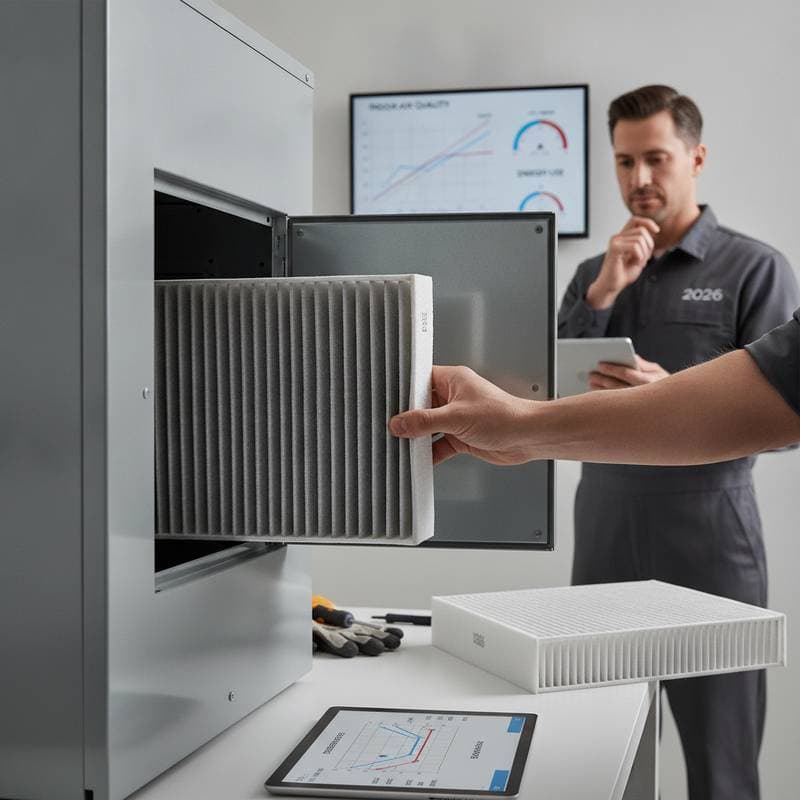
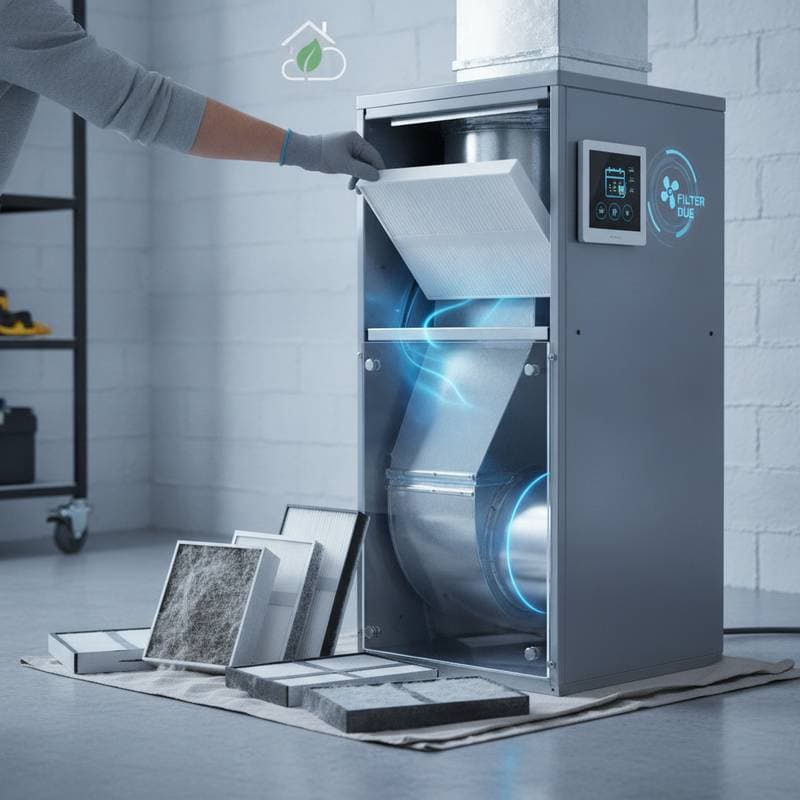
Access the Filter Compartment: Locate the slot behind the return air vent or within the furnace housing. Gently slide out the old filter to minimize dust disturbance.
-
Verify Dimensions and Orientation: Note the size on the filter frame and the airflow arrow. Ensure the replacement matches exactly, with the arrow directed toward the blower motor.
-
Secure the New Filter: Insert it firmly into the slot. Reattach the cover or grille tightly.
-
Record the Installation Date: Mark the date on the filter edge. Set a calendar or phone alert for the next replacement.
Difficulty: Easy.
Time Required: 5 to 10 minutes.
Cost per Filter: $5 to $20, varying by type and dimensions.
Resolving Frequent Challenges
Regular replacements minimize issues, yet occasional problems arise. Address these common situations with targeted solutions.
- Rapid Filter Soiling: Inspect for duct or door air leaks. Gaps in return lines draw excess dust into the system.
- Increased Noise Post-Replacement: The filter might restrict airflow excessively. Opt for a lower MERV rating or verify the size accuracy.
- Persistent Dust on Surfaces: Clean vents and ducts thoroughly. Buildup beyond the filter often causes ongoing issues.
- Insecure Filter Fit: Measure the compartment precisely. A loose installation permits unfiltered air to circumvent the filter.
These fixes involve minor tweaks rather than extensive repairs, preserving efficiency and air freshness.
Leveraging Technology for Maintenance
Modern tools streamline filter management. Smart HVAC systems and monitoring devices track air quality and issue timely alerts for replacements.
Wi-Fi thermostats from leading brands include built-in filter reminders. Advanced models assess airflow resistance to forecast clogging and prevent performance dips.
Integrate these devices with home automation apps for automated notifications tied to usage patterns and seasonal changes.
Safeguard System Longevity
The HVAC system represents a significant home investment. Consistent filter care protects it from premature wear.
Stock spare filters in a dry location, organized by size. Maintain a checklist visible near the furnace or thermostat. Adhere to a monthly or seasonal routine for reliable results.
Superior air quality emerges from routine practices that uphold comfort and operational efficiency.