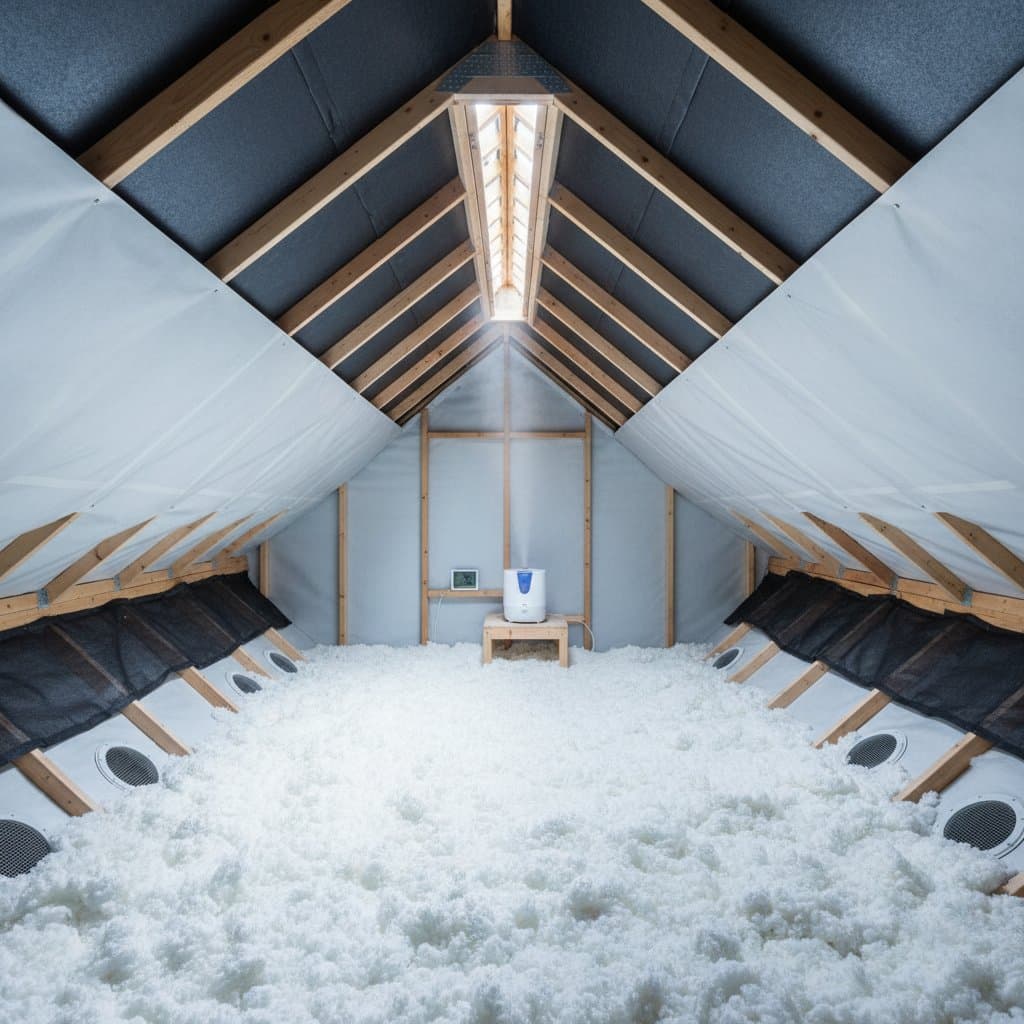
Essential Attic Improvements to Prevent Mold Growth
Mold in the attic poses a hidden threat that can release spores into living spaces below. Warm, humid air from the home rises and condenses on cooler attic surfaces, creating ideal conditions for mold development on rafters and insulation materials. Targeted enhancements in ventilation, insulation, and moisture control address these issues directly, ensuring long-term protection for the home's structural integrity.
Effective mold prevention focuses on maintaining balanced temperatures and humidity levels throughout the year. Homeowners achieve this through enhanced airflow, upgraded insulation, and dependable barriers against moisture infiltration. These measures transform a damp attic into a stable, dry space resistant to fungal growth.
Establishing Effective Ventilation
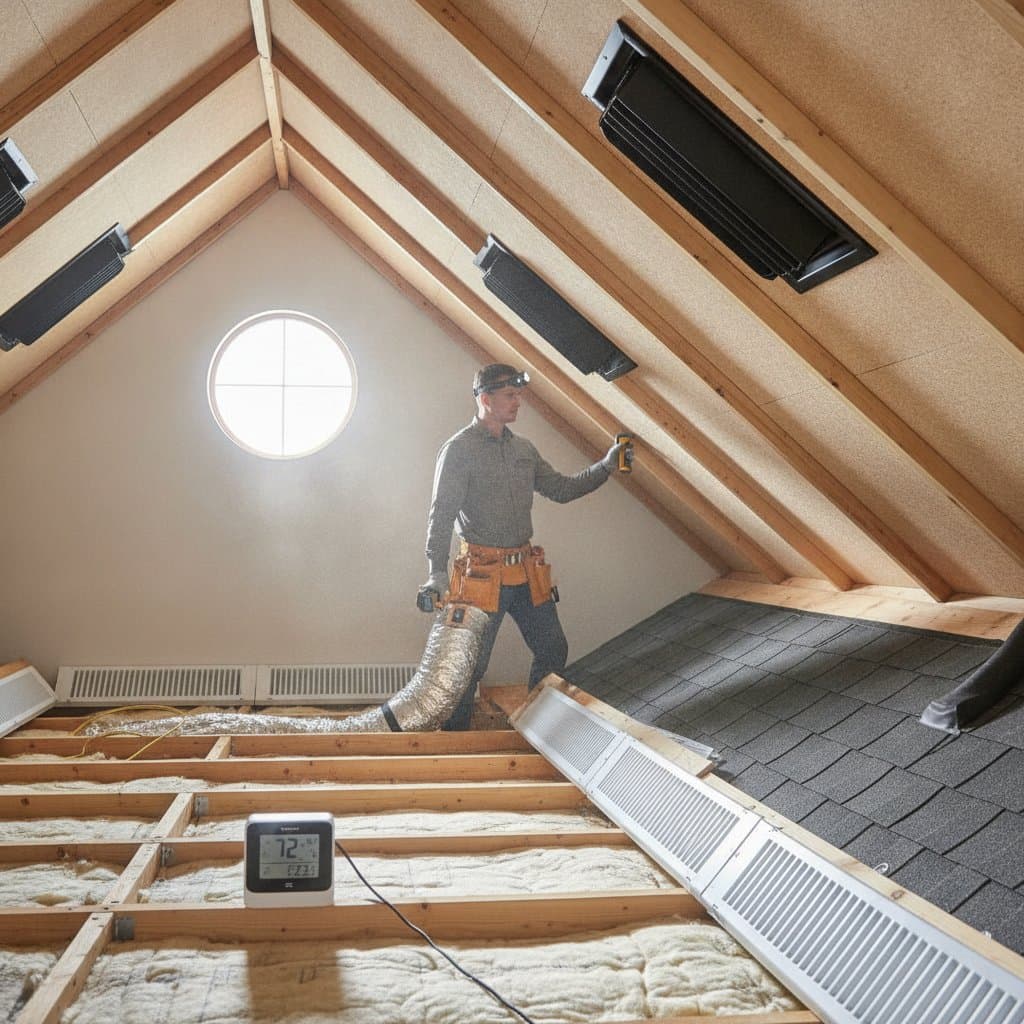
Proper ventilation ensures consistent airflow to remove trapped moisture from the attic. The National Roofing Contractors Association advises providing at least one square foot of net free vent area for every 300 square feet of attic floor space, particularly when combining soffit and ridge vents. This setup allows cooler exterior air to enter via soffit vents while warmer, moist air escapes through ridge vents, preventing buildup.
Signs of inadequate ventilation include stuffy air, visible condensation on nails or roof sheathing, and persistent dampness. To improve airflow, install ridge vents equipped with external baffles to facilitate uninterrupted exhaust along the roof peak. Position soffit vents at intervals of six to eight feet to promote even intake, and incorporate gable vents in traditional homes where soffit access proves challenging.
Powered attic fans require caution; they suit only fully sealed attics isolated from conditioned living areas. Otherwise, such fans draw humid indoor air upward, exacerbating moisture problems and raising energy costs. Regular inspection of vent screens prevents blockages from debris, maintaining optimal performance.
Selecting and Installing Moisture-Resistant Insulation
Insulation serves a dual purpose by retaining desired temperatures and blocking humid indoor air from contacting cold roof surfaces, where condensation occurs. For most regions, aim for R-38 to R-60 values using fiberglass batts or blown-in cellulose, which offer reliable thermal resistance without promoting moisture retention.
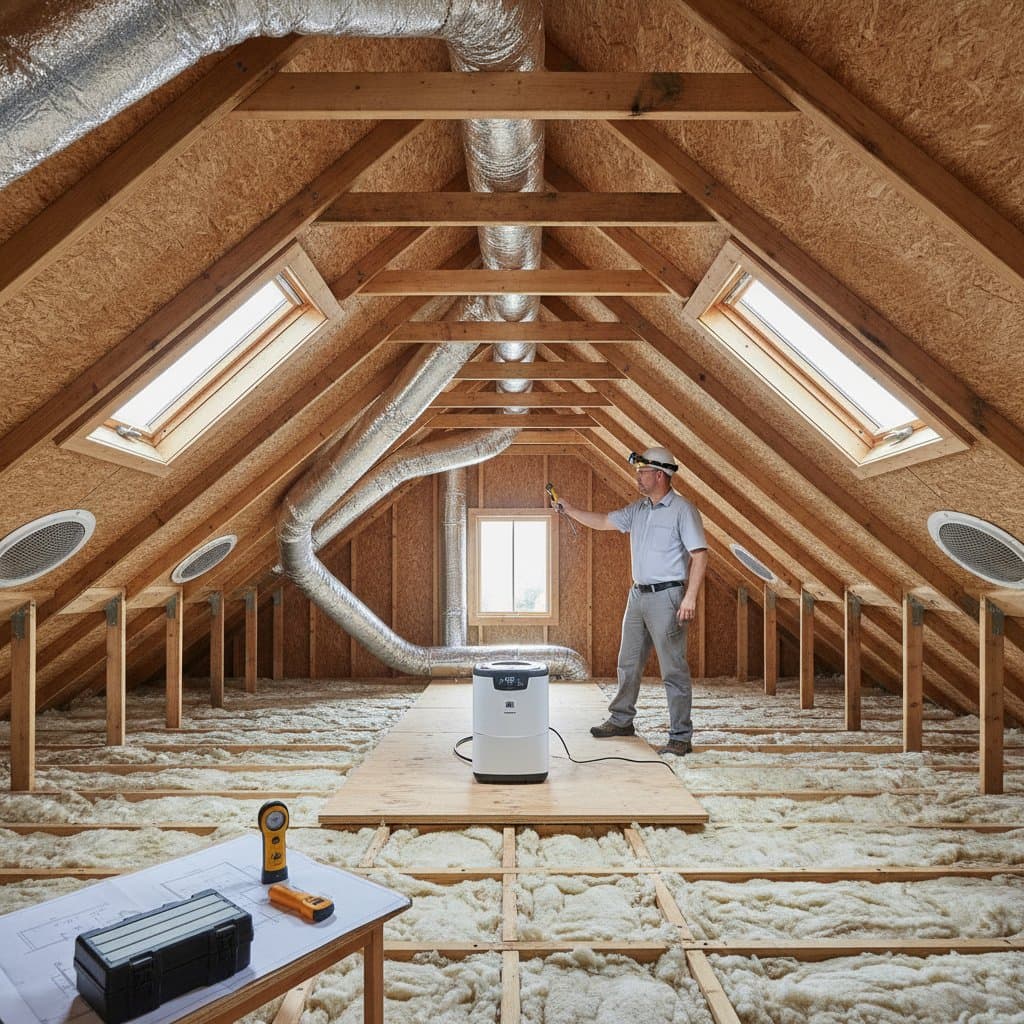
During installation, preserve a one-inch air channel between the insulation and roof sheathing to allow ventilation circulation. Install baffles near the eaves to safeguard soffit vent pathways from insulation encroachment. Seal all gaps around electrical fixtures, ductwork, and penetrations using expanding foam or durable caulk to eliminate unintended air leaks.
Neglecting these practices leads to moisture trapped within the insulation layers, creating a breeding ground for mold. In colder climates, consider adding rigid foam board over existing insulation for enhanced protection against temperature fluctuations. Always verify that insulation remains dry during installation to avoid introducing initial dampness.
Implementing Reliable Vapor Barriers
Vapor barriers prevent humid air from the living spaces below from permeating into the attic. A standard six-mil polyethylene sheet, placed between the ceiling drywall and the insulation on the warm side, effectively blocks this migration. Secure the sheet by taping all seams meticulously and extending it across ceiling joists for comprehensive coverage.
In areas with high ambient humidity, opt for a vapor-permeable membrane that permits incidental moisture to escape while still controlling bulk vapor flow. This approach supports natural drying processes without risking trapped condensation. Avoid placing barriers on both sides of the insulation, as this configuration hinders drying and invites mold proliferation.
Professional assessment proves beneficial for complex installations, ensuring compatibility with local climate conditions. Regular checks confirm the barrier's integrity, addressing any tears or shifts that could compromise effectiveness over time.
Identifying and Addressing Moisture Sources
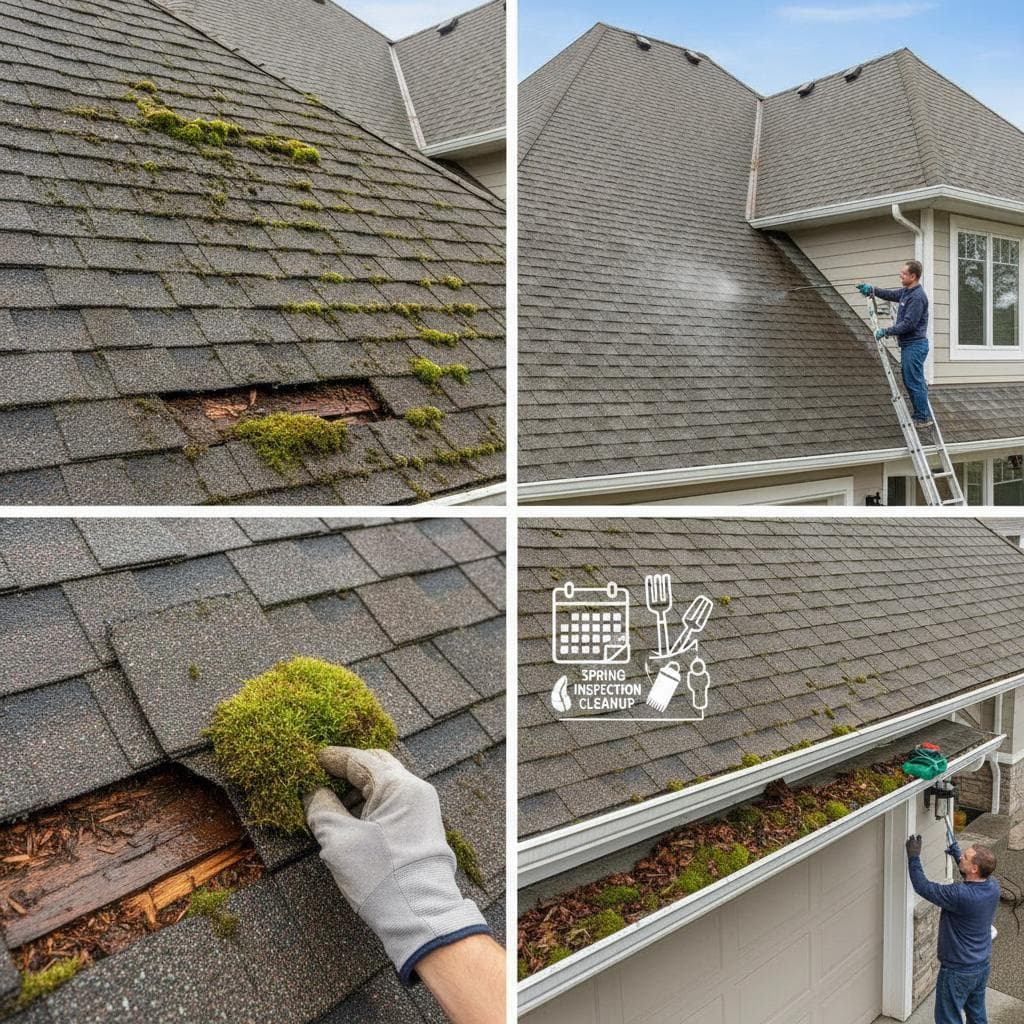
Superior ventilation and insulation prove ineffective without resolving underlying moisture introductions. Conduct thorough inspections for roof leaks at flashings, around chimneys, and near plumbing vents, as even minor drips accumulate significant damage. Verify that exhaust from bathroom fans, dryers, and kitchens routes directly outdoors rather than discharging into the attic space.
Aging plumbing vent boots often crack or separate from surrounding shingles, allowing water entry; replace them promptly with high-quality, sealed alternatives. Deploy a digital hygrometer to monitor attic relative humidity, targeting levels below 50 percent to inhibit mold spore activation. In humid seasons, supplemental dehumidification may assist in maintaining this threshold.
Document inspection findings to track improvements and schedule annual reviews. Early detection of issues like ice dams in winter—caused by poor insulation—prevents escalation into widespread moisture problems.
Avoiding Pitfalls in Attic Mold Prevention
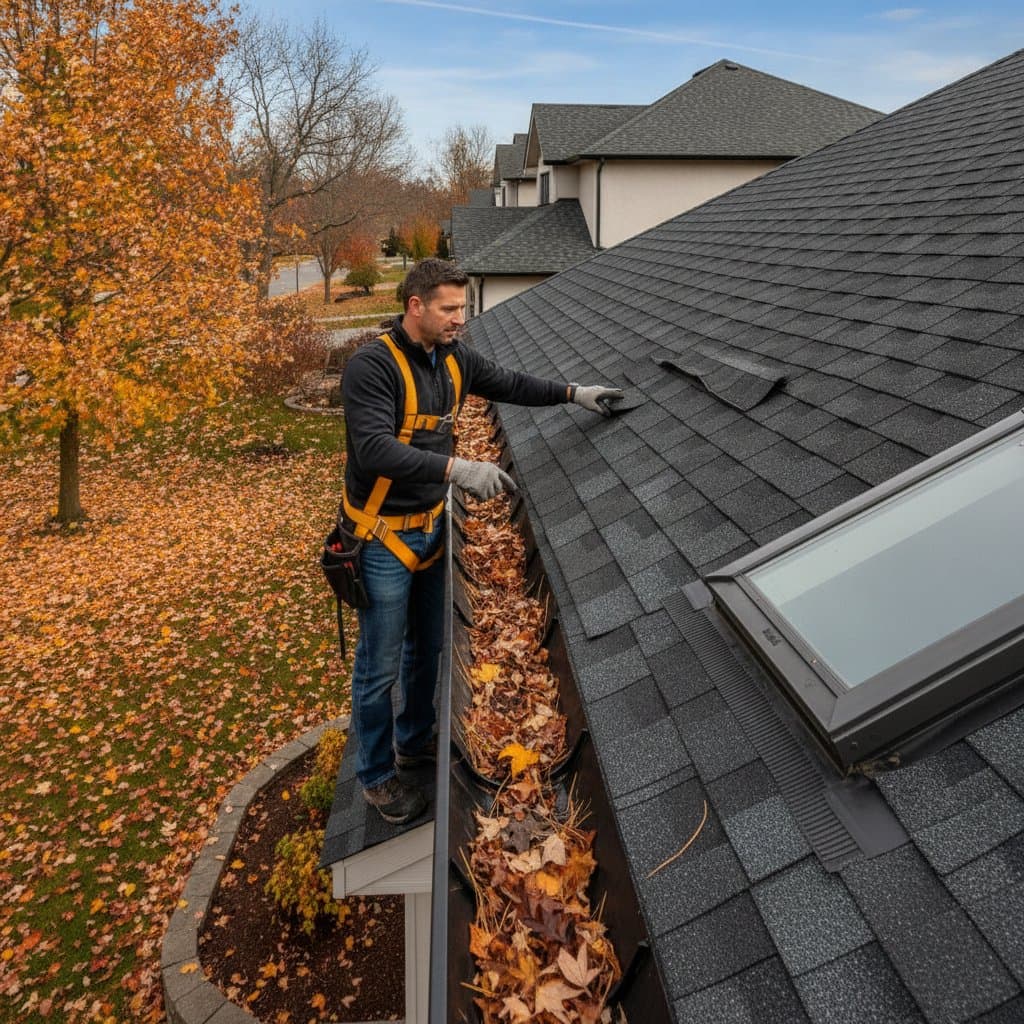
Several common errors undermine mold control efforts and allow problems to recur. Insulation that encroaches on soffit vents restricts airflow, leading to stagnant, humid pockets. Overlooking subtle roof leaks in valleys or near skylights permits gradual water intrusion that evades immediate notice.
Applying vapor barriers indiscriminately on both insulation faces traps moisture without escape routes. After any water incident, neglect to remove and dry affected insulation perpetuates contamination risks. Address these oversights through diligent planning and periodic maintenance checks.
Homeowners benefit from consulting building codes specific to their region, which outline ventilation ratios and material standards. Investing time in these corrections yields substantial savings compared to extensive repairs for rotted wood or contaminated air systems.
Steps to Upgrade and Maintain Your Attic
Attic enhancements require methodical execution rather than comprehensive overhauls, emphasizing airflow optimization and moisture elimination. Basic tools such as a utility knife, staple gun, and caulk applicator suffice for tasks like insulation placement and gap sealing. For extensive ventilation modifications or existing mold remediation, engage certified roofing professionals or specialists to ensure compliance and safety.
Post-upgrade, establish a maintenance routine including biannual vent cleaning and humidity logging. These habits sustain the attic's dry equilibrium, safeguarding structural elements, enhancing indoor air purity, and eliminating mold concerns permanently. Homeowners enjoy peace of mind knowing their investment fosters a healthier, more durable living environment.