Prepare Your AC for Summer: A Step-by-Step Maintenance Checklist
As temperatures rise, your air conditioning system takes center stage in maintaining home comfort. Proper preparation ensures reliable performance, enhances indoor air quality, and avoids expensive failures during the hottest months. This guide outlines essential steps to inspect and maintain your unit, helping you achieve efficiency and peace of mind while minimizing repair expenses.
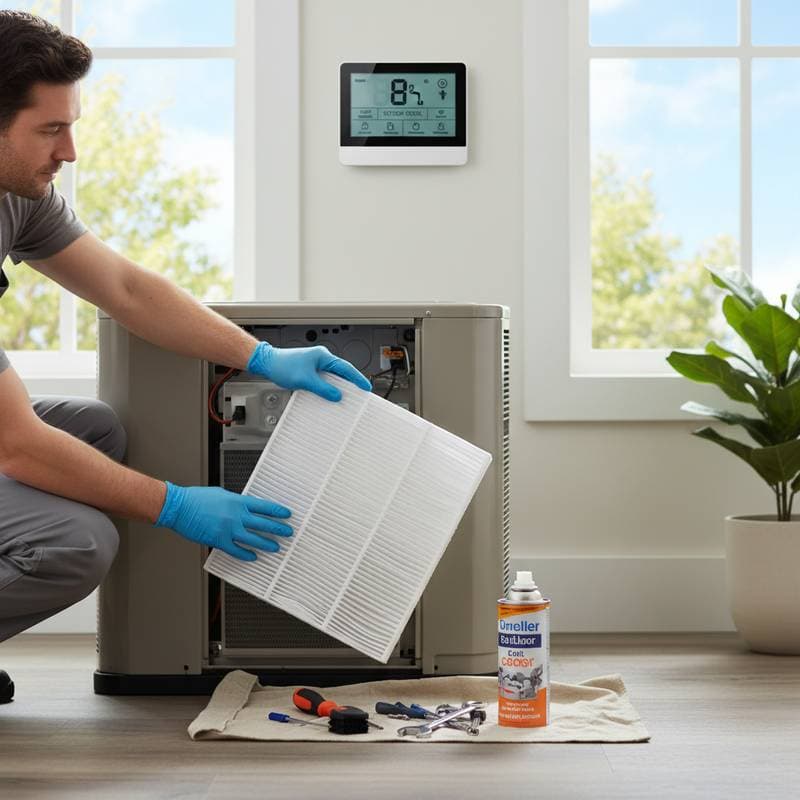
Step 1: Inspect and Replace Air Filters
Clogged filters impede airflow, compelling the system to operate under increased stress. This condition elevates energy use and accelerates wear on critical parts such as the blower motor and evaporator coil.
Checklist:
- Locate the filter slot, typically near the return air duct or within the furnace housing.
- Extract the existing filter and hold it toward a light source; replace it if light barely penetrates.
- Select filters rated MERV 8 to 13, which provide optimal filtration without overly restricting air movement.
- Install new disposable filters every one to three months; for reusable types, clean according to manufacturer guidelines.
Cost Estimate:
- Disposable filters: $10 to $25 per unit
- Reusable filters: $30 to $80 initial investment
Fresh filters promote longevity and benefit households with pets or allergy sufferers by capturing more airborne particles.
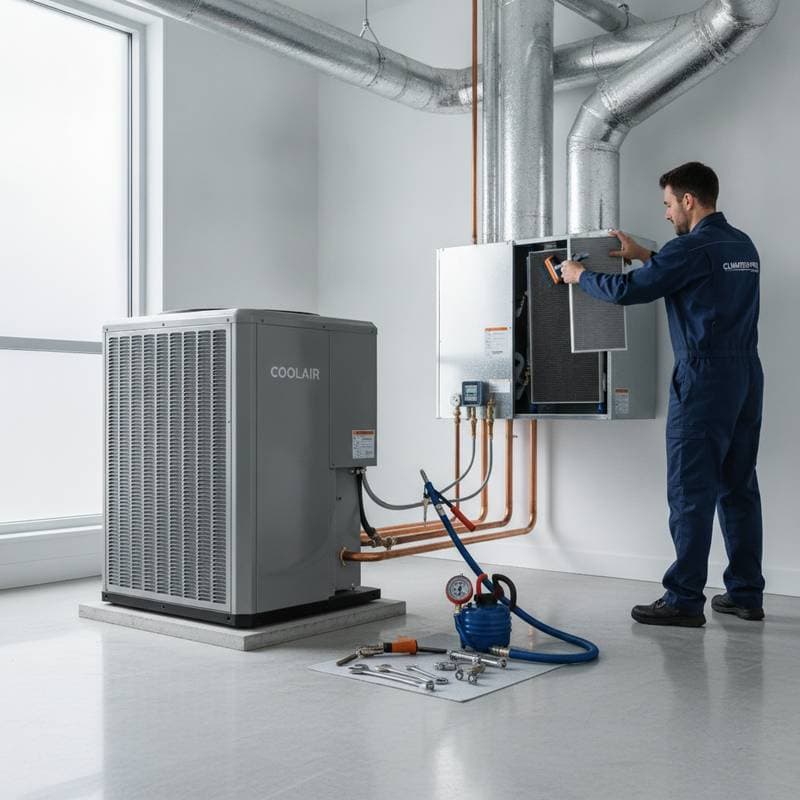
Step 2: Clean the Evaporator and Condenser Coils
Dust and debris accumulation on coils reduces heat transfer efficiency, leading to higher operating temperatures and potential component damage.
Checklist:
- Turn off power to the unit at the breaker for safety.
- Access the evaporator coil inside the indoor unit and gently vacuum away visible dirt.
- For the outdoor condenser coil, rinse with a garden hose using low pressure to dislodge buildup.
- Apply coil cleaner if heavy grime persists, following product directions, and allow time to rinse thoroughly.
Difficulty Rating: Easy to moderate; avoid high-pressure tools that could bend fins.
Cost Estimate:
- DIY cleaning supplies: $10 to $20
- Professional coil cleaning: $100 to $200
Clean coils restore peak performance and can lower energy consumption by up to 20 percent.
Step 3: Examine Refrigerant Lines
These lines transport coolant between indoor and outdoor components, enabling effective heat exchange. Compromised insulation or damage here results in energy loss and system inefficiency.
Checklist:
- Visually check copper tubing for signs of cracking, rust, or deteriorated insulation.
- Secure replacement foam sleeves over any exposed sections to restore protection.
- Note any oily spots or ice formation, which indicate possible leaks requiring expert attention.
Difficulty Rating: Moderate; insulation tasks suit homeowners, but refrigerant issues demand certified professionals.
Cost Estimate:
- Replacement insulation: $5 to $15
- Leak detection and recharge: $200 to $800
Intact lines safeguard the compressor, a high-cost element prone to failure from low refrigerant.
Step 4: Clear the Condensate Drain Line
Blockages in the drain line cause water backups, risking mold growth and electrical shorts within the system.
Checklist:
- Identify the drain line, often a PVC pipe exiting the indoor unit.
- Flush the line with a mixture of one part vinegar to ten parts water using a wet-dry vacuum or pour method.
- Inspect the drain pan for standing water or debris and clean as needed.
- Install a drain line tablet or algaecide to prevent future clogs in humid environments.
Difficulty Rating: Easy; perform this quarterly for best results.
Cost Estimate:
- Cleaning supplies: $5 to $10
- Professional drain service: $75 to $150
A clear drain prevents water-related damage and maintains hygienic operation.
Step 5: Verify Thermostat Functionality
The thermostat regulates cooling cycles; inaccuracies lead to uneven temperatures and unnecessary runtime.
**Checklist:**n1. Switch to cooling mode and lower the setting several degrees below ambient room temperature.
2. Confirm the unit activates and delivers chilled air through supply vents.
3. Swap out batteries in battery-powered models if performance lags.
4. Upgrade from manual to programmable or smart models for automated adjustments.
Smart devices often reduce energy demands by 10 percent through optimized scheduling.
Cost Estimate:
- Batteries: $2 to $5
- Smart thermostat unit: $100 to $250
- Installation by professional: $100 to $200
Reliable control enhances comfort and trims utility expenses.
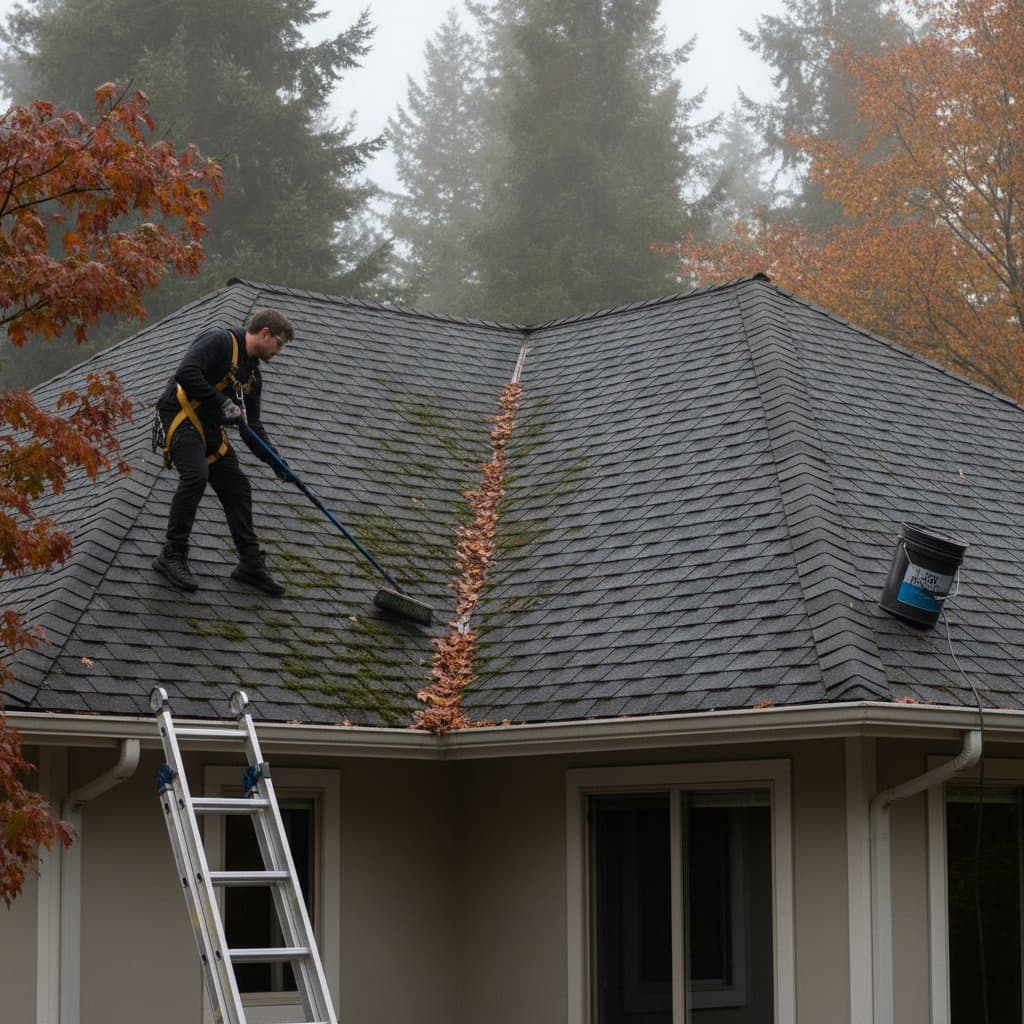
Step 6: Clear Debris Around the Outdoor Unit
Obstructions near the condenser block airflow, causing the unit to overheat and strain during operation.
Checklist:
- Shut off power before approaching the unit.
- Remove leaves, grass, or branches within two feet of the housing.
- Straighten any bent fins on the coil using a fin comb tool.
- Ensure the unit sits level on its pad; adjust if settling has occurred.
Difficulty Rating: Easy; repeat monthly during growing seasons.
Cost Estimate:
- Fin comb tool: $10 to $20
- Leveling materials: $20 to $50
Unrestricted airflow supports efficient cooling and reduces compressor workload.
Step 7: Assess Electrical Components and Connections
Frayed wiring or failing capacitors disrupt startup and invite hazardous failures.
Checklist:
- Disconnect power at the main breaker.
- Remove the outdoor unit's access panel to view internal wiring.
- Scan for corrosion, scorch marks, or loose terminals; secure as needed.
- Identify swollen or leaking capacitors and plan for replacement.
Professionals handle electrical work to ensure safety and compliance.
Cost Estimate:
- Capacitor replacement: $100 to $250
- Comprehensive electrical check: $150 to $300
Secure electrics bolster reliability when demand peaks.
Schedule Ongoing Maintenance
Seasonal preparation evolves into year-round habits that preserve system health. Track activities in a maintenance journal to monitor patterns and timing.
Recommended Schedule:
- Monthly: Filter inspection, outdoor debris removal
- Quarterly: Drain line cleaning
- Annually: Full professional tune-up
Adjust frequency for dusty or coastal locales.
Early Warning Indicators:
- Reduced airflow from registers
- Strange operational sounds
- Frequent on-off cycles
- Escalating electricity costs
Prompt response to these cues averts major overhauls.
Practical Strategies for Optimal Performance
Position the outdoor unit away from direct sun exposure if possible. Schedule professional inspections before peak season to catch subtle issues. Pair AC use with ventilation strategies, such as opening windows during mild evenings. Explore energy audits for personalized efficiency recommendations.
These practices compound to deliver substantial long-term savings.
Secure Comfort and Savings Year-Round
Investing time in AC preparation yields a dependable system ready for summer challenges. Clean components, proper refrigerant, and vigilant monitoring create a balanced indoor climate. This approach not only curbs repair budgets but also fosters a more sustainable household operation.