Simple DIY Steps to Maximize Heat Pump Longevity
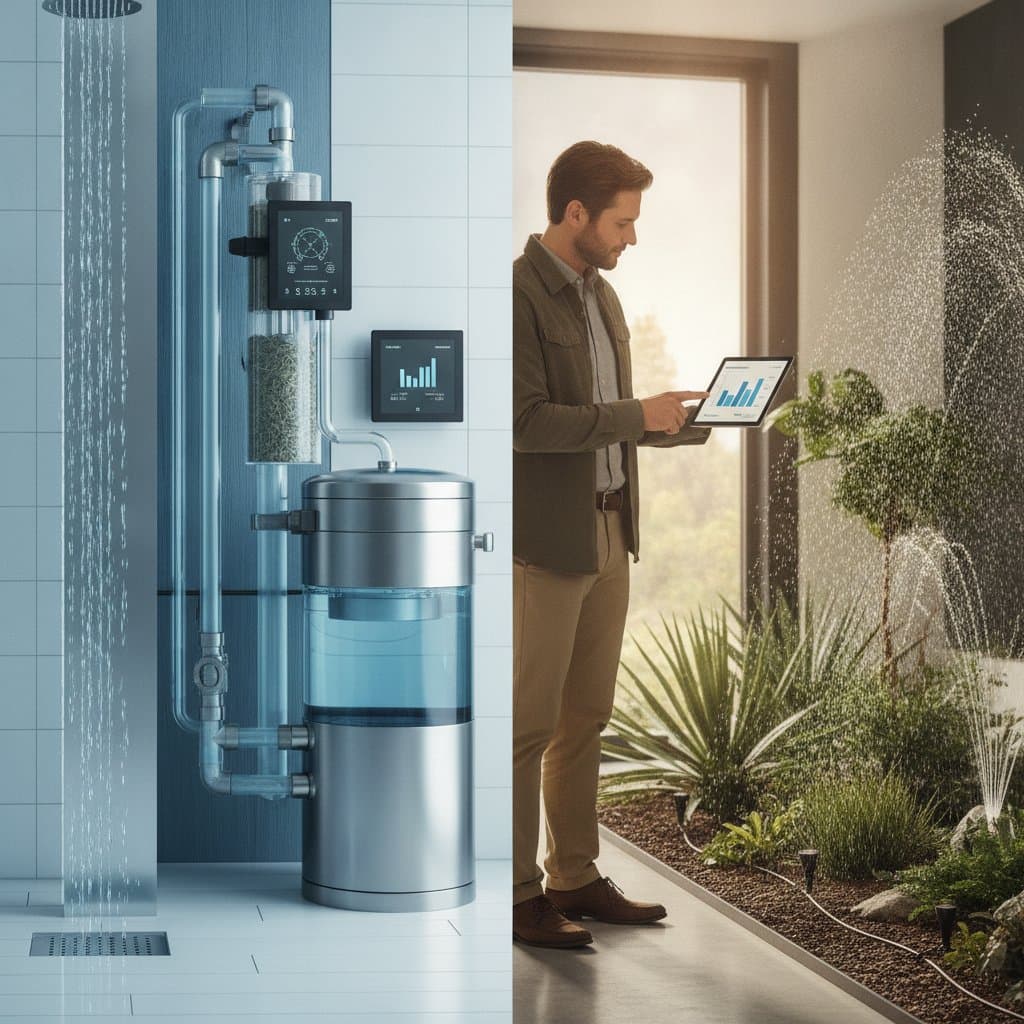
A heat pump water heater represents one of the most efficient methods for supplying hot water to a home while minimizing energy consumption. Proper maintenance ensures optimal performance for this system. Homeowners can extend the unit's lifespan, enhance efficiency, and reduce repair expenses through regular DIY care. This guide details straightforward steps to maintain the heat pump and sustain its effectiveness over many years.
Understanding Heat Pump Longevity
Heat pump water heaters, known as HPWHs, utilize a refrigeration cycle to transfer heat rather than produce it outright. This approach delivers high energy efficiency, yet the system remains vulnerable to factors such as dust accumulation, inadequate maintenance, or restricted airflow. These elements can diminish performance over time. Consistent upkeep allows the system to function at maximum efficiency and postpones the requirement for expert repairs.
Fortunately, the majority of maintenance activities prove simple, secure, and economical. Basic tools, careful observation, and brief sessions every few months suffice to preserve the heat pump in excellent condition.
Step 1: Keep the Area Around the Heat Pump Clear
The heat pump requires unobstructed space to draw in surrounding air effectively. Blockages hinder this process, which in turn compromises efficiency and burdens the unit.
- Maintain a clearance of at least two to three feet on all sides of the unit.
- Clear away boxes, tools, or stored items from the vicinity.
- Sweep the floor to eliminate dust and debris.
In cases where the heat pump resides in a tight enclosure, enhance ventilation options. A compact fan or additional vent facilitates better airflow and averts overheating.
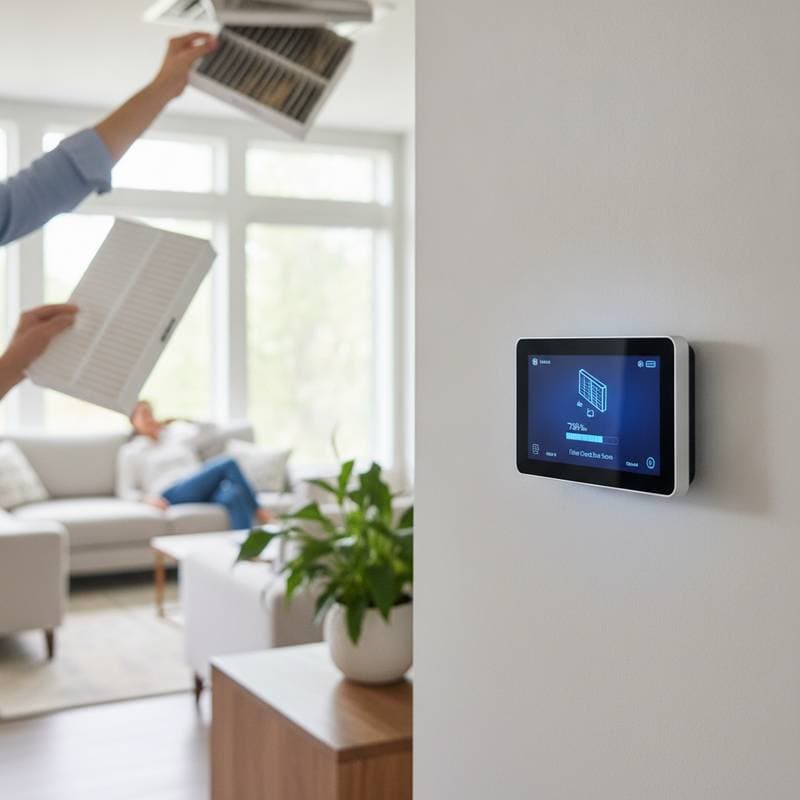
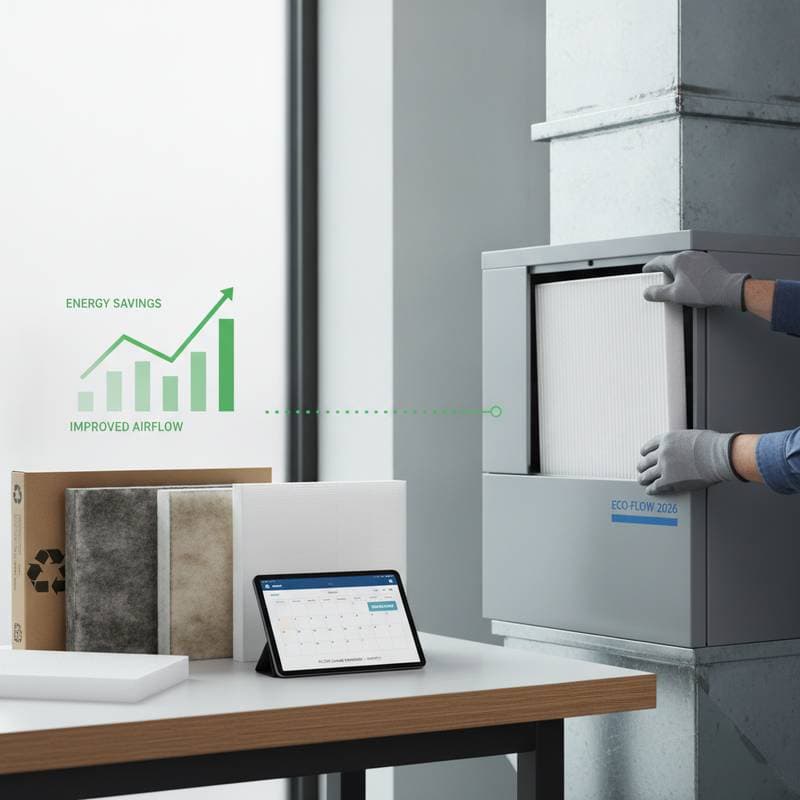
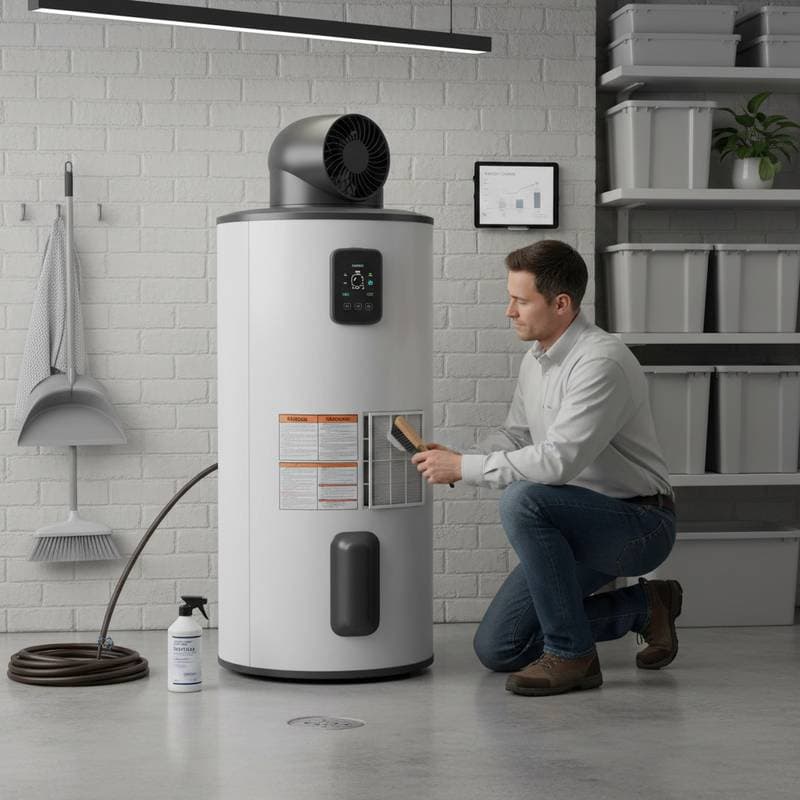
Step 2: Clean or Replace Air Filters Regularly
Accumulated dirt on air filters ranks among the primary reasons for declining heat pump efficiency. Obstructed filters impede airflow, compelling the unit to labor more intensely and consume additional energy.
How to clean or replace filters:
- Disconnect power to the unit to ensure safety.
- Identify the air filter panel, typically positioned near the top or side.
- Extract the filter and examine its condition.
- For reusable filters, rinse with warm water and mild soap, then allow complete drying.
- For disposable filters, install a fresh one matching the original dimensions and specifications.
Examine filters every one to three months, adjusting frequency based on indoor air quality and system usage.
Step 3: Inspect the Condensate Drain
As heat pumps extract warmth from ambient air, they generate condensation. This liquid exits via a narrow pipe or tube. Blockages in this drain lead to water accumulation, potential spills, or internal harm.
To preserve the drain:
- Scan for leaks or pooled water at the unit's base.
- Employ a slender brush or pliable wire to dislodge debris from the entry point.
- Introduce one cup of vinegar into the drain line to break down deposits.
Clear drains safeguard against water-related damage and uphold operational efficiency.
Step 4: Clean the Evaporator and Condenser Coils
Internal and external coils gather dust and residue progressively. Dirt-laden coils impair heat transfer, resulting in lowered energy performance.
Cleaning process:
- Deactivate the unit and sever the power connection.
- Detach protective panels to reveal the coils.
- Gently brush away loose particles with a soft tool or vacuum equipped with a brush.
- Apply a cleaner formulated for coils and rinse sparingly if specified by the product.
- Reattach panels and reconnect power.
Conduct this procedure biannually to sustain efficiency and mitigate premature deterioration.
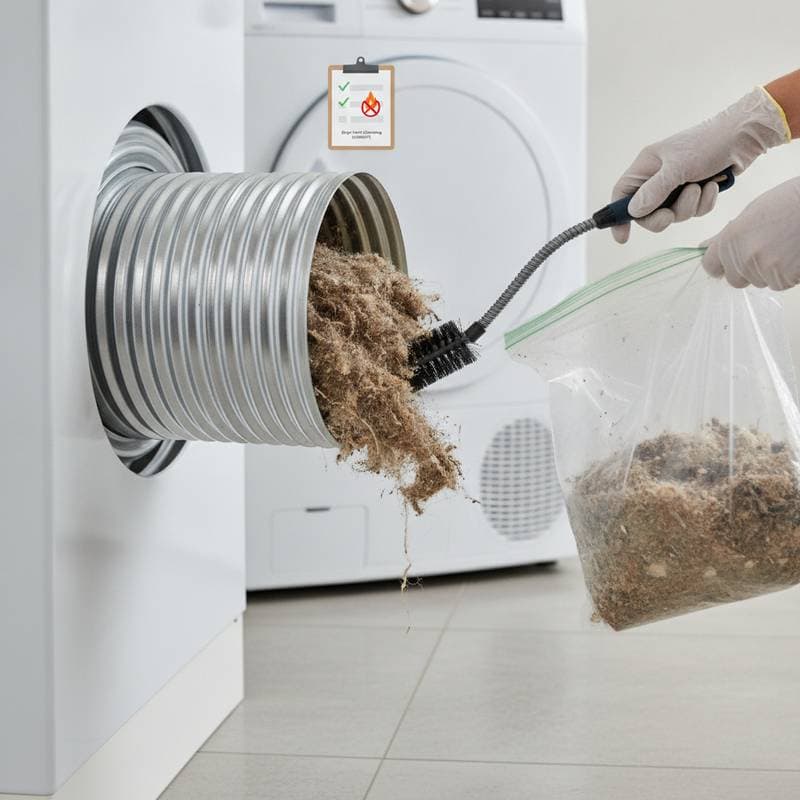
Step 5: Check the Ductwork and Connections
Imperfect duct seals or loose joints squander energy and curtail heating output. Review any accessible ducts linked to the heat pump.
- Search for fissures, openings, or detached segments.
- Apply foil tape to mend minor leaks; avoid ordinary duct tape.
- For extensive or hard-to-reach systems, arrange periodic professional assessments.
Even slight imperfections compel the heat pump to exert unnecessary effort.
Step 6: Monitor Performance and Noise Levels
A well-maintained heat pump operates with minimal noise and steady reliability. Observe deviations in sound, vibration, or output. Escalating energy costs, prolonged cycles, or fluctuating water temperatures often indicate underlying problems.
Address unusual noises by securing loose fasteners or panels. If disturbances or efficiency drops persist, engage a qualified technician to diagnose and resolve issues before escalation.
Step 7: Adjust Temperature Settings for Longevity
Excessive water temperatures impose undue strain on the system and promote energy loss. A setting of 120 degrees Fahrenheit supplies ample hot water while safeguarding components.
Lowering the temperature marginally eases operational demands and curbs mineral scaling within the tank.
Step 8: Flush the Tank Periodically
Sediment accumulation in the tank accelerates wear and hampers heating capability. Routine flushing eliminates deposits and promotes fluid function.
To flush the tank:
- Shut off power and water supply.
- Attach a garden hose to the base drain valve.
- Direct the hose toward a suitable drain or outdoor location.
- Open the valve to empty the tank fully.
- Refill the tank, secure the valve, and reinstate power.
Perform this task one or two times annually to avert scaling and prolong component durability.
Step 9: Inspect Electrical Connections
Unsecured wiring or oxidized terminals disrupt function and risk component failure. Verify that exposed connections remain firm and corrosion-free. Immediate professional intervention becomes necessary upon detecting scorch marks or damaged insulation. Refrain from electrical adjustments without proper training, given the hazards involved.
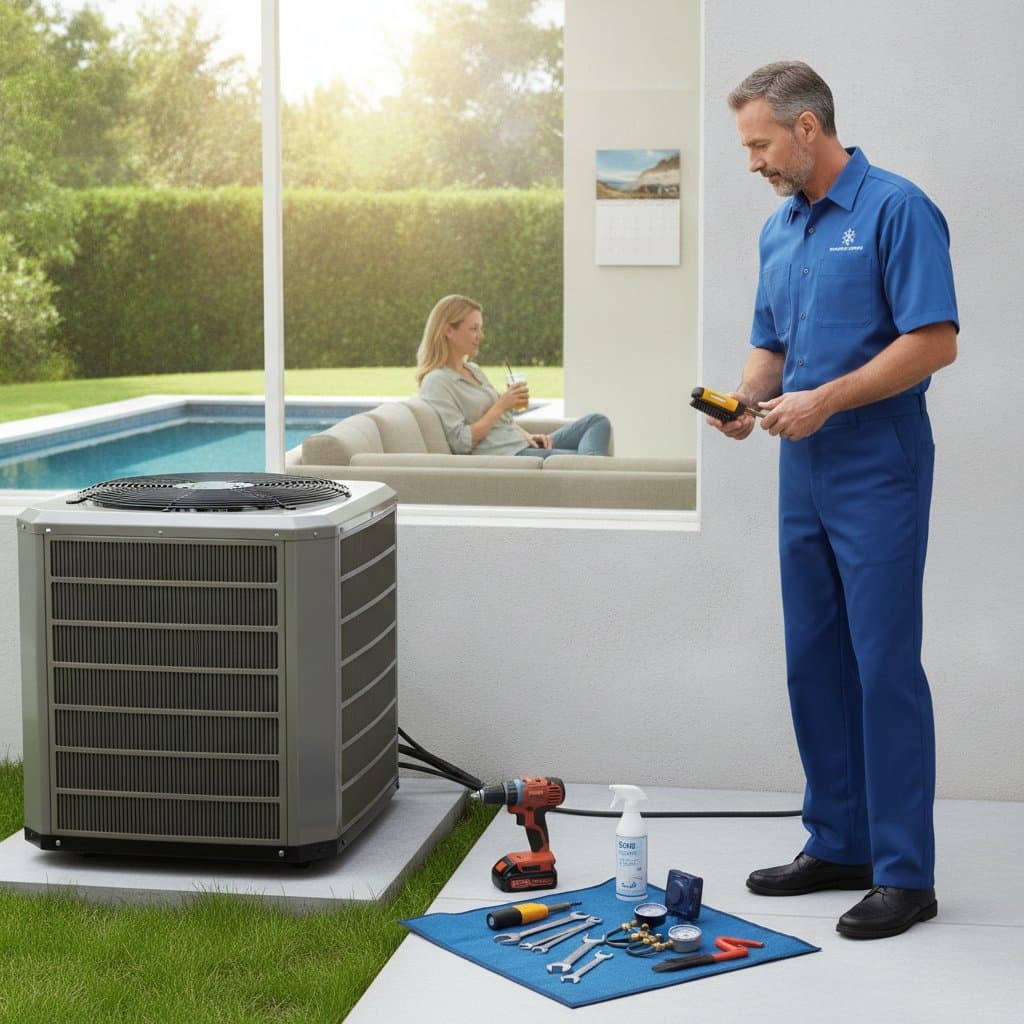
Step 10: Schedule a Professional Checkup
DIY efforts benefit from supplementary expert oversight. Technicians assess refrigerant charges, sensor accuracy, and concealed wear. Such evaluations represent a modest expense relative to replacement costs.
Common Questions About Heat Pump Water Heater Care
How often should I perform maintenance tasks?
Conduct basic cleaning and filter inspections every few months. Reserve thorough checks, such as coil maintenance and tank flushing, for one or two sessions per year.
Can I use household cleaners on the coils?
Select only cleaners designated as safe for coils. Abrasive substances may erode surfaces and impair performance.
Why is my heat pump making a humming noise?
A faint hum signifies normal operation, yet intensified or novel sounds suggest loose elements or fan obstructions. Power down the unit and clear any blockages.
Does outdoor temperature affect performance?
Colder ambient temperatures challenge the heat pump's ability to extract warmth, potentially slowing heating and increasing energy use. Optimal efficiency occurs in moderate climates; supplemental heating may prove necessary in extreme cold.
What if I notice water around the base?
Puddles typically stem from a blocked condensate drain. Clear the line promptly to prevent overflow and corrosion.
Should I insulate the pipes?
Pipe insulation conserves heat and boosts overall efficiency. Apply foam sleeves to hot water lines, particularly in cooler environments, to minimize losses.
When should I call a professional?
Seek expert help for persistent noises, efficiency declines, electrical concerns, or refrigerant issues beyond basic DIY scope.
Strategies to Sustain Heat Pump Efficiency Over Time
- Maintain a detailed log of maintenance activities, including dates and observations.
- Install a surge protector to guard against voltage irregularities.
- Promote adequate ventilation in the installation zone for consistent airflow.
- Routinely measure water temperature at outlets to gauge system health.
- Swap out worn elements, such as filters or seals, without delay.