Prepare Your HVAC System for Winter Efficiency
As temperatures decline, the HVAC system emerges as a critical component of home comfort. Proper maintenance lowers energy expenses, delivers reliable heating, and averts breakdowns during peak demand. Homeowners often believe professional service remains necessary for every task, yet a methodical fall tune-up allows safe handling at home. This guide outlines essential steps to ready the system for colder weather, ensuring warmth and optimal performance.
Prioritize Safety in Every Task
Power down the HVAC system before any work begins. Identify the main power switch adjacent to the furnace or air handler, and set the thermostat to the off position. For gas-powered units, shut the gas valve prior to accessing panels. Wear protective gloves and safety glasses during cleaning or inspection to guard against sharp edges and accumulated dust.
Should a gas odor appear, cease all activities, evacuate the premises, and contact the gas utility or emergency responders immediately. Professional expertise proves essential for gas line or burner repairs.
Step 1: Replace the Air Filter
A dirty air filter restricts airflow, forces the system to labor harder, and elevates energy use. Locate the filter compartment, typically near the return air duct or within the furnace housing. Remove the old filter and note the airflow direction arrow, which points toward the blower.
Select a new filter with a MERV rating of 8 to 13 for balanced filtration without excessive resistance. Install the replacement firmly, ensuring no gaps exist around the edges. Perform this replacement every one to three months, depending on usage and air quality, to sustain peak efficiency and indoor air purity.
Step 2: Clean the Furnace and Blower Area
Accumulated dust and debris within the furnace diminish efficiency and produce unpleasant smells upon initial operation. Employ a vacuum cleaner equipped with a brush attachment to eliminate dust from the blower motor, belts, and pulleys. Wipe reachable surfaces using a slightly damp cloth to remove residue.
Examine the blower fan blades for grime accumulation. Clean coated blades with a soft brush to restore smooth rotation. During this process, assess belts for looseness or wear; a correctly tensioned belt yields approximately half an inch when pressed at its center point. Replace damaged belts to prevent operational disruptions.
Step 3: Inspect and Clean Coils
Dirty evaporator or condenser coils hinder heat transfer, compelling the system to consume more energy. Access the indoor evaporator coils, often situated on the air handler, and inspect for dust layers. Use a soft brush or compressed air to gently dislodge buildup, directing airflow away from sensitive electronics.
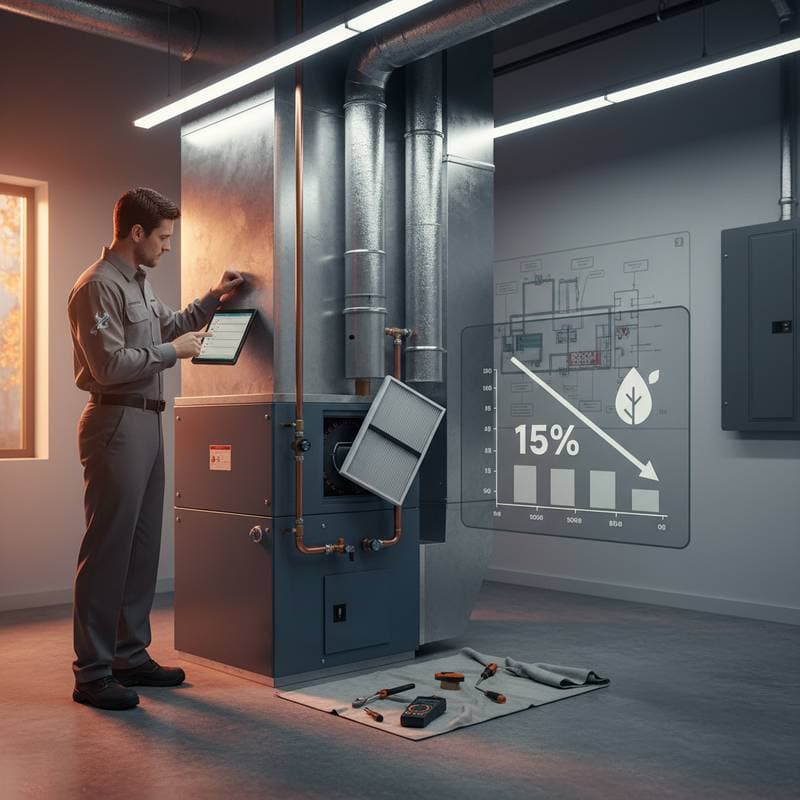
For outdoor condenser coils, wait until Step 6 for cleaning. Avoid bending the delicate fins; straighten any minor bends with a fin comb if available. Regular coil maintenance recovers up to 15 percent in efficiency, directly translating to reduced utility bills.
Step 4: Examine Electrical Connections and Components
Loose or corroded electrical connections risk system malfunctions or fire dangers. Remove the access panel and scrutinize wires for signs of discoloration, burns, or insulation damage. Secure any loose terminal screws with a screwdriver, applying gentle torque to avoid stripping.
If evidence of melting or severe wear appears, summon a licensed technician prior to restoring power. For systems with non-sealed motors, lubricate bearings by adding two to three drops of non-detergent oil per port, as specified in the manual. Many contemporary units feature sealed, maintenance-free motors.
Step 5: Evaluate the Thermostat Function
An inaccurate thermostat leads to uneven heating and unnecessary energy waste. Verify the device's calibration by comparing its reading to a separate thermometer. For programmable models, confirm settings align with desired schedules and energy-saving modes.
Clean the thermostat contacts if accessible, using a soft cloth to remove dust. Replace batteries in battery-powered units to ensure reliable operation. A well-functioning thermostat optimizes runtime, contributing to overall system efficiency and comfort control.
Step 6: Inspect Ductwork for Leaks and Accumulation
Leaking ducts squander heated air, inflating energy costs significantly. The Department of Energy estimates that forced-air systems lose as much as 30 percent of air through unsealed joints. Survey visible ducts in basements, attics, and crawl spaces for separations, gaps, or perforations.
Repair minor leaks using foil tape designed for HVAC applications or mastic sealant, which forms a durable bond. Refrain from ordinary duct tape, which deteriorates quickly. For rusted or hard-to-reach sections, engage professionals for thorough cleaning and sealing to boost airflow, minimize household dust, and elevate air quality.
Step 7: Maintain the Outdoor Unit
Heat pump systems rely on unobstructed outdoor units for effective heat exchange. Clear leaves, branches, and soil from the unit's base and sides. Maintain a two-foot clearance by pruning nearby plants, allowing unrestricted airflow.
Rinse the coils with a standard garden hose at low pressure to eliminate surface dirt, steering clear of high-pressure washers that could damage fins. Inspect fan blades for fractures and ensure free rotation by hand. Apply a permeable cover over the top during off-seasons to block debris, but avoid full enclosure to prevent moisture trapping and subsequent rust.
Step 8: Test System Operation
After completing maintenance tasks, restore power and gas supply. Set the thermostat to heat mode and observe the system's startup sequence. Listen for unusual noises, such as rattling or grinding, which indicate potential issues.
Monitor airflow from vents to confirm even distribution and adequate warmth. Run the system for 10 to 15 minutes, then check for error codes on digital displays. This final test verifies readiness and identifies any overlooked problems before winter arrives.
Step 9: Arrange Professional Service
DIY efforts provide substantial benefits, yet annual professional inspections remain advisable. Trained technicians assess gas pressure, refrigerant charges, and carbon monoxide levels with specialized tools. Fall promotions often price comprehensive tune-ups between one hundred and two hundred dollars.
Such services preserve warranty conditions, as most manufacturers mandate regular upkeep. Integrating home maintenance with expert oversight minimizes risks and maximizes system reliability.
Sustain Long-Term Performance
Consistent fall maintenance not only trims energy bills by 15 percent but also extends equipment life by several years. Track maintenance dates in a log to establish routines. Address minor issues promptly to prevent escalation into major repairs, securing year-round comfort and cost savings.


