Essential Fall Chimney Preparation to Prevent Winter Fire Hazards
A fireplace delivers comfort and warmth, yet it relies on a well-maintained chimney to function safely. Homeowners often overlook the need for seasonal chimney care, similar to that required for a furnace or roof. Buildup of soot, creosote, and minor cracks can transform a relaxing fire into a serious hazard. Proactive steps in fall ensure your home remains warm, secure, and energy-efficient during the colder months.
Why Fall Timing Matters for Chimney Maintenance
Chimneys face their greatest demands in winter, so undetected issues or obstructions become evident precisely when heating is essential. Fall inspections allow ample time to address problems before lighting the first fire. Summer conditions, including temperature fluctuations, moisture, and animal activity, can compromise chimney integrity. A thorough check now establishes a clean, stable system that vents smoke effectively and safeguards indoor air quality.
Core Actions Every Homeowner Should Take
For chimney preparation, prioritize these three essential measures:
- Arrange a professional inspection with a certified chimney sweep.
- Remove creosote and debris to eliminate fire risks.
- Seal and mend cracks to block water entry and reduce heat escape.
These fundamentals form the foundation, though a comprehensive evaluation uncovers additional details that avert future expenses.
Detailed Guide to Fall Chimney Inspection
1. Conduct a Visual Examination
Start by assessing the chimney both indoors and outdoors. Employ a flashlight to view the flue from the fireplace interior; the surface must appear smooth, free of heavy black residue or dislodged bricks. Externally, confirm the chimney cap remains firmly attached and rust-free. The cap requires a mesh screen to deter birds and debris; mesh openings measure between 1/4 inch and 1/2 inch to balance ventilation and pest exclusion.
2. Assess the Chimney Crown and Flashing
The crown, a concrete top layer, shields the brickwork and flue from water penetration. Cracks exceeding 1/8 inch permit moisture ingress, which expands upon freezing in winter. Seal such gaps using high-temperature mortar or specialized chimney sealant. At the roof junction, examine the flashing; it must overlap by at least 2 inches and secure with roofing cement. Compromised flashing frequently leads to leaks, manifesting as stains on ceilings adjacent to the fireplace.
3. Thoroughly Clean the Flue
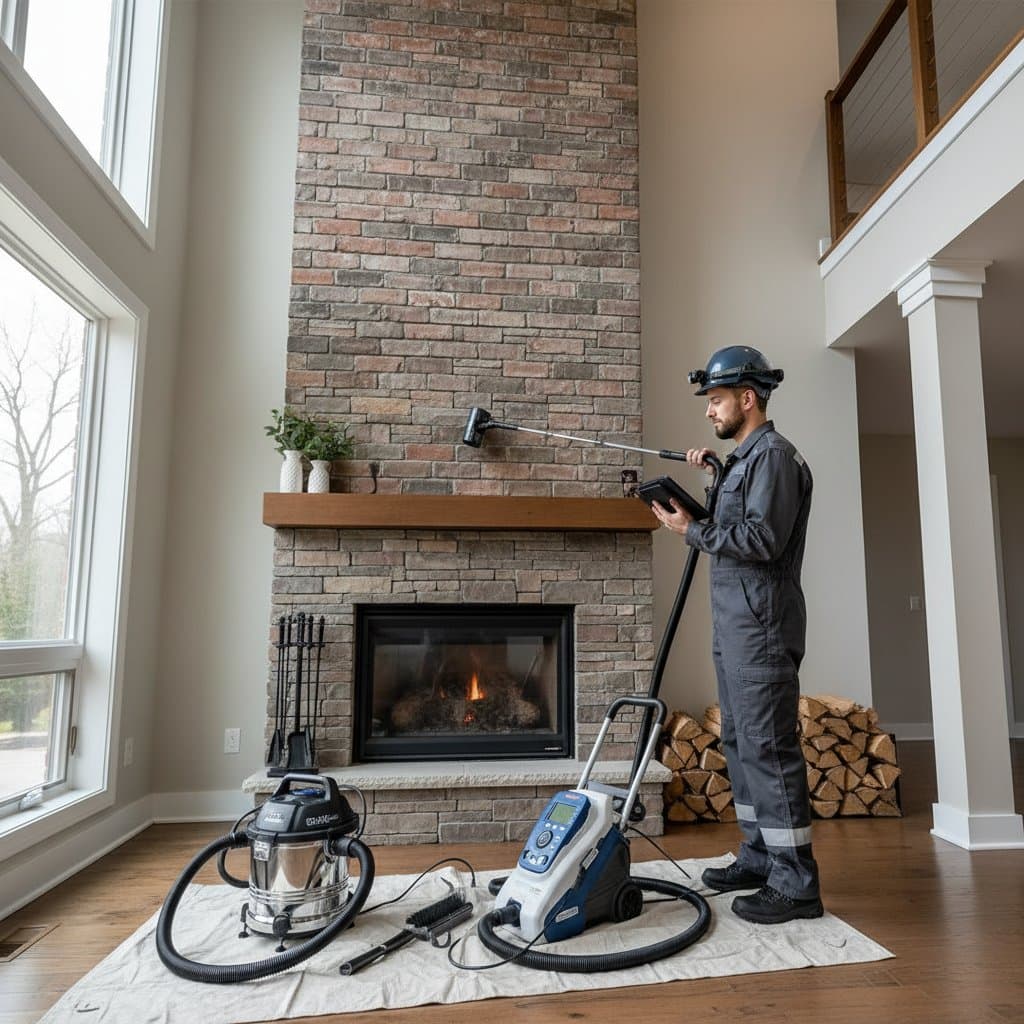
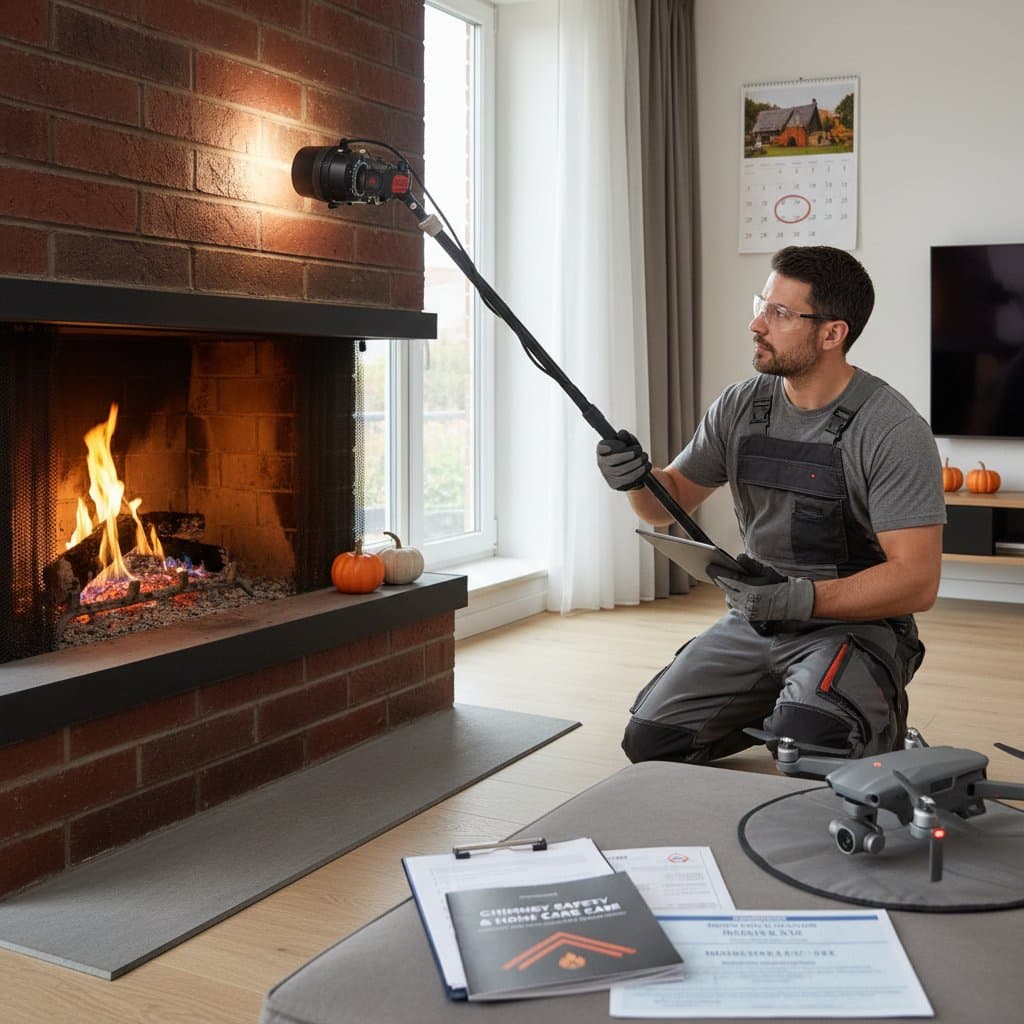
Creosote accumulation poses one of the primary chimney dangers. Wood combustion produces gases that cool and adhere to flue interiors. Deposits thicker than 1/8 inch ignite readily. Certified sweeps utilize flexible rods and steel brushes for safe removal. While DIY kits are available, they demand ladders, harnesses, and protective equipment. For chimneys over 10 feet tall or with curved flues, professional service is advisable. Experts also clear nests and confirm damper functionality.
4. Verify the Damper and Smoke Chamber
The damper regulates airflow from the fireplace to the flue and must open completely without resistance. Clean stubborn dampers with a wire brush and lubricate hinges using high-temperature products. The smoke chamber, positioned above the damper, directs exhaust upward; inspect for deteriorated mortar or fissures. Even mortar joints enhance draft and minimize creosote formation. Repairs in this zone call for refractory mortar rated for temperatures exceeding 2,000 degrees Fahrenheit.
5. Evaluate the Firebox
Within the fireplace, scrutinize firebricks and mortar seams. Fissures wider than 1/16 inch or absent mortar expose wood framing to excessive heat. Mend or replace affected bricks with fire-resistant mortar. For fireboxes featuring metal liners, detect warping or rust. A sealed firebox channels heat upward, preventing transfer to structural elements.
Pitfalls to Avoid in Chimney Care
DIY attempts, though earnest, sometimes introduce complications. Steer clear of these frequent oversights:
- Applying standard household cleaners to the flue; select only heat-resistant chimney formulations.
- Overlooking minor fissures in the crown or bricks; such neglect fosters moisture retention and escalates to substantial damage.
- Neglecting cap evaluation; absent or faulty caps invite precipitation and wildlife, resulting in clogs and unpleasant smells.
- Substituting a chimney balloon for damper repairs; these devices risk deflation or melting under heat exposure.
- Using unseasoned wood; damp fuel increases creosote production and diminishes combustion efficiency.
Expenses and the Value of Expert Assistance
A certified chimney sweep charges between $150 and $350, varying by chimney height, access difficulty, and deposit severity. Repair costs range from $200 to $800 for crack sealing or flashing renewal. Extensive work, such as crown reconstruction or liner replacement, may total $1,000 to $2,500. These investments pale in comparison to remediation after fire or smoke incidents stemming from oversight.
Professionals equip themselves with specialized tools, including inspection cameras, to reveal concealed flaws. They adhere to guidelines from the Chimney Safety Institute of America and the National Fire Protection Association, verifying compliance with safety codes.
Essential Tools for Independent Inspections
For basic self-assessments, assemble these items:
- Robust flashlight or headlamp
- Sturdy extension ladder suited to roof slope
- Durable work gloves and dust mask
- Compact mirror for confined spaces
- Rigid wire brush for surface cleaning
- Waterproof sealant for small fissures
Such equipment facilitates problem identification, yet it does not replace expert cleaning for suspected accumulations or instability.
Safety and Accessibility Factors
In homes with mobility limitations, roof access may prove unfeasible; concentrate on interior evaluations of the damper, firebox, and accessible flue portions. Numerous services provide camera-based inspections that probe upper areas without climbing. Individuals using assistive devices or facing balance challenges should delegate exterior work to qualified technicians.
Setting Up for the Initial Winter Fire
After confirming chimney readiness, ready the fireplace interior:
- Remove ashes and residue from prior uses via vacuuming.
- Position the grate no less than 3 inches from the firebox base to promote circulation.
- Ignite a small sheet of newspaper with the damper ajar to test smoke trajectory; room intrusion signals potential blockage.
- Place a metal ash receptacle nearby on a fireproof surface.
- Mount a carbon monoxide alarm within 15 feet of the fireplace.
These preparations foster a secure and enjoyable start to the heating season.
Strategies for Ongoing Chimney Durability
Sustain chimney health beyond the initial prep with annual professional sweeps, ideally before each heating period. Monitor for signs of wear, such as unusual odors or draft issues, and address them promptly. Opt for seasoned hardwoods to minimize creosote and maximize efficiency. Regular upkeep not only averts hazards but also extends the lifespan of your fireplace system, delivering reliable warmth year after year.