Fall Chimney and Fireplace Checklist: Preventing Creosote Buildup and Fire Risks
Cooler temperatures signal the start of fireplace season for many homeowners. Proper preparation ensures safety and efficiency, while neglect can lead to dangerous creosote accumulation in the chimney. Creosote, a tar-like byproduct of burning wood, builds up over time and poses a significant fire hazard if not addressed. This guide provides a step-by-step checklist to inspect, clean, and maintain your system, focusing on creosote prevention to keep your home secure.
Step 1: Schedule a Professional Inspection
Annual inspections reveal hidden issues before they escalate. Certified professionals examine the chimney for creosote deposits, structural damage, and blockages. For wood-burning units, this step identifies early-stage buildup that could ignite.
Difficulty: Moderate
Time: 1 to 2 hours
Typical Cost: $150 to $400, varying by location and system type
Select a technician certified by the Chimney Safety Institute of America or the National Fireplace Institute. They employ video cameras to inspect flue interiors. Persistent indoor smoke or odors warrant immediate action rather than seasonal delay.
During the visit, expect:
- A visual assessment of the chimney exterior, including flashing and mortar
- An internal camera scan of the flue liner for creosote thickness and cracks
- Testing of the damper mechanism
- Checks for adequate clearances from nearby combustibles
- Inspection of the chimney cap, crown, and overall stability
Retain the inspection report for records. Address any recommended repairs promptly to avoid fire risks.
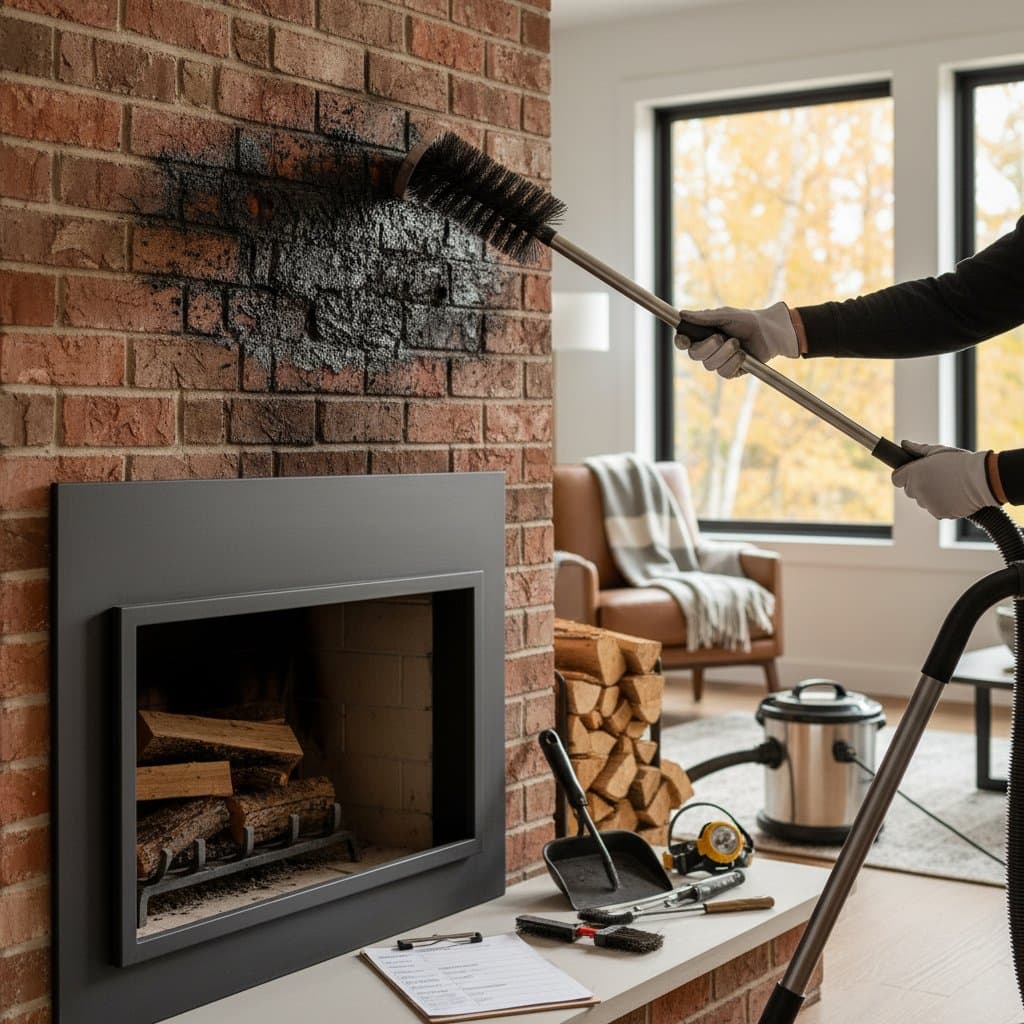
Step 2: Clean the Chimney to Remove Creosote
Creosote forms from incomplete combustion and adheres to flue walls, increasing with unseasoned wood use. Professional cleaning dislodges these deposits, reducing fire potential by up to 90 percent. Homeowners should never attempt this without expertise, as it involves accessing heights and handling soot.
Difficulty: High (professional only)
Time: 2 to 4 hours
Typical Cost: $200 to $500, based on chimney height and soot volume
Sweepers use brushes, vacuums, and rods tailored to flue size. Aim for cleaning after burning one cord of wood or annually. For heavy buildup, multiple sessions may be necessary. Post-cleaning, verify no residue remains through a follow-up inspection.
Step 3: Test the Damper and Airflow
The damper regulates air exchange and prevents heat loss. A malfunctioning damper allows cold air infiltration and promotes creosote condensation. Test by operating it fully open and closed multiple times.
Difficulty: Low
Time: 20 to 30 minutes
Cost: Free, unless repairs apply
Apply heat-resistant lubricant to rusty hinges if movement resists. To assess airflow, ignite a tightly rolled newspaper near the opening; smoke must rise steadily into the flue. Reversal indicates blockages or downdrafts needing expert resolution.
Optimal damper function enhances burning efficiency and minimizes creosote formation. In vintage installations, upgrade to a top-sealing model at the chimney top for superior airtightness and reduced drafts.
Step 4: Inspect the Firebox and Surroundings
The firebox endures direct flame exposure, where cracks can allow heat escape and creosote spread. Examine bricks, mortar, and hearth for damage. Clearances to walls, mantels, and floors must meet code requirements, typically 36 inches from combustibles.
Difficulty: Moderate
Time: 30 to 60 minutes
Cost: $50 to $200 for minor patches
Patch minor firebrick cracks with refractory cement rated for 2000 degrees Fahrenheit. Verify no gaps exist around the fireplace insert or surround. If gas logs are present, confirm secure installation and valve operation.
This step prevents embers from igniting nearby materials and ensures even heat distribution.
Step 5: Examine the Chimney Cap and Crown
The cap shields the flue from debris, animals, and precipitation, while the crown directs water away. Damage here allows moisture entry, accelerating creosote solidification and corrosion.
Difficulty: Moderate
Time: 30 to 45 minutes
Cost: $75 to $350 for replacements
Inspect from a safe vantage, using binoculars if needed. Replace absent or deteriorated caps with durable stainless steel or copper versions sized precisely to the flue. Seal crown fissures with high-bond, waterproof sealant; extensive cracks demand a mason's reconstruction with sloped concrete for runoff.
Intact components maintain flue dryness, curbing creosote adhesion.
Step 6: Install or Verify Safety Accessories
Essential tools include a spark screen, fire extinguisher, and carbon monoxide detector. These mitigate risks from flying embers and incomplete combustion gases.
Difficulty: Low
Time: 15 to 30 minutes
Cost: $20 to $150
Position a metal mesh screen over the firebox to contain sparks. Mount a Class ABC extinguisher nearby. Test CO alarms monthly and replace batteries annually. For added protection, add a chimney thermometer to monitor flue temperatures.
These measures provide immediate response options and early warnings.
Step 7: Choose and Store the Right Firewood
Fuel selection directly impacts creosote production. Dense hardwoods like oak, hickory, or maple yield hotter, cleaner burns with less residue than pines or firs.
Difficulty: Low
Time: 2 to 3 hours for preparation
Cost: $200 to $400 per cord, influenced by region and type
Opt for seasoned logs air-dried six to twelve months, with moisture content below 20 percent. Verify dryness by checking for cracks at log ends and a hollow knock when struck. Stack on elevated racks with cross-ventilation, tarped only on top to deter moisture while promoting evaporation.
Proper storage avoids pest infestations and ensures optimal combustion, slashing creosote by half.
Step 8: Seal and Insulate Around the Fireplace
Drafts around the hearth waste energy and invite creosote-laden air indoors. Scan for gaps at wall penetrations and floor junctions.
Difficulty: Moderate
Time: 1 to 2 hours
Cost: $50 to $500, depending on scope
Apply non-combustible silicone caulk to minor voids. For substantial leaks, install fiberglass batts or rigid foam rated for high heat. Consider a sealed insert to recirculate warmth, potentially increasing efficiency by 70 percent over open designs.
Enhanced sealing preserves indoor air quality and reduces operational costs.
Step 9: Conduct a Final Safety Check
Before the first fire, review all components holistically. Light a small test fire to observe smoke patterns and odors.
Difficulty: Low
Time: 45 to 60 minutes
Cost: Minimal
Ensure no unusual drafts or smells emerge. Teach household members fire safety protocols, including keeping children and pets distant. Document completion dates for insurance and resale purposes.
Addressing Common Chimney Problems
Indoor Smoke Persistence: Often stems from flue blockages or cooling. Preheat the chimney with newspaper kindling; persistent issues require professional drafting analysis.
Idle Odors: Negative house pressure pulls scents inside. Enhance overall ventilation or fit a sealing damper.
Brick Staining or Efflorescence: Indicates water intrusion. Coat exteriors with silane-based repellents and repair flashing.
Firebrick or Mortar Fractures: Tuckpoint small gaps with heat-proof mortar. Structural concerns necessitate expert intervention to avert wall damage.
Sustaining Long-Term Chimney Health
Regular upkeep preserves your system's integrity and averts costly emergencies. Adhere to this checklist each fall, and clean after every cord of wood or yearly. Shun glossy paper, trash, or pressure-treated lumber, as they emit damaging vapors.
Monitor for draft anomalies or excessive soot, pausing use until resolved. With diligent care, your fireplace delivers reliable warmth without the shadow of creosote-related dangers.