Pre-Season AC Checklist for Reliable Summer Cooling
Summer heat transforms a functional air conditioner into an essential ally for home comfort. Proactive preparation before temperatures rise avoids unexpected failures, optimizes energy consumption, and prolongs equipment lifespan. Homeowners benefit from a systematic pre-season tune-up that identifies minor issues early, ensures consistent performance, and minimizes repair expenses.
This comprehensive guide presents a structured checklist encompassing cleaning tasks, thorough inspections, safety verifications, and performance evaluations. Follow these steps to achieve dependable cooling throughout the season while enhancing overall system efficiency.
Essential Tools and Supplies
Assemble the following items to complete most maintenance procedures independently, reserving professional assistance for complex diagnostics.
Required items include:
- Screwdriver set to access unit panels
- Soft brush or vacuum cleaner with brush attachment
- Garden hose equipped with spray nozzle
- Fin comb to straighten deformed coils
- Replacement air filter compatible with your system
- Flashlight for examining concealed components
- Cleaning cloths and mild detergent solution
Document the original assembly by photographing panels and components prior to disassembly. This practice simplifies reassembly and prevents errors.
Suggested image: Assorted HVAC maintenance tools laid out on a workbench with alt text “Basic tools for pre-season AC tune-up including screwdrivers, brushes, and fin comb.”
Step 1: Clean the Outdoor Condenser Unit
The outdoor condenser accumulates dirt, debris, and vegetation that hinder heat dissipation. Begin by shutting off power to the unit at the breaker to ensure safety. Clear surrounding vegetation and remove loose debris with a soft brush or leaf blower.
Gently rinse the condenser coils using a garden hose on low pressure. Avoid high-force sprays that could bend delicate fins. Straighten any bent fins with a fin comb to restore optimal airflow. A clean condenser improves heat exchange, which directly enhances cooling capacity and reduces operational strain.
Suggested image: Homeowner rinsing outdoor AC condenser with hose with alt text “Cleaning outdoor AC unit coils to remove dirt and debris for better heat dissipation.”
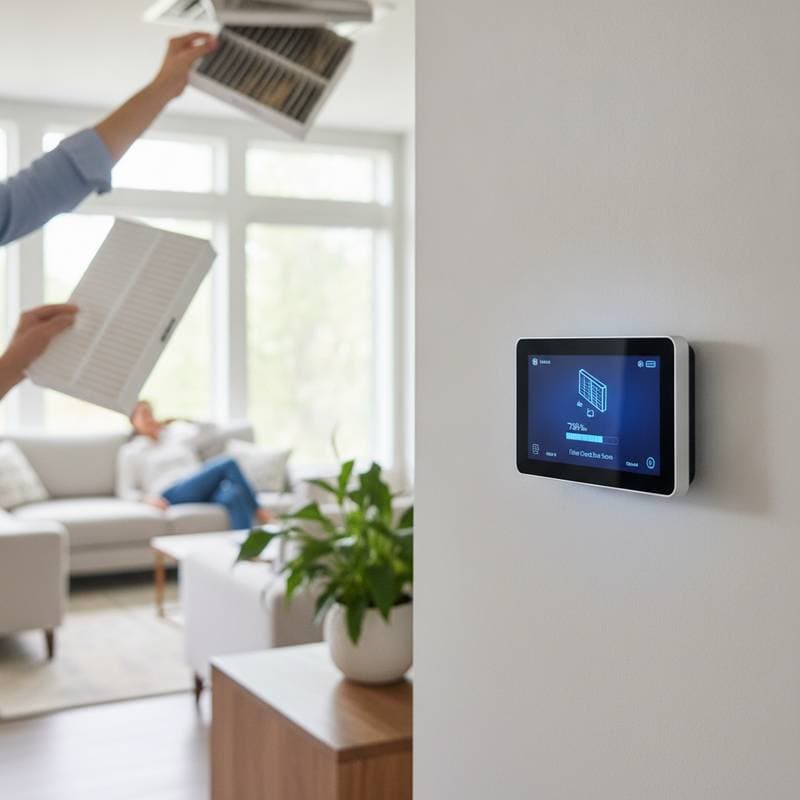
Step 2: Replace or Clean Air Filters
Clogged filters impede airflow, diminish cooling effectiveness, and circulate dust indoors. Inspect the filter at the season's outset. Replace it if discoloration or obstruction appears. Washable filters require rinsing under water and thorough drying prior to reinstallation.
Select filters rated appropriately for your system specifications. Advanced filters capture smaller particles yet must align with unit design to prevent airflow restriction. Adhere to manufacturer recommendations for optimal results.
Fresh filters elevate indoor air quality and alleviate blower motor stress. This routine action yields measurable reductions in energy usage and contributes to extended system durability.
Suggested image: Replacing air filter in home HVAC system with alt text “Hand swapping out a dirty AC air filter for a new one to improve airflow and efficiency.”
Step 3: Inspect and Calibrate the Thermostat
An accurate thermostat regulates cooling cycles precisely, preventing overwork or inefficiency. Verify battery strength in battery-powered models and replace weak cells to avoid erratic readings. For programmable units, confirm settings align with seasonal needs.
Test thermostat responsiveness by adjusting temperature settings and observing system activation. If discrepancies arise, such as delayed response or inaccurate sensing, recalibrate according to the device manual. A properly functioning thermostat maintains desired temperatures without excessive runtime, conserving energy.
Suggested image: Adjusting settings on a digital home thermostat with alt text “Calibrating thermostat display for accurate temperature control during AC maintenance.”
Step 4: Examine Indoor Components
The indoor evaporator coil, blower motor, and drainage system collect dust over time, mirroring outdoor buildup. Disconnect power before accessing panels. Employ a soft brush or vacuum to remove accumulations from the blower compartment and coil surfaces.
Assess the condensate drain for obstructions by pouring a cup of water into the line and monitoring flow. Clear blockages with a wet-dry vacuum applied to the exterior drain port if necessary. Introduce a diluted vinegar solution to inhibit algae formation.
Upon reactivation, monitor for atypical noises like grinding or rattling, which indicate loose elements or worn bearings. Prompt correction averts expensive motor overhauls.
Suggested image: Inspecting indoor AC evaporator coil with alt text “Close-up of technician cleaning indoor evaporator coil and checking drain pan for clogs.”
Step 5: Evaluate System Performance
After completing prior steps, restore power and operate the unit to assess functionality. Measure supply and return air temperatures to confirm a differential of at least 14 to 20 degrees Fahrenheit, signaling effective cooling.
Observe for even airflow from vents and absence of unusual odors or vibrations. Cycle the system on and off to verify smooth startups and shutdowns. These tests confirm operational integrity and highlight any lingering inefficiencies requiring attention.
Suggested image: Using thermometer to measure air temperature from AC vent with alt text “Testing AC performance by checking temperature difference across supply and return vents.”
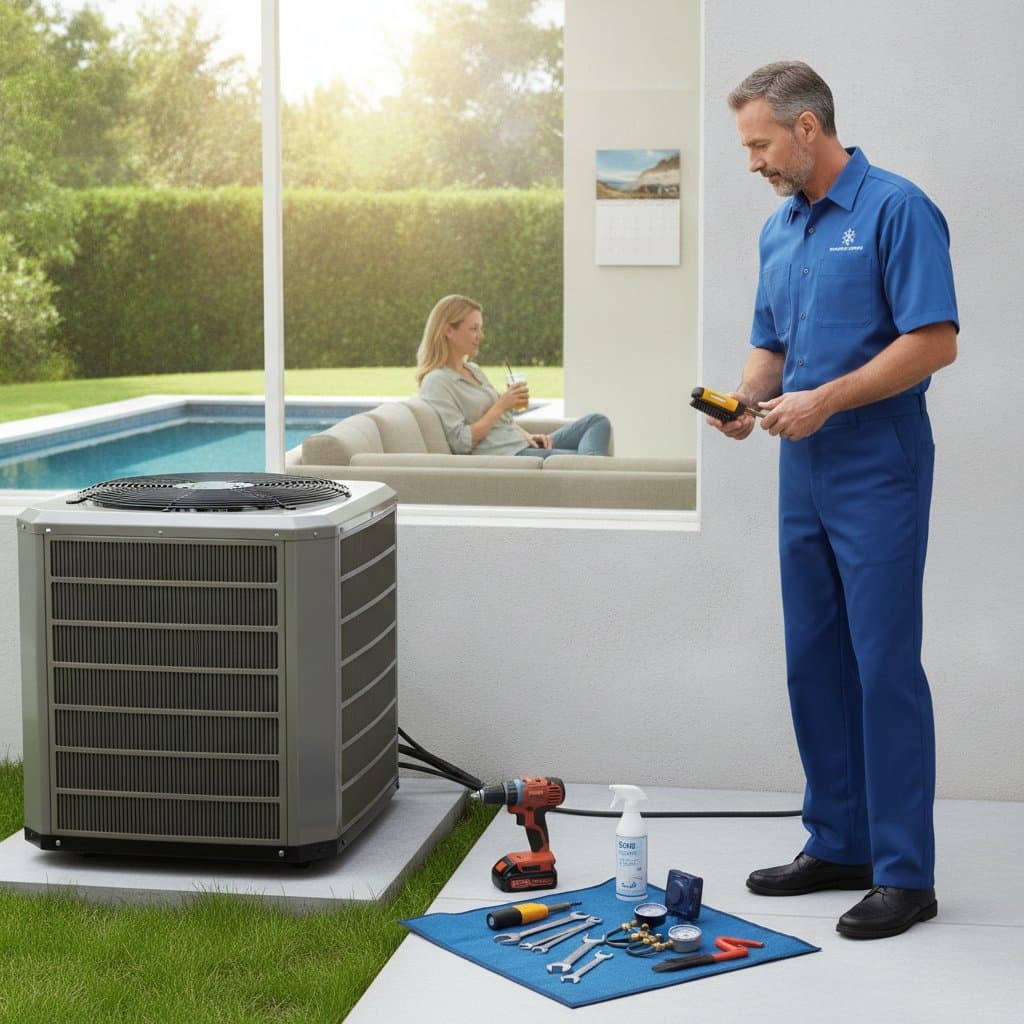
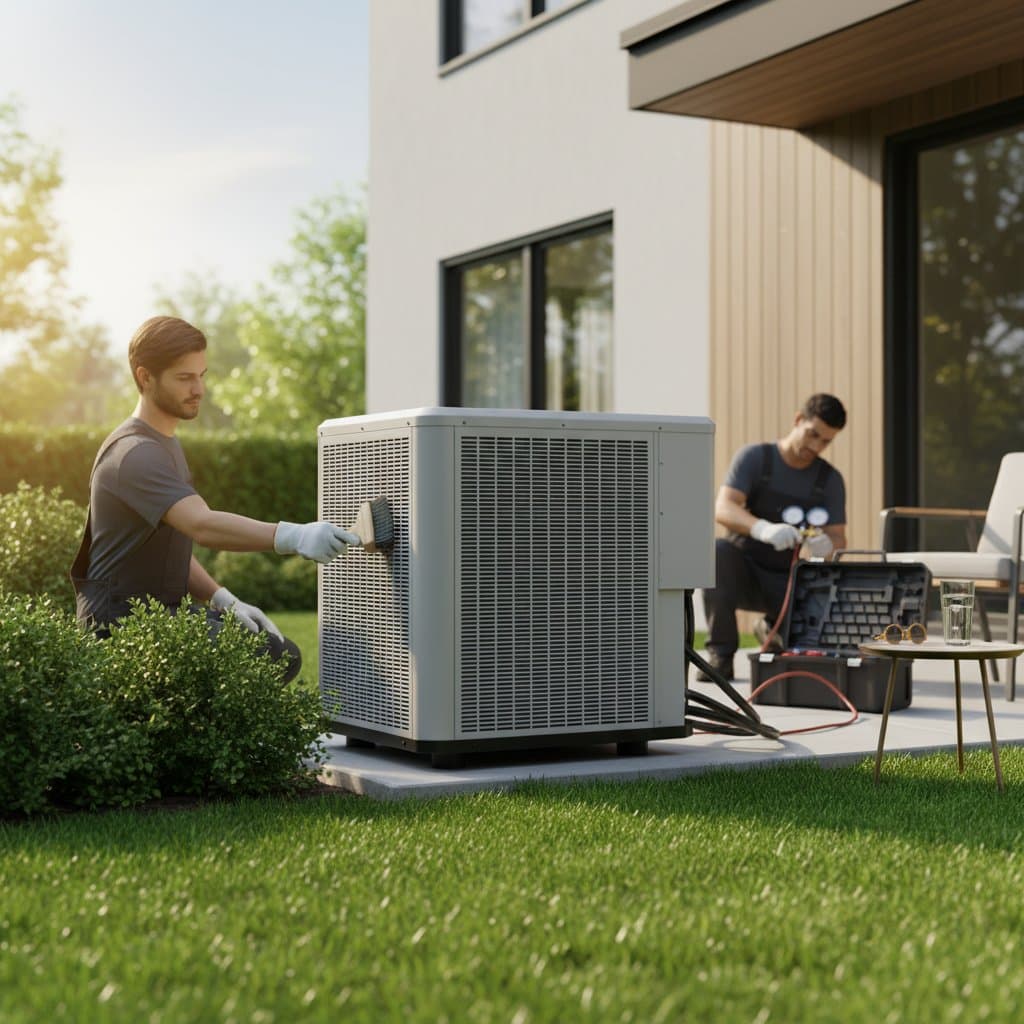
Step 6: Arrange for Professional Service
Home maintenance addresses surface-level concerns, yet specialized evaluations demand certified expertise. Professionals gauge refrigerant levels, scrutinize electrical wiring, apply lubrication to moving parts, and validate safety mechanisms.
Book an appointment early to circumvent peak-season backlogs. Many service providers offer seasonal tune-up services featuring comprehensive diagnostics. Such proactive measures frequently offset costs through enhanced efficiency and reduced urgent interventions.
Suggested image: Technician testing AC refrigerant pressure with alt text “Professional HVAC technician using gauges to measure and adjust refrigerant levels.”
Pitfalls to Sidestep in AC Maintenance
- Overlooking power disconnection. Deactivate electricity prior to any internal access to prevent shocks or damage.
- Employing abrasive cleaning methods. Harsh pressure or chemicals erode coil integrity.
- Disregarding drainage paths. Minor blockages foster leaks and microbial proliferation.
- Overlooking thermostat power sources. Depleted batteries produce unreliable controls.
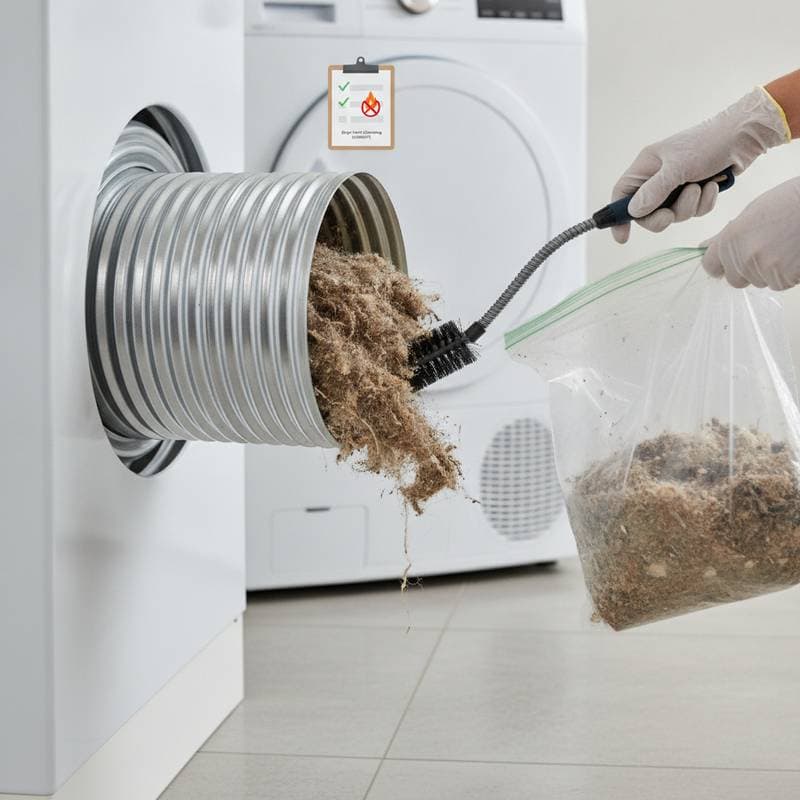
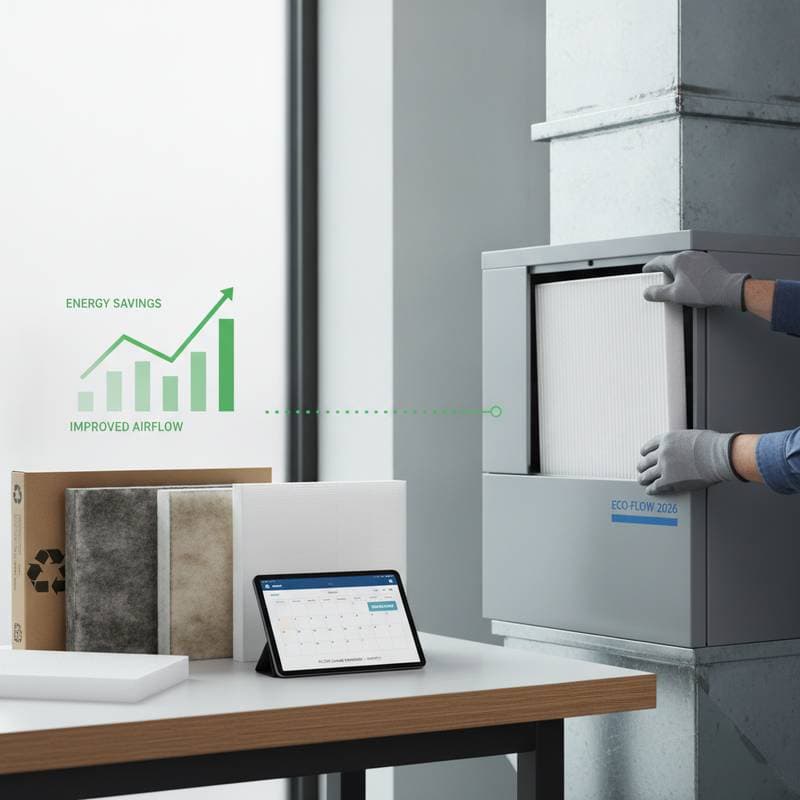
- Bypassing ductwork assessment. Internal dust accumulation restricts distribution and promotes irritants.
Steering clear of these errors safeguards system reliability and performance.
Sustaining Long-Term AC Reliability
Consistent upkeep delivers uninterrupted comfort, economical operation, and diminished disruptions. Integrating these checklist procedures into annual routines fortifies equipment resilience against seasonal demands.
Initiate preparations promptly to sidestep discomfort during heatwaves. Personal execution or expert involvement alike secures a sanctuary of cool air, affirming that foresight underpins enduring home wellness.