Perform a Pre-Season AC Tune-Up to Avoid Expensive Summer Repairs
As temperatures rise, a functional air conditioner ensures comfort in the home. Homeowners often delay activation until the initial heatwave arrives, only to encounter warm air output or complete failure. A pre-season tune-up addresses these risks. With basic tools, careful attention, and systematic procedures, individuals maintain system efficiency and prolong operational life without immediate reliance on professional services.
The Importance of Pre-Season AC Maintenance
Consistent upkeep reduces expenses and averts unexpected failures. Accumulation of dirt, dust, and gradual wear diminishes cooling performance, elevates energy consumption, and accelerates deterioration of critical elements such as the compressor and fan motor. Conducting maintenance prior to peak usage season promotes seamless operation and circumvents the surge in service demands during high-temperature periods.
Key advantages encompass:
- Decreased energy costs via optimized performance
- Minimized chances of abrupt malfunctions
- Enhanced indoor air quality from superior circulation
- Extended durability of major components
- Uniform temperature distribution across living spaces
Prioritize Safety in Every Procedure
Air conditioning systems involve electrical components and pressurized refrigerants, necessitating strict safety measures. Disconnect power supply at the breaker panel before any inspection or cleaning. Don protective gloves and eyewear when removing debris or applying cleaners. Cease activities and contact a certified HVAC specialist if signs of refrigerant leakage or electrical irregularities appear. Homeowner efforts focus on surface cleaning, visual assessments, and minor adjustments, excluding interventions with sealed systems or high-voltage elements.
Essential Tools and Materials for the Task
Preparation streamlines the maintenance process and enhances safety. Assemble the following items prior to commencement:
- Assorted screwdriver set
- Soft-bristled brush or specialized coil cleaning solution
- Fin comb for repairing deformed fins
- Garden hose equipped with adjustable spray nozzle
- Carpenter's level
- Compatible replacement air filter
- Compact vacuum cleaner with brush attachment
- Absorbent cloths or microfiber towels
Readiness with these supplies prevents interruptions and ensures the unit remains secure throughout the procedure.
Detailed Step-by-Step Maintenance Guide
1. Examine the Outdoor Condenser Unit
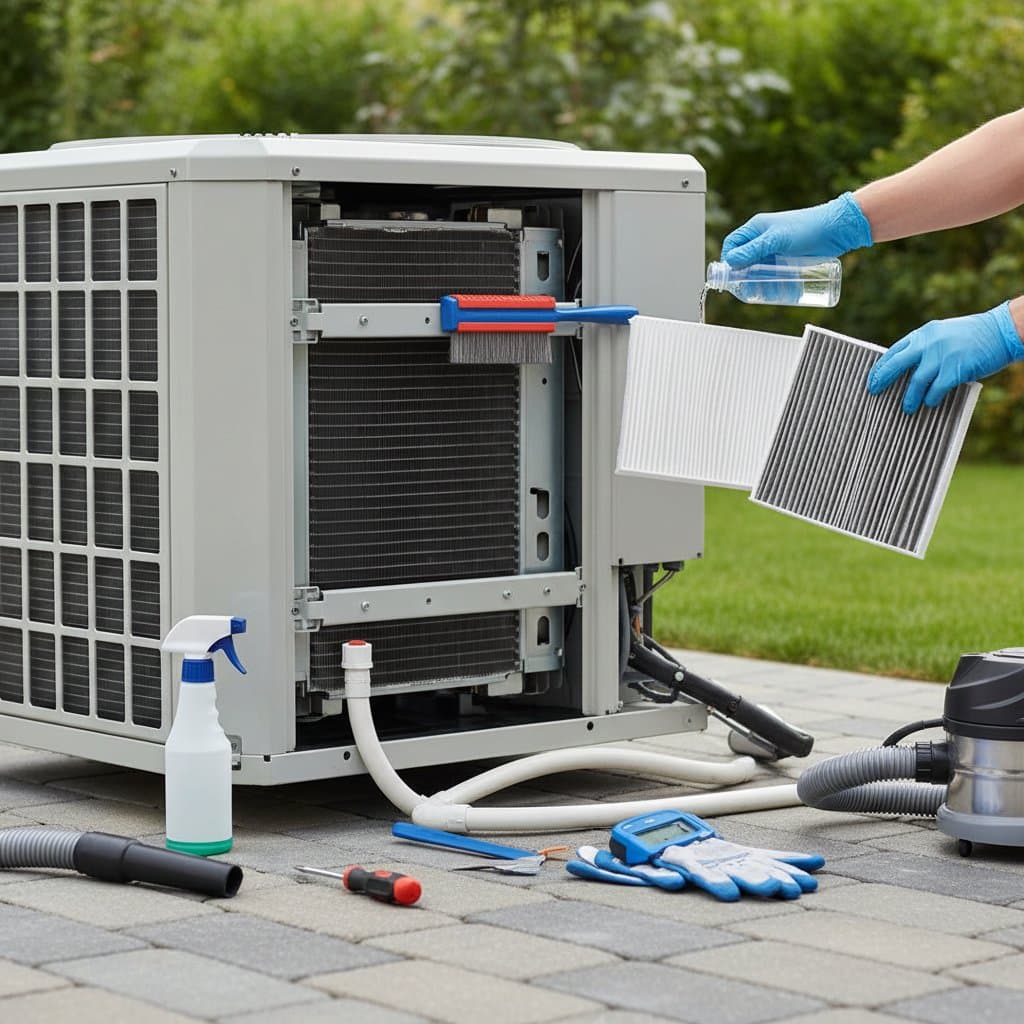
Remove leaves, soil, and branches encircling the condenser to facilitate unobstructed operation. Maintain a clearance of at least two feet by trimming vegetation or mowing grass nearby. Detach the upper grille with care and extract internal debris. Employ a soft brush or vacuum attachment to dislodge particles from the fins, followed by a low-pressure rinse using the hose. High-velocity water risks deforming delicate fins, which impairs heat dissipation.
2. Thoroughly Clean the Condenser Coils
Fouled coils compel the system to labor excessively, reducing overall effectiveness. Apply a commercial coil cleaner or a diluted mild detergent solution, allow sufficient dwell time for penetration, and rinse with moderate water flow. Utilize the fin comb to realign any distorted sections gently. These actions restore optimal airflow and accelerate the cooling cycle during operation.
3. Verify and Clear the Condensate Drain Line
Identify the narrow pipe responsible for evacuating moisture from the indoor evaporator unit. Obstructions from debris foster water accumulation, potential leaks, and microbial proliferation. Attach a wet-dry vacuum to the drain opening to suction out blockages, or introduce a solution of warm water combined with mild dish soap to dissolve residues effectively.
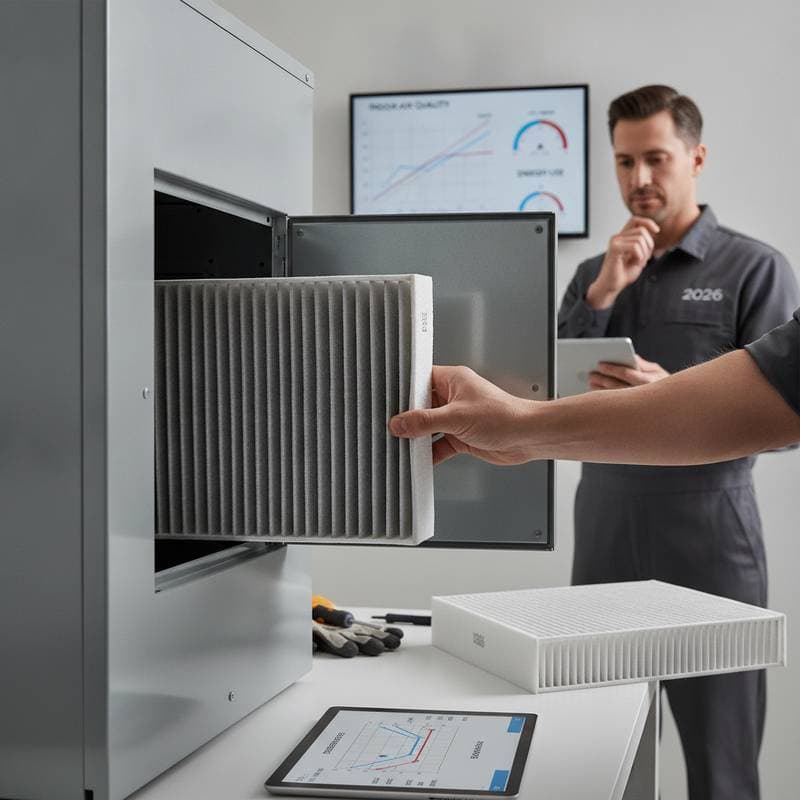
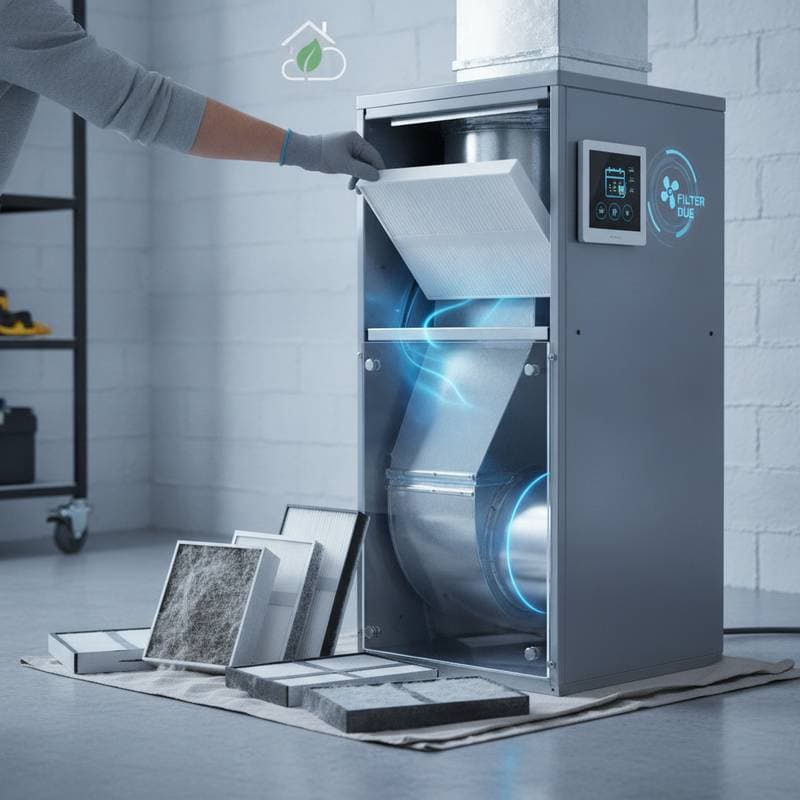
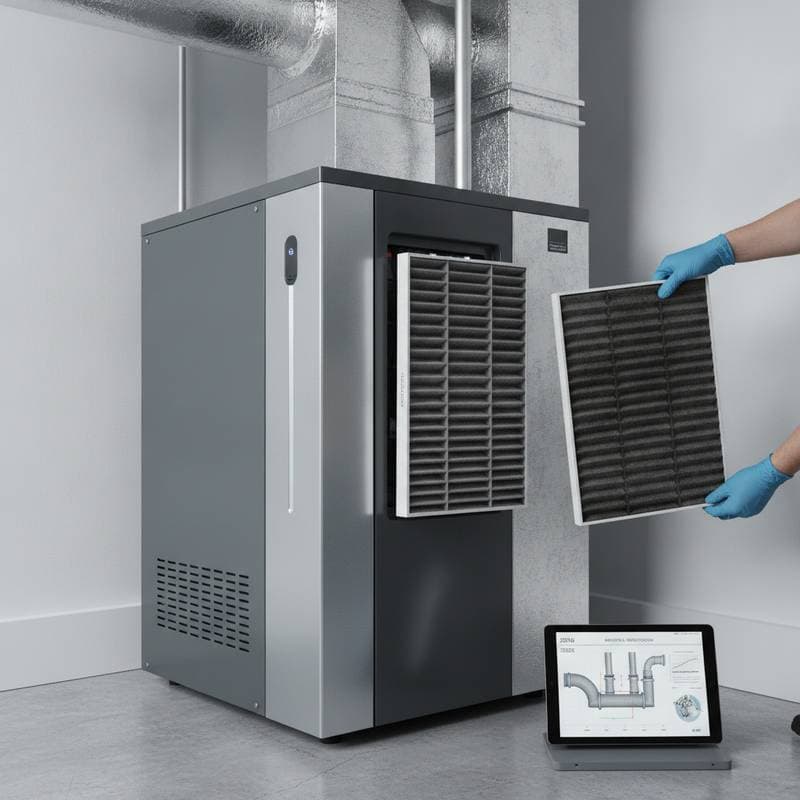
4. Service the Air Filter
A restricted filter burdens the blower motor and hampers air circulation. Install a new disposable filter or cleanse a washable one per the manufacturer's specifications. Perform this task every one to three months, with increased frequency in environments featuring pets, allergens, or elevated particulate levels.
5. Assess Ductwork and Vent Openings
Inspect all room vents for accumulations of dust or obstructions that impede delivery. Use the vacuum's brush accessory to remove surface contaminants. In reachable sections, detect separated duct joints and apply aluminum foil tape to seal minor gaps. Improved distribution equalizes temperatures and alleviates operational stress on the unit.
6. Evaluate Thermostat Functionality
Confirm the thermostat's precision and prompt response to adjustments. Switch to cooling mode and observe temperature regulation during a brief test run. Replace batteries in models that require them to prevent inaccuracies. Upgrading to a programmable or intelligent model offers precise scheduling, optimizing energy utilization patterns.
7. Ensure the Outdoor Unit Remains Level
Tilted positioning generates vibrations, noise, and undue pressure on internal mechanisms. Place a level on the unit's base to gauge alignment and make corrections as needed. Insert thin plastic or rubber shims beneath the mounting pad to achieve stability without excessive elevation.
8. Monitor for Abnormal Operational Noises
After completing assembly and restoring power, activate the system and observe auditory cues. Identify potential problems through sounds like persistent buzzing, intermittent rattling, or harsh grinding, which signal loose fasteners, degraded belts, or imbalanced rotors. Prompt identification facilitates targeted fixes, forestalling extensive damage.
Indicators Requiring Professional Intervention
Certain complications exceed typical homeowner capabilities. Persistent inadequate cooling despite operation, frequent circuit breaker activations, or evaporator coil icing demand specialized diagnostics. Technicians employ pressure gauges for refrigerant evaluation and multimeters for circuit integrity checks. They also access and sanitize internal evaporator coils within the air handler, a task posing significant access and safety challenges. View the DIY approach as a preventive measure rather than a comprehensive solution.
Recommendation: Arrange biennial professional evaluations, regardless of apparent normalcy, to identify nascent concerns proactively.
Suggested Visual Elements for Enhanced Comprehension
Incorporate these aids to illustrate key concepts clearly:
- Image Recommendation: Depiction of a pristine outdoor condenser surrounded by manicured landscaping. Alt text: Well-maintained exterior AC condenser with adequate ventilation clearance.
- Infographic Proposal: Comparative analysis of maintenance versus repair expenditures. Sample data: Annual DIY maintenance at $40 versus $600 for emergency overhaul.
- Illustrative Diagram: Representation of air progression via filter and coils. Alt text: Schematic of airflow dynamics in a serviced AC filter and coil assembly.
Insights from Homeowner Accounts
Forum discussions highlight substantial savings, with many reporting up to 15 percent reductions in utility expenses following pre-season efforts. One individual described how coil cleaning and filter renewal eliminated repetitive on-off cycling. Another recounted averting ceiling water damage by addressing a obstructed drain line promptly. Such anecdotes underscore the protective value of diligent, routine attention to system health.
Frequently Asked Questions on AC Maintenance
How much time does a homeowner-led AC tune-up require?
The process typically spans one to two hours, influenced by the extent of soiling and accessibility of system parts.
Is bleach suitable for clearing the drain line?
Opt for vinegar or mild dish soap mixtures instead. Bleach may corrode rubber seals or PVC materials with repeated exposure.
Sustain Peak Performance Through Ongoing Vigilance
Establishing a pre-season tune-up routine fosters financial prudence and operational peace of mind. Proactive management of contaminants, moisture issues, and mechanical fatigue preserves efficiency against seasonal demands. Implement quarterly inspections to uphold robust circulation and component integrity year-round.