Why Fall is the Perfect Time for HVAC Filter Replacement
Homes deserve to feel inviting and comfortable with the shift in seasons, yet this comfort relies on more than just controlled temperatures. The air circulated daily passes through the HVAC filter, and a clogged or outdated filter compromises air quality significantly. Homeowners often overlook the shift from cooling to heating as an optimal moment to replace filters. Autumn imposes fresh demands on heating systems, where a new filter proves transformative.
This guide details the reasons fall stands out for filter replacement, the consequences of neglect, strategies for selecting suitable filters, and methods for safe, effective installation. Readers gain precise knowledge to sustain clean air and efficient operations.
Recommended Replacement Schedule: Every 1 to 3 Months
Conditions vary by household, yet HVAC experts advise replacing filters every 1 to 3 months. More frequent swaps become necessary in homes with pets, allergy sufferers, or high dust levels. Autumn serves as an ideal milestone to realign this routine.
Consult this reference table for tailored guidance:
| Home Type | Filter Type | Replacement Interval |
|---|---|---|
| Small apartment, light use | Basic fiberglass (MERV 5-6) | Every 2 months |
| Family home with pets | Pleated filter (MERV 8-11) | Every 1 month |
| Allergy-sensitive household | High-efficiency (MERV 12-13) | Every 1 to 2 months |
| Homes with air purifiers | HEPA or electrostatic | Every 2 to 3 months |
Absence of recollection regarding the prior replacement signals an immediate need for action.
Step-by-Step Guide to HVAC Filter Replacement
Exchanging an HVAC filter ranks among the simplest self-maintenance activities. The process requires under ten minutes and demands no specialized tools.
Step 1: Power Down the System
Deactivate the thermostat prior to accessing the filter. This action halts the blower and avoids drawing in loose particles during the procedure.
Step 2: Identify the Filter Location
Filters reside in slots behind return air grilles, within furnace cabinets, or adjacent to blower panels in most setups. Standard dimensions range from 16x20 inches to 20x25 inches, although larger systems accommodate 24x30 inches or greater.
Step 3: Extract the Existing Filter
Gently slide out the old filter to minimize dust disturbance. Observe the airflow arrows on its frame and record their direction for accurate new filter placement.
Step 4: Install the Replacement Filter
Position the new filter so the airflow arrow directs toward the blower motor. Ensure a secure fit without gaps, as loose installation permits unfiltered air to circumvent the barrier.
Step 5: Reactivate the System
Restore power and monitor for standard airflow sounds. Whistling noises or diminished flow indicate potential sizing errors or reversed orientation.
Consequences of Neglecting Filter Maintenance
A dirty filter extends beyond mere dust accumulation; it impacts system integrity and finances comprehensively.
- Increased energy consumption: Limited airflow compels the blower to operate extended periods, elevating electricity usage by as much as 15 percent.
- Accelerated component wear: Motors and coils endure excessive strain, leading to premature failure.
- Elevated repair frequency: Contaminants provoke furnace overheating or air conditioner coil freezing.
- Diminished comfort levels: Inconsistent temperatures and subdued airflow result in stuffy atmospheres.
- Compromised air purity: Pollen, dust, and microbes cycle through ducts, exacerbating allergies and respiratory issues.
Filter replacements cost between 10 and 30 dollars, whereas blower motor repairs range from 400 to 800 dollars. Such maintenance represents a cost-effective strategy for longevity.
Deciding Between DIY and Professional Service
Filter replacement suits DIY efforts in nearly all cases. Engage a professional under these circumstances:
- Ongoing dust accumulation post-replacement
- Abnormal sounds emanating from vents
- Inconsistent heating or cooling distribution
- Rapid filter discoloration within weeks
Qualified technicians assess ductwork, measure static pressure, and diagnose airflow impediments. For optimal results, pair routine DIY changes with yearly expert inspections.
Safety and Accessibility Considerations
Individuals with mobility challenges benefit from targeted modifications:
- Opt for return vent filter grilles featuring accessible latches for frontal removal.
- Employ filter puller tools for retrieving units from overhead returns.
- Request technicians to reposition filter slots at reachable heights during scheduled services.
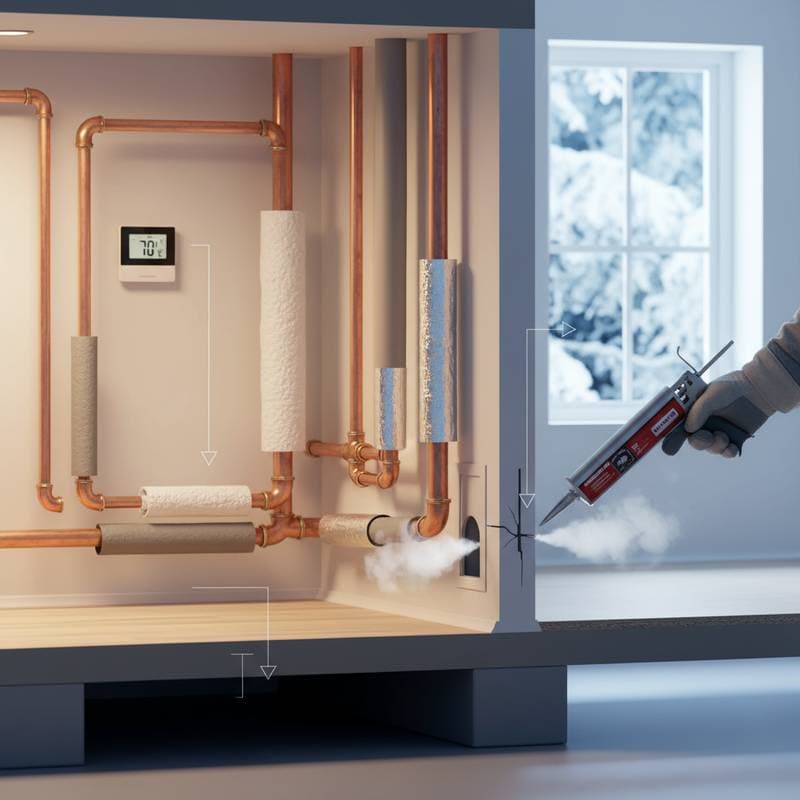
Power off the system via the thermostat before any filter handling to avert unexpected drafts or particle exposure.
Everyday Benefits of Pristine Filters
Beyond equipment preservation, clean filters enhance living conditions tangibly.
- Odor neutralization: Filters capture pet scents and cooking residues more robustly.
- Enhanced rest: Reduced congestion promotes uninterrupted sleep.
- Surface preservation: Minimal dust deposition protects furnishings and devices.
- Respiratory support: Lower allergen levels aid those with breathing difficulties.
Strategies for Long-Term System Care
Sustain HVAC performance through consistent filter monitoring and timely replacements. Integrate this practice with broader maintenance routines, such as coil cleaning and duct inspections, to maximize efficiency and air quality year-round. Homeowners who prioritize these steps enjoy reliable comfort and reduced operational costs.