Prevent Costly Attic Mold Through 2026 Summer Inspections
Mold growth in attics often develops unnoticed, starting from subtle moisture buildup. Warm air from below rises and condenses on cooler roof surfaces, creating damp conditions that foster spores. High humidity exacerbates this process, leading to widespread issues that demand professional intervention and significant expenses. Proactive summer inspections interrupt this cycle, addressing minor problems before they escalate into structural damage or health hazards.
Homeowners benefit from understanding the inspection process, which involves checking for moisture sources, evaluating airflow, and implementing humidity controls. These steps maintain a balanced attic environment, preserve insulation effectiveness, and reduce energy costs associated with poor ventilation. By dedicating time each summer, individuals safeguard their property against the financial and safety risks of unchecked mold.
Identifying Early Signs of Moisture Accumulation
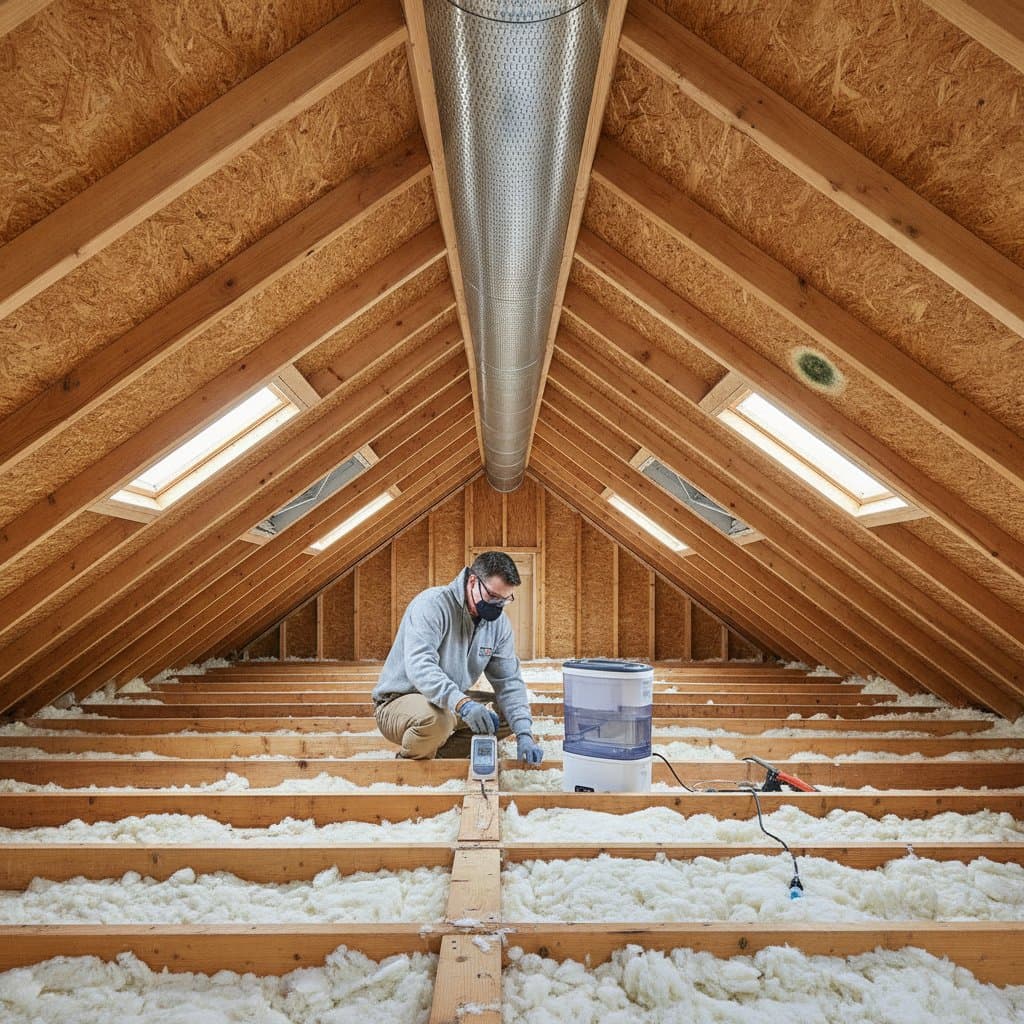
Moisture problems manifest in various subtle ways within attics, often concealed by insulation or structural elements. Recognizing these indicators allows for timely intervention, minimizing the need for extensive remediation. Attics require thorough visual and sensory assessments to uncover potential issues before mold takes hold.
Primary Indicators to Watch For
- Persistent musty odors: An earthy scent lingers despite apparent dryness, signaling hidden dampness in inaccessible areas.
- Discoloration on surfaces: Dark streaks or black spots appear on wooden rafters, beams, or insulation materials, indicating fungal activity.
- Warping or buckling materials: Wood elements show twisting, swelling, or uneven textures from prolonged exposure to moisture.
- Visible condensation droplets: Water beads form on metal nails, roof sheathing, or plastic vapor barriers, especially after humid days.
- Stagnant, overheated air: Limited circulation traps warmth and humidity, creating a breeding ground even in moderate climates.
- Efflorescence on masonry: White, powdery deposits emerge on brick or concrete surfaces, pointing to water infiltration.
Upon detecting one or more of these signs, document the findings with photographs and proceed to a detailed inspection. Addressing them promptly through ventilation adjustments or minor repairs prevents progression to visible mold colonies, which complicate cleanup efforts.
Optimizing Attic Ventilation to Combat Humidity
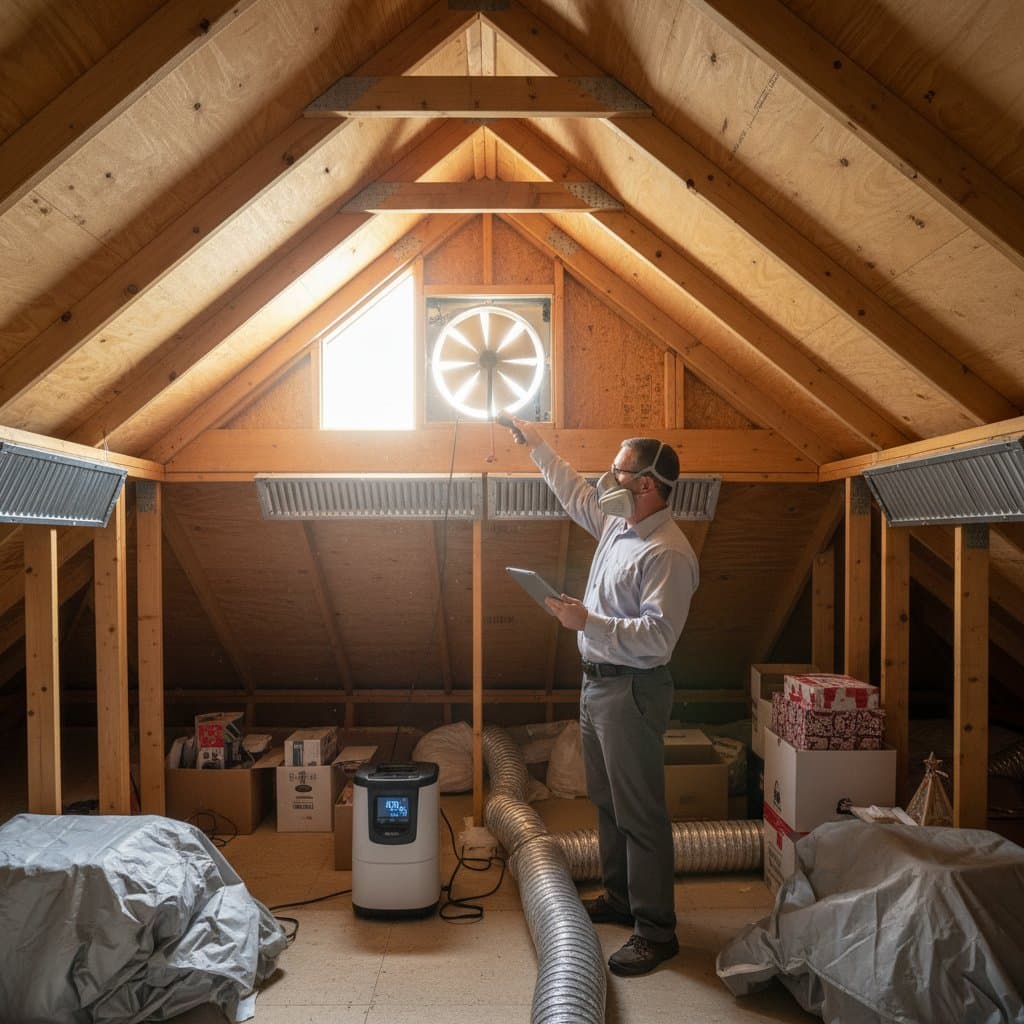
Effective ventilation regulates attic temperature and moisture levels, preventing the condensation that fuels mold. Airflow draws in cooler exterior air through intake points and expels warm, humid air via exhaust routes, maintaining equilibrium. Inadequate systems lead to heat pockets and dampness, particularly during summer when indoor activities increase humidity loads.
Understanding Ventilation Dynamics
Intake vents, typically located in soffits under the eaves, pull in fresh air. Exhaust vents, such as ridge or gable types, release it from the upper attic space. This vertical airflow mimics a chimney effect, driven by natural convection. Disruptions like blocked vents or insufficient coverage reduce efficiency, allowing moisture to linger on surfaces.
Practical Ventilation Improvements
- Clear soffit vents thoroughly: Remove debris, leaves, or insect nests using a soft brush attachment on a vacuum or gentle compressed air blasts. Inspect for damage and seal any gaps with weatherproof caulk.
- Install or upgrade ridge vents: Position continuous vents along the roof peak to facilitate passive exhaust. Ensure compatibility with existing roofing materials to avoid leaks.
- Incorporate gable end vents: For homes without ridge systems, add louvered vents on opposite gable walls to promote cross-breezes. Calculate vent area based on attic square footage, aiming for one square foot per 150 square feet of space.
- Maintain powered attic fans: Clean fan blades and housings from dust accumulation. Verify thermostat activation at 100 to 110 degrees Fahrenheit and ensure electrical connections remain secure.
- Balance intake and exhaust ratios: Measure vent openings to confirm equal or greater exhaust capacity compared to intake, preventing negative pressure that pulls moist air indoors.
These enhancements not only deter mold but also lower cooling demands on the home, potentially reducing utility bills by 10 to 20 percent during peak summer months.
Ventilation Airflow Diagram
Imagine a cross-section of a home roof: Cool air enters low through soffit vents along the eaves, rises through the attic space, and exits hot, moist air via ridge vents at the peak. Arrows illustrate this upward path, highlighting key components like rafters and insulation. This setup ensures consistent circulation, keeping surfaces dry.
Analyzing Costs: Prevention Strategies Versus Full Remediation
Investing in preventive measures yields substantial long-term savings compared to the expenses of mold removal and repairs. Simple actions like vent cleaning cost far less than professional services required for advanced growth. Homeowners can visualize these differences through a structured comparison.
| Category | Prevention Actions | Estimated Cost Range | Repair Actions | Estimated Cost Range |
|---|---|---|---|---|
| Ventilation Maintenance | Cleaning vents, adding basic exhaust | $50 - $300 | Full system replacement, ductwork repairs | $1,000 - $5,000 |
| Humidity Control | Dehumidifier purchase, sealing minor leaks | $100 - $400 | Insulation removal and replacement | $2,000 - $8,000 |
| Minor Cleanup | DIY supplies for small spots | $20 - $100 | Professional remediation, structural fixes | $3,000 - $15,000+ |
| Total Average | Low hundreds | $170 - $800 | High thousands | $6,000 - $28,000 |
This table underscores the financial wisdom of routine checks. For instance, a $200 investment in ventilation upgrades averts thousands in remediation fees, preserving home value and indoor air quality.
Safe Protocols for Addressing Minor Mold Growth
Small, isolated mold patches can often receive treatment without professional help, provided safety protocols receive strict adherence. Larger infestations or those affecting load-bearing elements necessitate expert assessment to avoid health risks or further damage. Focus on containment and thorough drying to eliminate recurrence.
Step-by-Step Cleaning Process
- Prepare protective equipment: Don nitrile gloves, an N95 respirator mask, and safety goggles to shield against airborne spores and irritants.
- Enhance attic airflow: Open any accessible windows or doors, and position a box fan to exhaust air outward, reducing spore concentration.
- Prepare an effective solution: Combine equal parts distilled white vinegar and water in a spray bottle; vinegar's acidity targets mold without harsh chemicals.
- Apply and scrub surfaces: Saturate affected areas, wait 10 minutes, then gently scrub with a nylon brush. Avoid abrasive tools that damage underlying materials.
- Rinse and dry completely: Wipe with a damp cloth using clean water, then use fans or dehumidifiers to air-dry for at least 48 hours. Monitor humidity levels below 60 percent.
- Dispose of materials properly: Seal used brushes, rags, or disposable cloths in plastic bags and discard outside to prevent cross-contamination.
Refrain from using bleach on porous surfaces, as it fails to penetrate and may worsen conditions. If mold returns or covers more than 10 square feet, contact certified professionals immediately.
Establishing a Year-Round Maintenance Routine
Summer inspections form the foundation of ongoing attic care, but integrating them into an annual schedule amplifies protection. Schedule quarterly checks: spring for debris clearance, summer for moisture focus, fall for insulation review, and winter for leak detection. Track changes in a simple log to identify patterns, such as recurring condensation after heavy rains.
Incorporate tools like a digital hygrometer to measure humidity and an infrared thermometer for temperature gradients. These devices provide objective data, guiding adjustments like adding baffles to direct airflow around insulation. Consistent habits ensure a resilient attic that supports overall home integrity.
A well-maintained attic translates to tangible benefits: cleaner air free from allergens, stable energy use, and preserved structural longevity. Homeowners who prioritize these practices avoid unexpected disruptions and enjoy peace of mind year after year.