Pre-Summer AC Maintenance: Essential Checks to Avoid Costly Repairs
A malfunctioning air conditioner during peak heat transforms a comfortable home into an uncomfortable space. Many homeowners address their cooling systems only after failure occurs, yet proactive measures in advance of warmer weather prevent substantial expenses. This guide provides a detailed pre-summer checklist to inspect, clean, and adjust components, ensuring optimal performance throughout the season.
The Importance of Pre-Summer AC Maintenance
During periods of inactivity, air conditioners accumulate dust, moisture, and minor electrical faults. These elements escalate into significant malfunctions upon reactivation. Comprehensive maintenance prior to summer sustains efficiency, lowers energy consumption by as much as 15 percent, and prolongs equipment lifespan by multiple years.
Preventive care identifies potential problems early, even when the unit appears operational. This approach mirrors routine vehicle maintenance before extended travel, requiring modest effort upfront to avert larger expenditures later.
Core Maintenance Priorities
For those with limited time, concentrate on these five fundamental tasks:
- Replace the air filter to enhance airflow and lessen blower motor stress.
- Remove debris from the outdoor condenser to facilitate adequate ventilation.
- Examine refrigerant lines for evident deterioration or insulation compromise.
- Evaluate thermostat accuracy for precise temperature regulation.
- Inspect the circuit breaker and disconnect box to ensure reliable power delivery.
Such measures address approximately 70 percent of typical service requests, based on insights from the National HVAC Service Association.
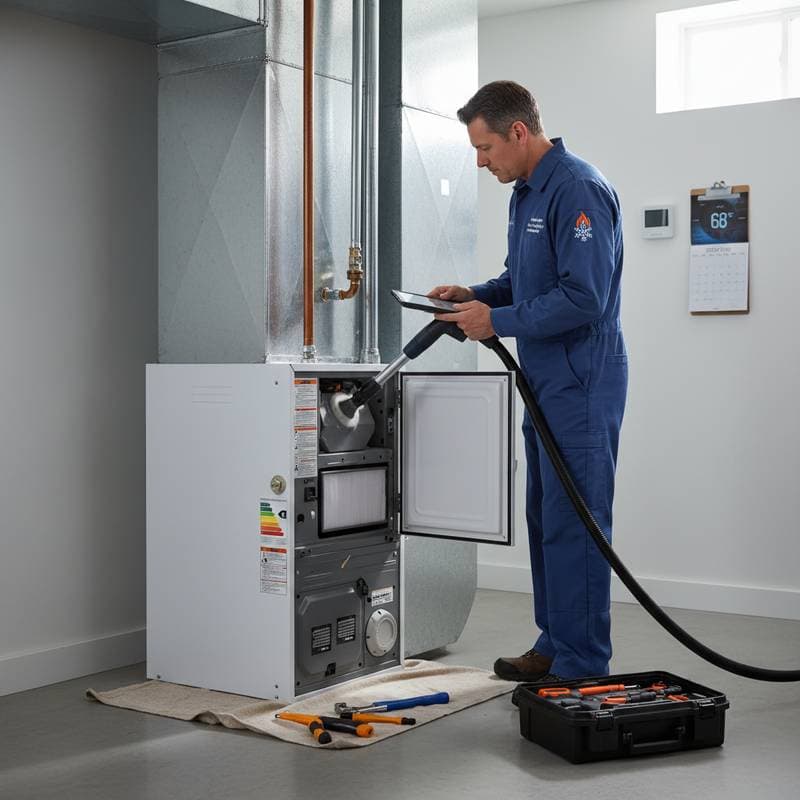
Detailed Pre-Summer AC Maintenance Steps
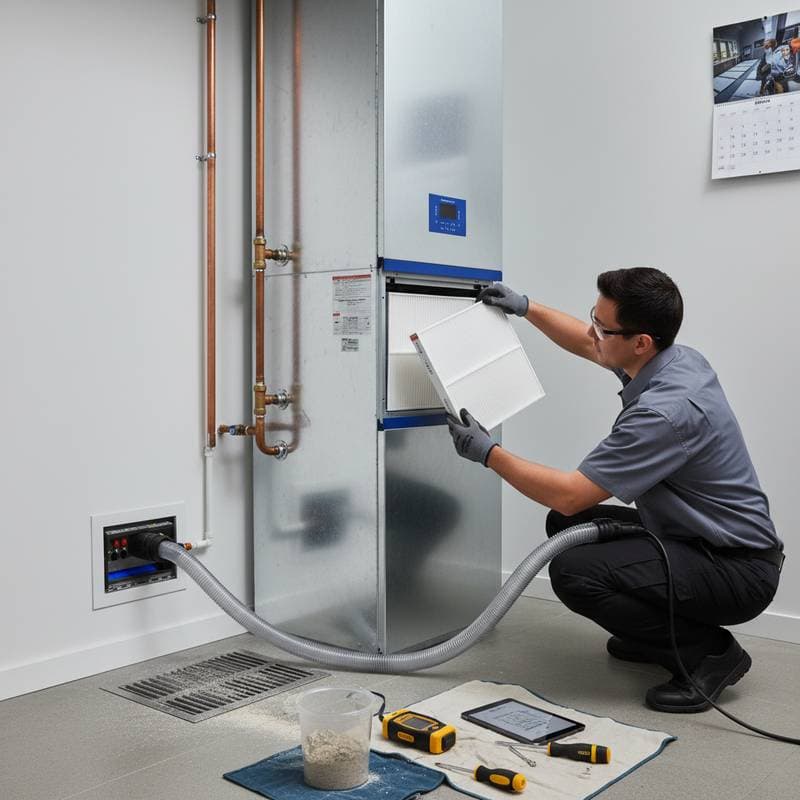
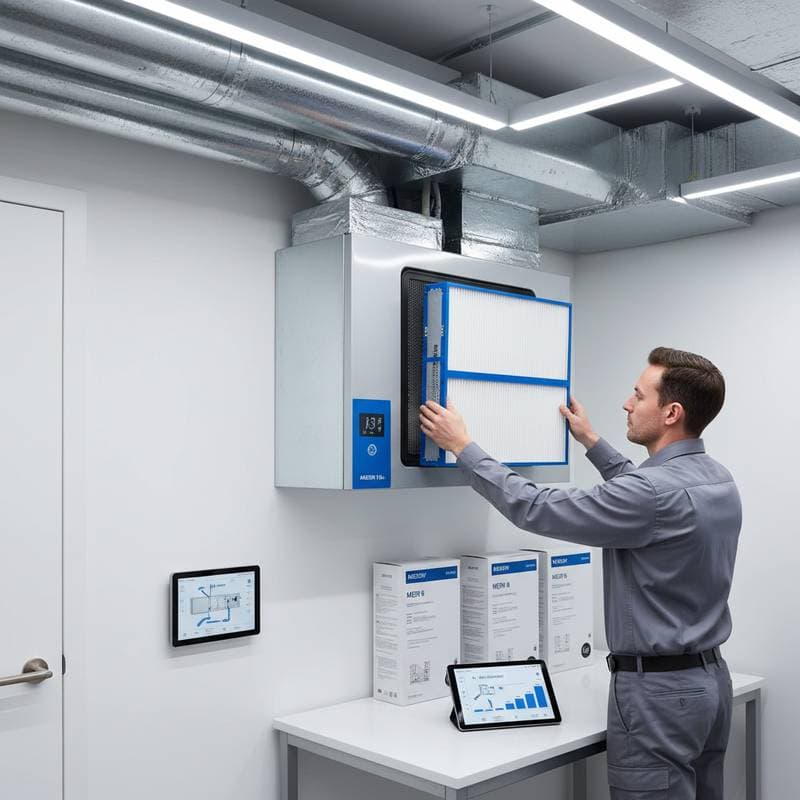
1. Replace or Clean the Air Filter
Obstructed filters impede airflow, compelling the system to operate under increased load. Exchange filters every 30 to 60 days amid intensive usage.
- Standard filter dimensions include 16x20 inches, 20x25 inches, or 14x24 inches.
- Filter depth ranges from 1 to 4 inches; deeper variants capture additional particles yet demand precise matching to avoid airflow restriction.
- Select a MERV rating of 8 to 11 for home applications; elevated ratings filter smaller contaminants but necessitate more regular changes.
For washable filters, clean with a mild detergent solution and allow full drying prior to reinsertion.
2. Clean the Outdoor Condenser Unit
The condenser coil dissipates heat extracted from indoor spaces. Obstructions from foliage, clippings, or soil severely impair performance.
To perform cleaning:
- Deactivate power via the disconnect box.
- Detach the top grille with care.
- Rinse fins from interior to exterior using a hose at low pressure.
- Align any deformed fins with a fin comb tool.
Preserve a minimum clearance of 24 inches surrounding the unit to support unrestricted airflow.
3. Examine Refrigerant Lines and Insulation
Copper tubing connecting indoor and outdoor components transports refrigerant. Foam insulation encases these lines to regulate temperature and inhibit moisture formation.
- Identify fractures or absent insulation; repair affected areas using 3/4-inch foam pipe insulation fastened with weatherproof tape.
- Detect oily spots or frost formation, which signal possible refrigerant escape; engage a certified HVAC specialist immediately.
Refrigerant management requires professional expertise, as unauthorized handling contravenes environmental standards.
4. Assess Thermostat Operation and Accuracy
Imprecise thermostats lead to excessive or insufficient cycling.
- Adjust the setting 5 degrees below ambient room temperature and monitor for system activation.
- If unresponsive, verify battery status or wiring integrity.
- For traditional thermostats, cross-check against an independent thermometer; discrepancies exceeding 2 degrees warrant consideration of programmable or intelligent models.
Advanced thermostats reduce cooling expenses by 10 to 20 percent via programmed adjustments.
5. Clear the Condensate Drain Line
This line expels accumulated moisture from the cooling process. Blockages result in overflow, potentially damaging ceilings or fostering mold.
For cleaning:
- Identify the PVC drain near the indoor unit.
- Access the endpoint cap.
- Introduce a solution of one cup white vinegar and one cup warm water.
- Allow 30 minutes dwell time, followed by a clear water flush.
Repeat this procedure at least twice per cooling period to deter algal growth.
6. Secure Electrical Connections and Evaluate the Capacitor
Insecure wiring and degraded capacitors frequently precipitate failures.
- With power off, scrutinize the control panel for rust or loose contacts.
- Inspect the capacitor, a compact cylindrical element powering the compressor and fan; replace if bulging or fluid-leaking.
Capacitor substitutes range from 15 to 50 dollars, a fraction of professional intervention fees.
7. Inspect Ductwork for Air Leaks
Compromised ducts squander up to 30 percent of cooled air.
- Review visible sections in attics or crawl spaces.
- Employ a smoke pencil or incense to detect airflow escapes at seams.
- Apply UL-rated aluminum foil tape or duct mastic to seal imperfections.
For concealed sections, arrange a professional pressure assessment to uncover hidden deficiencies.
8. Lubricate Mechanical Components
Units with exposed bearings benefit from periodic oiling. Apply several drops of SAE 20 non-detergent motor oil to relevant fan or motor points, consulting the owner's manual to confirm applicability; sealed modern systems exempt this requirement.
9. Confirm Overall System Efficiency
After completing preparations, conduct a thorough operational review.
- Gauge supply vent air temperature differential; expect 14 to 20 degrees Fahrenheit between intake and output.
- Note atypical sounds such as vibrations or leaks.
- Time the cycle duration to achieve target temperature.
Prolonged operation suggests refrigerant inadequacy or compressor inefficiency.
Safety and Accessibility Guidelines
In homes with elderly residents or mobility limitations, position controls at reachable heights, such as 48 inches from the floor for thermostats. During outdoor maintenance, don protective gloves and eyewear to guard against fin hazards. Disconnect electricity before accessing internal components.
Determining DIY Limits and Professional Needs
Homeowners manage filter changes, cleaning, and visual checks effectively. Summon experts for:
- Refrigerant anomalies or diminished cooling.
- Electrical irregularities or scorched wiring.
- Compressor startup failures or breaker interruptions.
- Inaccessible duct breaches.
Professional tune-ups range from 90 to 180 dollars by location and extent, contrasting sharply with 600 to 1500 dollars for urgent compressor fixes.
Pitfalls in Home Maintenance
Missteps undermine even diligent efforts. Steer clear of:
- High-pressure rinsing that warps condenser fins.
- Excessive lubrication causing motor harm.
- Neglecting power restoration post-service.
- Obstructing return vents with furnishings.
- Overlooking drain line maintenance, inviting water issues.
Maintain a record of service dates and actions to monitor progress.
Strategies to Enhance Efficiency and Reduce Costs
Efficiency measures benefit both environment and finances. Implement these practices:
- Position shade over the outdoor unit via awnings or vegetation, boosting performance by 10 percent while upholding 24-inch clearance.
- Fortify windows and doors with weatherstripping and caulk to retain cool air.
- Activate ceiling fans in counterclockwise rotation to circulate air effectively.
- Raise thermostat settings incrementally; each degree beyond 72 yields about 3 percent savings.
For units over 10 years old or employing obsolete refrigerants, opt for high-efficiency replacements rated at 16 SEER or above, potentially slashing bills by 40 percent.
DIY Versus Professional Maintenance Overview
| Task | DIY Feasible | Professional Advised | Approximate Cost |
|---|---|---|---|
| Filter Replacement | Yes | No | 10 to 20 dollars |
| Coil Cleaning | Yes | Optional | 0 to 50 dollars |
| Refrigerant Check | No | Yes | 100 to 250 dollars |
| Duct Inspection | Partial | Yes | 200 to 400 dollars |
| Electrical Testing | Limited | Yes | 100 to 200 dollars |
Combine personal efforts for initial spring preparations with expert service near summer onset for optimal results.
Schedule Your Maintenance Routine
Integrate these steps into an annual calendar to sustain system reliability. Early action ensures seamless cooling, minimized disruptions, and long-term savings, preparing your home for comfortable seasons ahead.