Introduction to AC Maintenance for Cost Savings
Air conditioners represent a major investment in home comfort, yet many homeowners overlook basic upkeep that can dramatically lower operating expenses. Dust, dirt, and debris accumulate on filters and coils over time, forcing the system to work harder and consume more energy. Simple cleaning tasks restore optimal performance, enhance air quality, and prevent costly repairs.
This guide provides practical steps for maintaining your AC unit. Focus on filters and coils, as these components directly influence efficiency. With consistent care, expect noticeable reductions in energy use and improved cooling reliability.
The Financial Benefits of Regular AC Cleaning
Professional estimates indicate that a dirty AC system can increase energy consumption by up to 25 percent. Clean filters alone contribute to about 5 percent savings in cooling energy. Addressing coils further optimizes heat transfer, shortening runtime and accelerating cooling cycles.
Consider a typical summer electric bill of 150 dollars. Proper maintenance might save 15 to 40 dollars monthly, accumulating to 75 to 200 dollars over the season. These figures easily offset the expense of supplies and effort involved.
Beyond immediate savings, maintenance preserves warranty coverage and avoids premature component failure. Systems under regular care operate more quietly and distribute air evenly, enhancing overall home comfort.
Average Cost of Maintenance Supplies
Basic cleaning requires minimal investment. Expect to spend 15 to 35 dollars on foam coil cleaners, replacement filters, soft brushes, and fin combs. These items are available at hardware stores or online retailers.
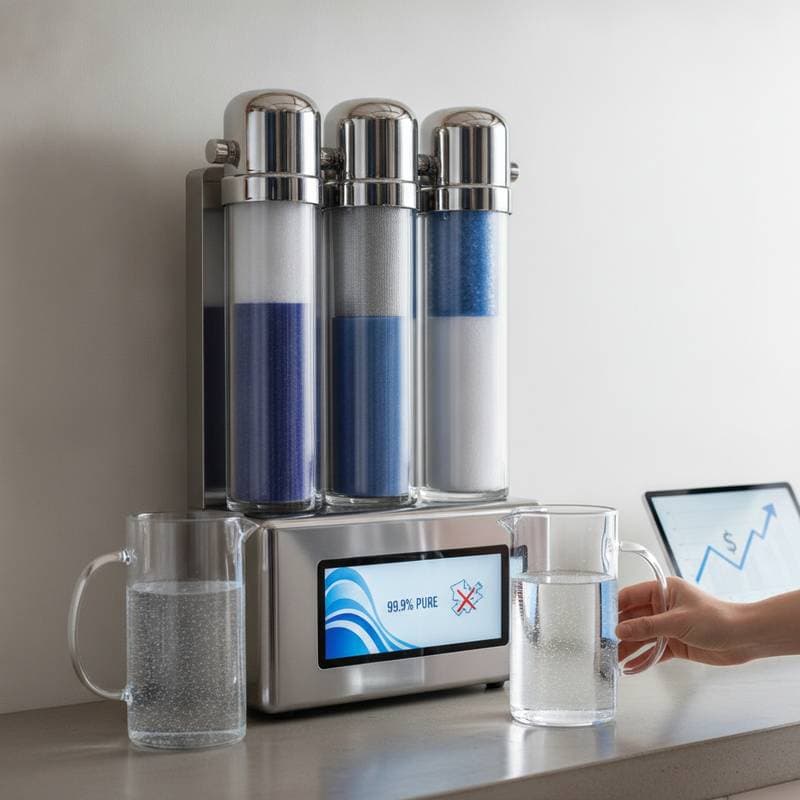
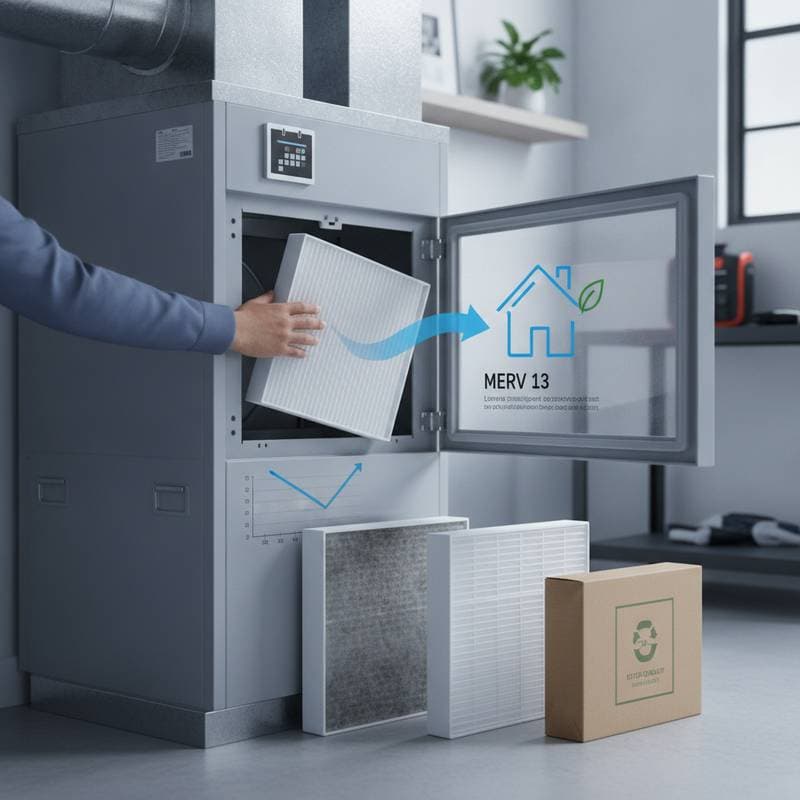
Reusable tools like hoses and vacuums add no ongoing cost if already owned. For filters, select pleated models rated MERV 8 to 13 for balanced filtration without restricting airflow. Budget an additional 10 to 20 dollars per filter replacement, depending on size and quality.
Step-by-Step Guide to Cleaning AC Filters
Filters trap particles to protect internal components and improve indoor air. Replace or clean them monthly during peak use to maintain efficiency.
- Locate the Filter: Access panels vary by model; check the return air grille or furnace compartment.
- Remove and Inspect: Pull out the filter and hold it to light. If less than 50 percent of the surface appears clogged, cleaning suffices; otherwise, replace it.
- Clean Reusable Filters: Rinse with lukewarm water and mild detergent. Avoid bending the frame. Allow full drying before reinstallation.
- Install New Filter: Slide in a fresh unit with arrows pointing toward airflow direction.
- Test Operation: Run the system briefly to confirm proper installation.
This process takes under 15 minutes and prevents strain on the blower motor.
Cleaning the Evaporator Coil
The evaporator coil, located indoors, absorbs heat from room air. Dirt buildup insulates it, reducing cooling capacity and risking freeze-ups.
Perform this task annually in spring, before heavy use begins. Gather a soft brush, no-rinse foaming cleaner, and flashlight for visibility.
- Turn Off Power: Switch off at the breaker panel to eliminate electrical hazards.
- Open Access Panel: Unscrew or unclip the cover on the air handler or furnace.
- Remove Surface Dust: Use a soft brush to dislodge loose particles, directing them away from sensitive areas.
- Apply Cleaner: Spray foaming solution evenly over the coil. Allow it to penetrate and dissolve grime for 10 to 15 minutes.
- Reassemble and Restore Power: Ensure dryness, then secure the panel and reactivate power.
Inspect nearby drain lines during this process. Clear any blockages to avoid water damage.
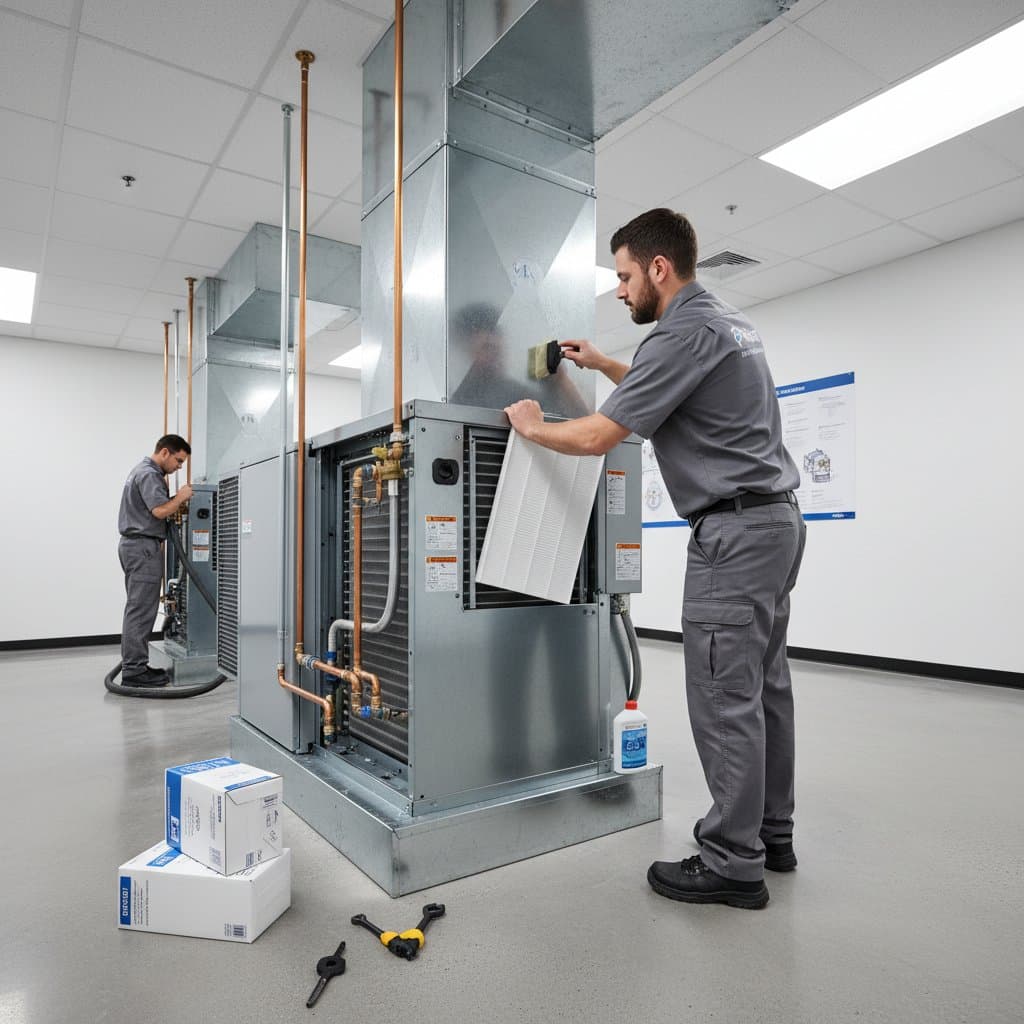
Cleaning the Condenser Coil
Outdoor condenser coils release heat to the environment. Vegetation, pollen, and insects obstruct fins, impeding dissipation and raising temperatures.
Schedule cleaning in early spring and mid-summer. Maintain a three-foot clearance around the unit for optimal airflow.
- Shut Off Power: Disconnect at the outdoor switch or breaker.
- Clear Debris: Rake leaves, grass, and dirt from the base and sides.
- Rinse Fins: Hose from inside out with moderate pressure to flush contaminants. Avoid high force that bends delicate fins.
- Apply and Rinse Cleaner: Foam the coil, wait for action, then rinse thoroughly.
- Straighten Fins: Employ a fin comb to realign any distortions, restoring full airflow.
After completion, verify the fan spins freely. This step ensures the unit handles heat waves effectively.
Establishing a Maintenance Schedule
Consistency forms the foundation of efficient AC operation. Develop a routine aligned with seasonal demands.
In spring, conduct full filter and coil cleaning. Monthly during summer, inspect and replace filters while checking the outdoor unit. Fall preparation includes a final coil rinse to remove summer residue.
Track tasks with a calendar or app. Note system performance metrics, such as runtime and temperature differentials, to spot trends early.
Integrate checks for belts, capacitors, and thermostats. These elements support overall balance and prevent isolated issues from escalating.
Signs That Require Professional Attention
DIY efforts cover most needs, yet complex diagnostics demand expertise. Professionals access tools for refrigerant evaluation and electrical testing.
Seek service for weak airflow, warm vents, odd noises, or frozen coils. Persistent high bills or indoor leaks signal deeper problems.
A standard tune-up ranges from 100 to 200 dollars. It identifies refrigerant leaks, balances airflow, and calibrates controls, averting repairs that cost thousands.
Technicians also assess insulation and duct integrity, offering tailored recommendations for your setup.
Troubleshooting Everyday AC Problems
Quick diagnostics resolve many glitches without external help. Approach issues systematically to isolate causes.
For poor cooling, confirm thermostat settings and filter condition. Uneven temperatures may indicate dirty coils or blocked vents.
Address indoor drips by unclogging the condensate line with a vinegar solution or vacuum. Musty odors suggest mold; apply disinfectant cleaner to coils and filters.
If the outdoor unit fails, reset breakers and remove obstructions. Vibrations often stem from loose panels or unbalanced fans; tighten components carefully.
Document symptoms for professionals if self-fixes fail. This detail accelerates accurate repairs.
Strategies to Prolong AC Lifespan
Neglect shortens system durability, while proactive care extends it by years. Compressors and fans endure less stress with clean components.
Annual full servicing correlates with 15 to 20 years of service, compared to 10 to 12 for poorly maintained units. Reduced cycling minimizes wear on seals and valves.
Complement cleaning with duct inspections. Seal leaks using mastic or foil tape to retain cooled air.
Calibrate thermostats for precision and lubricate accessible motors. Tighten wiring to prevent arcing and failures.
Monitor humidity levels, as excess moisture accelerates corrosion. Dehumidifiers assist in damp climates.
Practical Steps for Ongoing AC Care
View your AC as essential infrastructure requiring stewardship. Spring preparations yield reliable performance amid summer demands.
Homeowners committing to routines experience consistent comfort and fiscal benefits. Monthly filter swaps and debris clearance sustain peak operation.
Observe for performance shifts, such as slower cooling or increased noise. Adjust habits based on usage patterns, like more frequent checks in dusty areas.
This approach delivers clean air, stable temperatures, and budgetary control. Proactive measures ensure readiness for intense heat, providing reassurance year after year.