The 2025 Checklist That Keeps Your AC Running All Summer
A reliable air conditioning system separates a comfortable home from an uncomfortable one during hot weather. Many homeowners delay maintenance until the initial heat wave strikes. At that point, minor issues often escalate into major failures. The most effective strategy involves following a preventive checklist to prepare the system before temperatures climb. This guide outlines practical steps for homeowners to maintain efficiency throughout the summer.
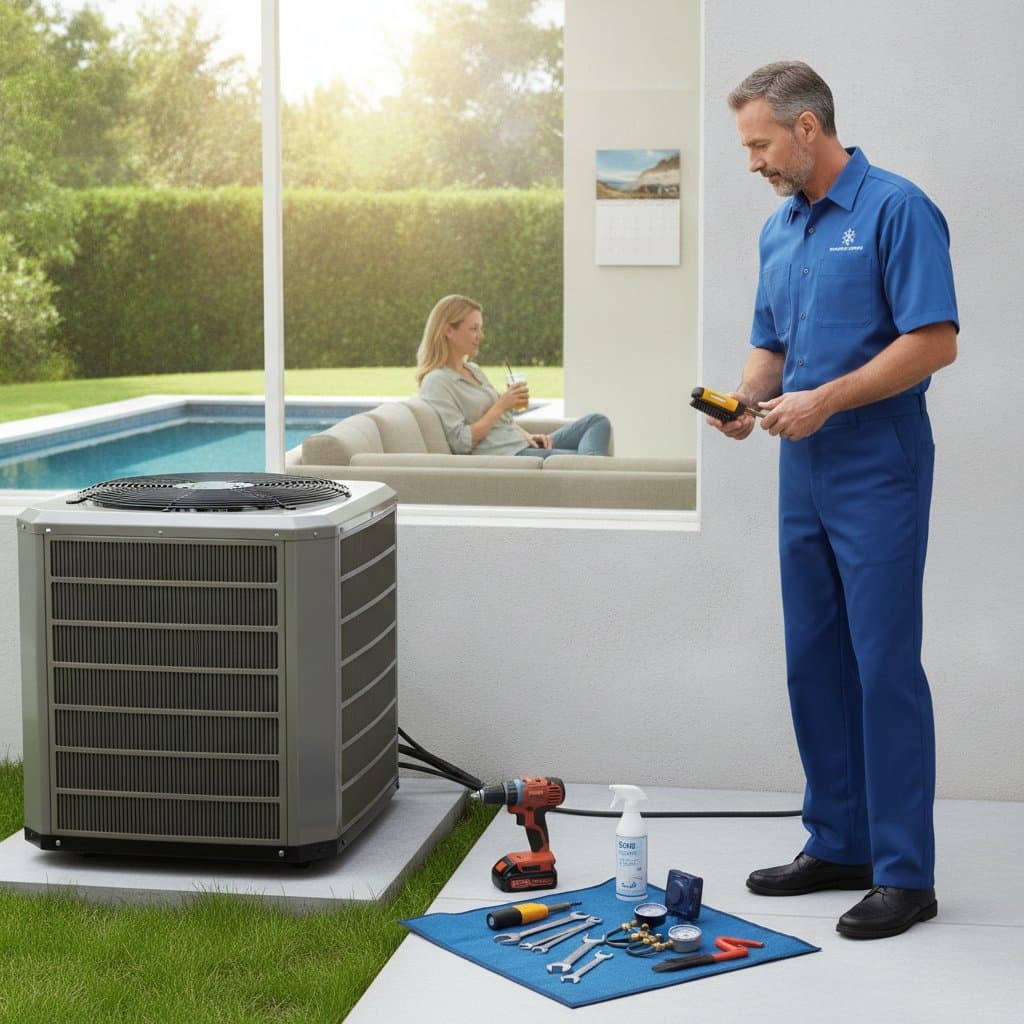
Step 1: Start with a Visual Inspection
Examine the air conditioner closely for visible damage. Search for rust, corrosion, or fluid leaks around the outdoor unit. Remove accumulated debris, such as leaves or soil, from the winter months. Obstructions compel the system to operate under strain, which reduces its durability and raises energy consumption.
Review the insulation covering the refrigerant lines. Replace any cracked or absent sections with fresh foam insulation to minimize heat loss. Verify that the condenser fins remain aligned. Use a fin comb to straighten any bends, as distortions impede airflow and diminish cooling effectiveness.
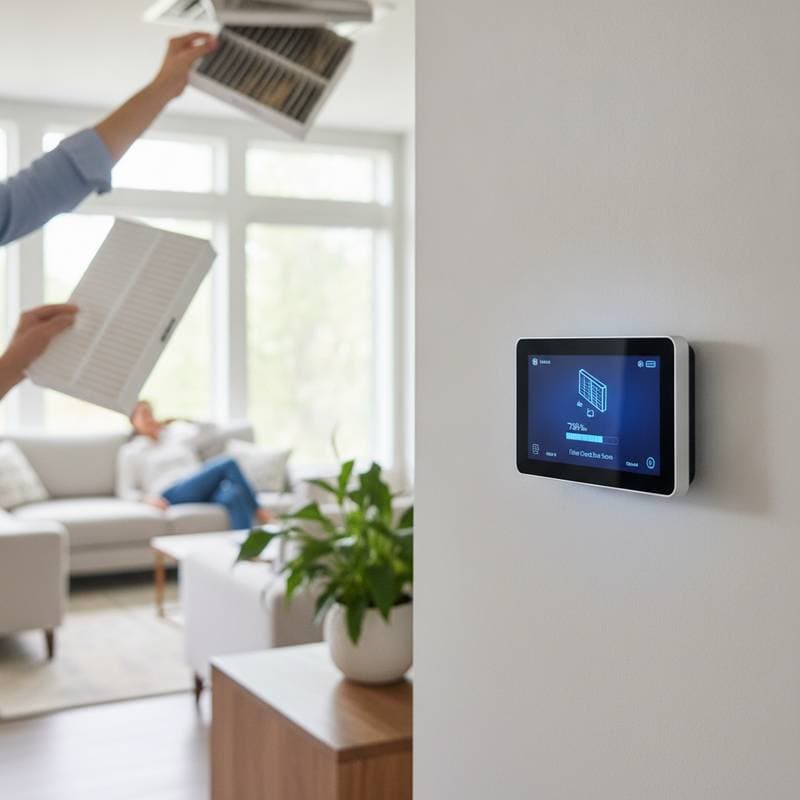
Step 2: Clean or Replace Air Filters
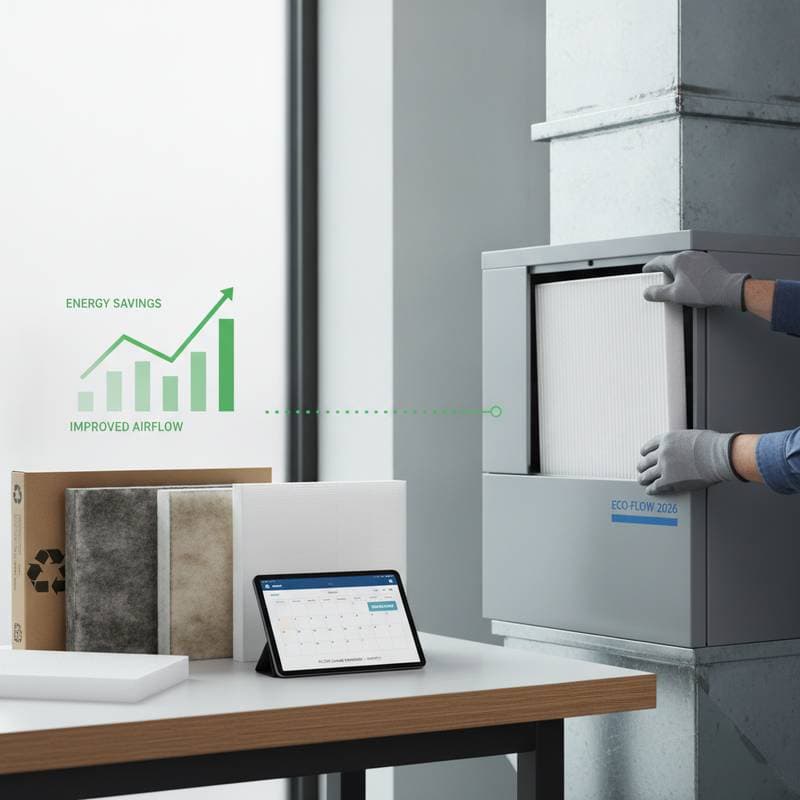
Clogged filters represent the primary cause of suboptimal AC operation. They limit air circulation, weaken cooling power, and elevate operational expenses. Experts advise inspecting filters monthly during peak usage and substituting them every two to three months. Residents with pets or in high-dust environments benefit from more frequent replacements.
Wash reusable filters using mild soap and water, then allow them to dry fully before reinsertion. Swap disposable filters with equivalents matching the dimensions and specifications in the unit manual. The U.S. Department of Energy reports that a clean filter can enhance energy efficiency by as much as 15 percent.
Step 3: Clean the Condenser Coils
The outdoor condenser coils expel heat absorbed from indoor spaces. Accumulated dirt hinders their heat dissipation, resulting in extended run times and increased utility bills. Regular cleaning restores optimal function.
Disconnect power at the main switch before proceeding. Detach the protective casing and employ a soft brush or vacuum to dislodge loose particles. Flush the coils with a garden hose at low pressure to prevent fin damage. Refrain from chemical agents unless the manufacturer endorses them. After drying, secure the cover and maintain a two-foot clearance around the unit, free of vegetation or obstacles.
Step 4: Check the Thermostat and Controls
An obsolete or imprecise thermostat leads to inefficient system cycles. Test functionality by adjusting the setting several degrees below the ambient room temperature. The unit should activate promptly, within one to two minutes. Failure to respond or excessive cycling signals the need for adjustment or replacement.
Upgrade to a smart thermostat for advanced control. These models adapt to daily routines and optimize cooling schedules to conserve energy. Energy Star estimates that effective use of programmable settings reduces cooling expenses by approximately 10 percent.
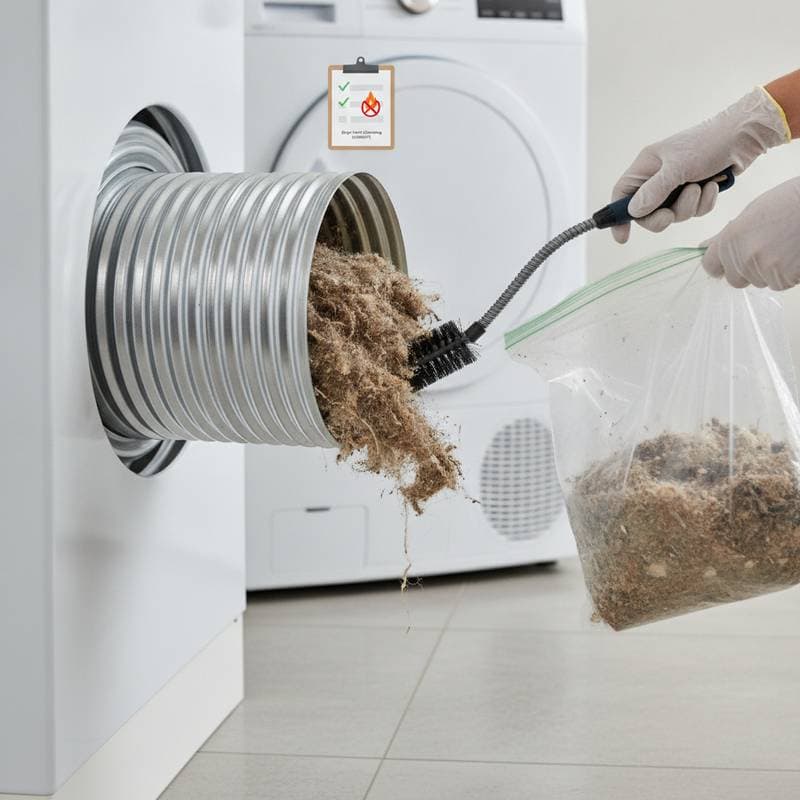
Step 5: Inspect Ductwork for Leaks
Leaks in ductwork squander cooled air and overburden the AC unit. Uneven temperatures across rooms or diminished vent output often indicate this problem. Perform a basic leak detection by positioning tissue paper near duct joints during operation; fluttering suggests air escape.
Apply mastic sealant or aluminum foil tape to seal minor breaches. Standard adhesive tapes degrade over time and prove ineffective. In older structures or complex setups, engage a professional for a comprehensive pressure assessment to identify concealed deficiencies.
Step 6: Examine the Condensate Drain
The AC extracts humidity from indoor air, directing it via a condensate drain. Blockages in this line risk water accumulation, potential flooding, or automatic system halts. Locate the drain outlet adjacent to the indoor component and confirm steady dripping during runtime.
Clear obstructions by introducing a cup of distilled vinegar or a warm water-detergent solution into the access port. Alternatively, attach a wet-dry vacuum to the exterior end to extract sediment. Routine clearing inhibits mold development and safeguards the system from excess pressure.
Step 7: Test the Electrical Components
Compromised electrical elements pose risks of malfunction or hazards. Deactivate the power source prior to any inspection. Assess the contactor, capacitors, and wiring for signs of deterioration or oxidation. Evidence of scorching or insulation damage requires immediate professional intervention.
Avoid self-repair of these components without specialized training and equipment. Annual professional servicing typically encompasses thorough electrical diagnostics. Addressing concerns early averts substantial future expenditures.
Step 8: Evaluate System Performance
Following maintenance tasks, operate the unit through a complete cycle. Monitor for atypical sounds, including rattles or whistles. Calculate the temperature differential between supply and return air at the vents; a 15- to 20-degree drop signifies strong performance. Narrower margins may reveal refrigerant shortages or obstructions.
Document observations in a maintenance journal. Consistent records reveal trends and inform timely expert consultations.
Step 9: Plan for Professional Maintenance
Homeowner efforts complement but do not replace expert oversight. Annual professional evaluations employ precise tools to gauge refrigerant charge, system pressures, and circuit integrity. Technicians uncover subtle faults invisible to novices.
Select service providers certified by organizations like the North American Technician Excellence program. Request a detailed post-service summary for documentation and ongoing planning.
Step 10: Prepare for Peak Season
Prior to intense heat, test the AC for several hours to confirm reliability. This trial run allows resolution of glitches before service backlogs form. Power surges threaten sensitive parts; install a dedicated surge protector to mitigate such risks.
Sustaining Efficiency and Comfort Year-Round
Regular adherence to this checklist preserves AC reliability and longevity. Homeowners achieve reduced energy demands, fewer disruptions, and extended equipment life. Such practices enhance property value while promoting environmental responsibility through minimized consumption.
For those seeking convenience, HVAC maintenance contracts provide scheduled inspections, filter services, and expedited repairs. These arrangements frequently offset costs via preventive savings. Proactive care ensures a season of uninterrupted cooling, lower expenses, and peace of mind.