The Fall Chimney Checklist: Preventing Winter Fires
A crackling fire provides soothing warmth during chilly evenings, yet the chimney supporting those flames requires careful attention to remain safe and effective. Homeowners often neglect chimney upkeep until problems like smoke backup or wall stains emerge. Adhering to a thorough fall chimney checklist helps avoid expensive repairs and minimizes the danger of winter fires.
Why Fall Marks the Ideal Inspection Season
Chimneys endure intense activity as temperatures fall. Accumulated soot, creosote, and debris from prior uses can impede airflow and retain excessive heat. The Chimney Safety Institute of America identifies creosote accumulation as a leading trigger for chimney fires. Inspecting in early fall benefits from favorable weather, allowing technicians secure roof access before ice or snow complicates the process.
Schedule inspections when days remain mild and dry. This timing prevents disruptions from winter storms and ensures issues receive prompt resolution. Professional services during this period often prove more efficient and cost-effective than emergency calls later in the season.
Step 1: Arrange a Professional Inspection
Certified chimney sweeps recommend annual system evaluations. Experts employ cameras and custom brushes to cleanse and evaluate the flue. They identify fractures, obstructions, and venting flaws that might cause hazardous carbon monoxide buildup.
Select a service certified by recognized bodies before engaging. Request client references or review digital testimonials to gauge trustworthiness. Competent professionals deliver detailed written reports outlining required fixes or component swaps.
Step 2: Assess the Chimney Exterior
Circumnavigate your property to detect apparent deterioration. Eroded mortar, absent bricks, or tilted elements signal compromised joints requiring repointing. Verify the flashing at the roof-chimney junction remains secure and watertight. Even minor breaches permit water entry, fostering metal liner corrosion and wood frame decay.
Examine chimney caps for bird nests, fallen leaves, or damaged screens. Robust caps deter animal intrusion and block rainwater from carrying debris into the flue. Install a corrosion-resistant stainless steel or copper cap if absent, with professional assistance for proper fitting.
Step 3: Thoroughly Clean the Firebox
The firebox gathers ash and residue from combustion. Begin by extracting all leftover ash, then employ a firm brush to dislodge soot from interior surfaces. Search for dislodged or fractured firebricks and degraded mortar seams. Addressing these concerns in autumn simplifies tasks before regular fireplace reliance begins.
Refrain from applying domestic cleaners within the firebox, as many release noxious vapors upon heating. Opt for a water and mild dish soap solution or a masonry-specific fireplace cleanser. Rinse surfaces completely to eliminate residue that could affect future burns.
Step 4: Verify the Damper Function
The damper controls airflow and blocks heat loss when the fireplace stands idle. Operate the handle to ensure smooth opening and closing. Sticky movement or poor sealing often stems from soot deposits or oxidation. A secure closure enhances energy conservation and curbs drafts near the fireplace.
For top-sealing dampers, test the cable and spring assembly for reliable performance. These designs provide superior insulation against outdoor elements over conventional throat dampers. Routine cleaning preserves their operation and extends longevity.
Step 5: Evaluate the Flue and Liner
Flue liners protect chimney masonry from intense heat and corrosive byproducts. Materials like clay tiles, metals, or cast-in-place systems degrade gradually. Detect fissures, distortions, or absent segments through visual checks. Compromised liners expose nearby combustibles to heat, posing severe fire threats.
Professionals frequently utilize video scopes for internal flue assessments. Upon discovering damage, consider full replacement or relining. Stainless steel options offer exceptional durability, particularly for aging chimneys failing modern safety standards.
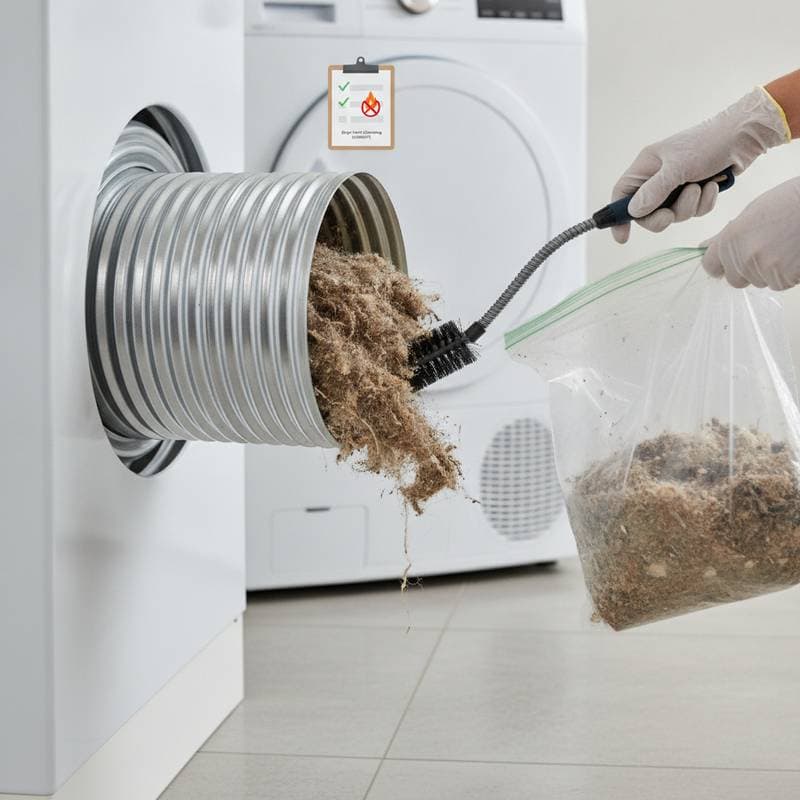
Step 6: Eliminate Creosote Deposits
Creosote develops as wood smoke cools and adheres within the flue. This black, sticky substance grows denser with repeated firings. When layers exceed one-quarter inch, ignition risks escalate sharply. Professional removal techniques clear creosote without harming the liner.
Frequent cleanings enhance draft quality, promoting hotter, cleaner burns. Households with heavy fireplace use benefit from interim sweeps during winter. Track burning frequency to schedule maintenance proactively and sustain optimal conditions.
Step 7: Validate Smoke and Carbon Monoxide Detectors
Impeccable chimney care does not eliminate every risk. Examine smoke and carbon monoxide detectors positioned near the fireplace and bedrooms. Swap out batteries and inspect expiration dates for validity. Fire authorities advocate interconnected units, where activation of one prompts alarms throughout the residence.
Position additional detectors on every level and outside sleeping zones. Test monthly to confirm responsiveness. Integrate these devices into a broader home safety protocol for comprehensive protection.
Step 8: Establish Safe Burning Protocols
Fireplace usage influences safety as profoundly as physical upkeep. Select dry, seasoned hardwoods like oak or maple for fuel. Moist or unseasoned logs generate surplus smoke and creosote. Prohibit the burning of painted, pressure-treated, or trash materials, which emit harmful fumes.
Dispose of ashes in a lidded metal receptacle placed outdoors on a nonflammable base until fully cooled. Prime fires by fully opening the damper and employing minimal dry kindling. Steer clear of liquid accelerants or commercial starters to prevent chimney stress from sudden heat surges.
Sustaining Chimney Safety Through the Seasons
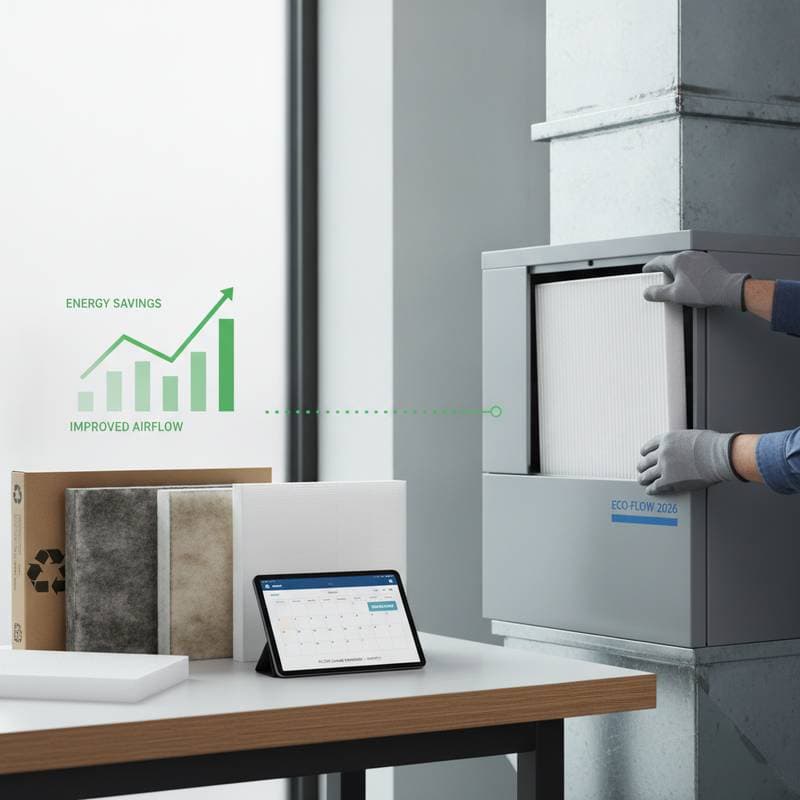
Regular chimney care prolongs fireplace system durability and shields residences from preventable dangers. A pristine, inspected chimney optimizes fuel use, lowering heating expenses. Following this fall checklist grants homeowners confidence that their setup operates reliably amid winter demands.
Maintain inspection and cleaning logs for reference. Such records aid insurance processes and elevate property appeal during sales. Integrate seasonal reviews into annual home maintenance routines for ongoing vigilance and efficiency.