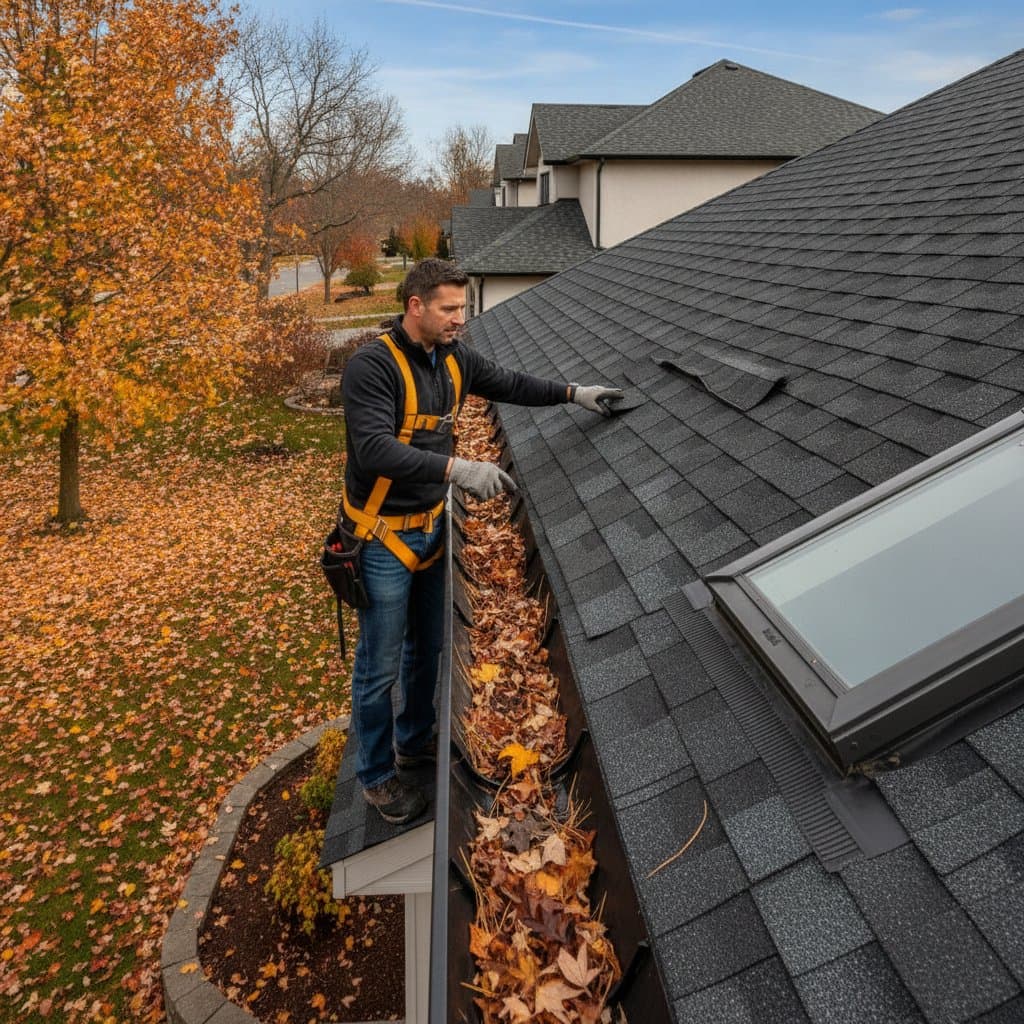
Prepare Your HVAC System for Winter with a DIY Tune-Up
As temperatures fall, the HVAC system takes center stage in maintaining home comfort. A targeted DIY tune-up prior to winter arrival ensures reliable heating, minimizes repair risks, and lowers energy use. Homeowners often believe professional intervention is essential, yet basic tasks can significantly enhance system reliability and longevity without expert assistance.
This guide provides a structured furnace and HVAC maintenance checklist tailored for winter preparation. It includes cleaning procedures, visual inspections, safety protocols, and time-efficient tasks using common household tools. Readers will also gain insight into identifying issues that demand professional expertise and recognizing early warning signs.
Assemble Essential Tools and Materials
Organize tools and supplies in advance to streamline the tune-up process and promote safety. Essential items include:
- A compatible replacement air filter matched to your furnace model
- Vacuum cleaner equipped with a brush attachment
- Assorted screwdrivers for panel access
- Soft cloths or microfiber towels for wiping surfaces
- Flashlight to illuminate internal areas
- Mild detergent or specialized coil cleaner solution
- Protective gloves and safety goggles
Preparation with these items allows for uninterrupted work and reduces the chance of accidents.
Step 1: Replace the Air Filter
A clogged air filter hampers airflow and strains the furnace, leading to higher energy consumption and potential overheating. Regular replacement restores optimal performance.
- Locate the filter compartment, typically near the return air duct or within the furnace cabinet.
- Remove the old filter and note its size and type for accurate replacement.
- Insert the new filter, ensuring arrows on the frame point toward the blower direction.
- Secure the compartment and dispose of the used filter properly.
This quick task can improve airflow efficiency by up to 15 percent, directly contributing to energy savings during heating season.
Step 2: Clean the Furnace Interior
Accumulated dust within the furnace housing impedes airflow and burdens mechanical components. Routine cleaning supports smooth operation and prevents efficiency losses.
- Switch off power to the furnace at the breaker and verify gas supply is disconnected.
- Unscrew and remove access panels to expose the interior.
- Employ the vacuum's brush attachment to dislodge dust from the blower fan, belts, and adjacent areas.
- Dampen a cloth with mild detergent solution to wipe away stubborn residue, then dry thoroughly.
Refrain from contacting electrical wiring or sensitive electronics. If extensive soot, rust, or damaged insulation appears, halt work and consult a technician to assess potential hazards.
Step 3: Lubricate Moving Parts
Friction in components like the blower motor and fan bearings accelerates wear and reduces efficiency. Applying lubricant extends equipment durability.
- Consult your furnace manual to identify lubrication ports on the motor and fan assembly.
- Use a manufacturer-recommended oil, applying a few drops to each designated point.
- Operate the blower briefly to distribute the lubricant evenly.
- Wipe excess to prevent drips onto other parts.
Proper lubrication minimizes noise and energy draw, fostering quieter and more cost-effective operation.
Step 4: Clean and Inspect the Flame Sensor and Burners
The flame sensor monitors burner ignition for safety; dirt accumulation can trigger shutdowns and disrupt heating. Clean burners ensure complete fuel combustion and even heat distribution.
- Confirm power and gas are off before proceeding.
- Identify the flame sensor rod adjacent to the burners.
- Detach the sensor with a screwdriver and clean its surface using fine steel wool or emery cloth to eliminate oxide buildup.
- Reattach securely and verify alignment.
For burners, inspect for debris, corrosion, or misalignment. Clear obstructions with compressed air or a soft brush. Observe flame color during a test run: blue indicates proper burning, while yellow or orange suggests incomplete combustion requiring professional adjustment.
Step 5: Check the Thermostat and Controls
An inaccurate thermostat leads to uneven heating and wasted energy. Verification ensures precise temperature regulation.
- Replace batteries in battery-powered models to maintain functionality.
- Calibrate by comparing the thermostat reading to a separate thermometer placed nearby.
- Clean the thermostat housing with a soft cloth to remove dust affecting sensors.
- Test settings by adjusting to heat mode and monitoring system response.
If discrepancies persist or the unit malfunctions, consider upgrading to a programmable model for enhanced efficiency and remote control options.
Step 6: Inspect Ductwork and Vents
Leaky or obstructed ducts squander heated air, potentially losing 20 to 30 percent of output. Thorough checks optimize distribution and indoor air quality.
- Examine all supply and return vents for accumulations of dust, pet hair, or blockages from furnishings.
- Vacuum registers and surrounding areas to facilitate unrestricted flow.
- In accessible spaces like attics or crawlspaces, scan ducts for separations, holes, or insulation damage.
- Seal minor gaps with foil tape or mastic compound, avoiding cloth duct tape which deteriorates over time.
Addressing these issues not only conserves energy but also diminishes allergen circulation, promoting healthier winter indoor environments. Persistent weak airflow or unusual duct noises warrant a specialist evaluation for comprehensive cleaning or sealing.
Step 7: Test System Operation
A full system test confirms all components integrate effectively post-maintenance. This step verifies readiness for demanding winter conditions.
- Restore power and gas supplies after completing prior tasks.
- Set the thermostat to activate heating and listen for normal startup sequences.
- Monitor for steady operation, checking temperature rise at vents and absence of odd odors or sounds.
- Run the system for 10 to 15 minutes, then inspect for hot spots or cycling irregularities.
Document any anomalies in a maintenance journal for future reference. Smooth performance signals successful preparation.
Step 8: Maintain the Outdoor Unit
For systems with heat pumps or hybrid setups, the exterior condenser requires clearing to sustain heat transfer. Neglect here compromises overall efficiency.
- Disconnect power to the unit for safety.
- Clear vegetation, leaves, and debris from the base and surrounding area.
- Hose down the coils with low-pressure water to remove grime, directing flow from top to bottom.
- Ensure 24 inches of unobstructed space around the unit for ventilation.
Avoid high-pressure washing, which can bend delicate fins. In snowy regions, opt for a loose-fitting, waterproof cover during off-season to shield from elements without trapping moisture.
Recognize When Professional Service Is Essential
Certain diagnostics and repairs exceed DIY capabilities due to technical complexity and safety risks. Engage a certified HVAC professional for:
- Frequent circuit breaker trips or exposed wiring faults
- Gas odors, erratic burner flames, or carbon monoxide alerts
- Inadequate heating despite clean filters and open vents
- Grinding, banging, or whistling sounds unrelieved by basic cleaning
- Ice formation on coils or visible refrigerant moisture
Technicians perform advanced tests like combustion analysis and heat exchanger integrity checks, which safeguard against hazards. Annual professional tune-ups can prolong system lifespan by five to ten years and preserve warranty validity.
Data from industry discussions indicate that combining homeowner maintenance with yearly expert visits reduces emergency service calls by approximately 25 percent over a ten-year period.
Plan Costs and Long-Term Savings
Basic DIY efforts involve minimal expense, often limited to a $20 filter and $10 in supplies. Professional inspections typically cost $100 to $250, varying by location and system scale. These outlays yield returns through reduced utility bills and averted major failures.
Explore maintenance contracts from local providers, which frequently include biannual visits, emergency priority, and component discounts. Pairing diligent care with energy-efficient upgrades, such as smart thermostats, can trim heating expenses by 20 to 30 percent annually.
Essential Practices for Ongoing Reliability
Prioritize safety by de-energizing the system before any internal access. Maintain a log recording filter swaps, cleaning dates, and observed issues to inform future actions. Refresh thermostat batteries annually and source parts from trusted suppliers to match original specifications.
Position furniture away from air pathways to preserve circulation. If the furnace exceeds 15 years in age or lacks recent service, prioritize a pro inspection to preempt failures.
Secure Comfort and Efficiency Year-Round
View the HVAC tune-up as a proactive measure safeguarding warmth and budget. Dedicated effort in these steps yields durable performance, substantial savings, and peace of mind through the coldest months.