The Essential HVAC Checklist for Summer Comfort
Hot weather demands a reliable cooling system to maintain a comfortable home environment. Many homeowners discover issues only when the heat intensifies, leading to discomfort and unexpected expenses. This guide outlines a comprehensive checklist to prepare your HVAC system effectively. Follow these steps to optimize performance, conserve energy, and avoid breakdowns while ensuring clean, fresh indoor air.
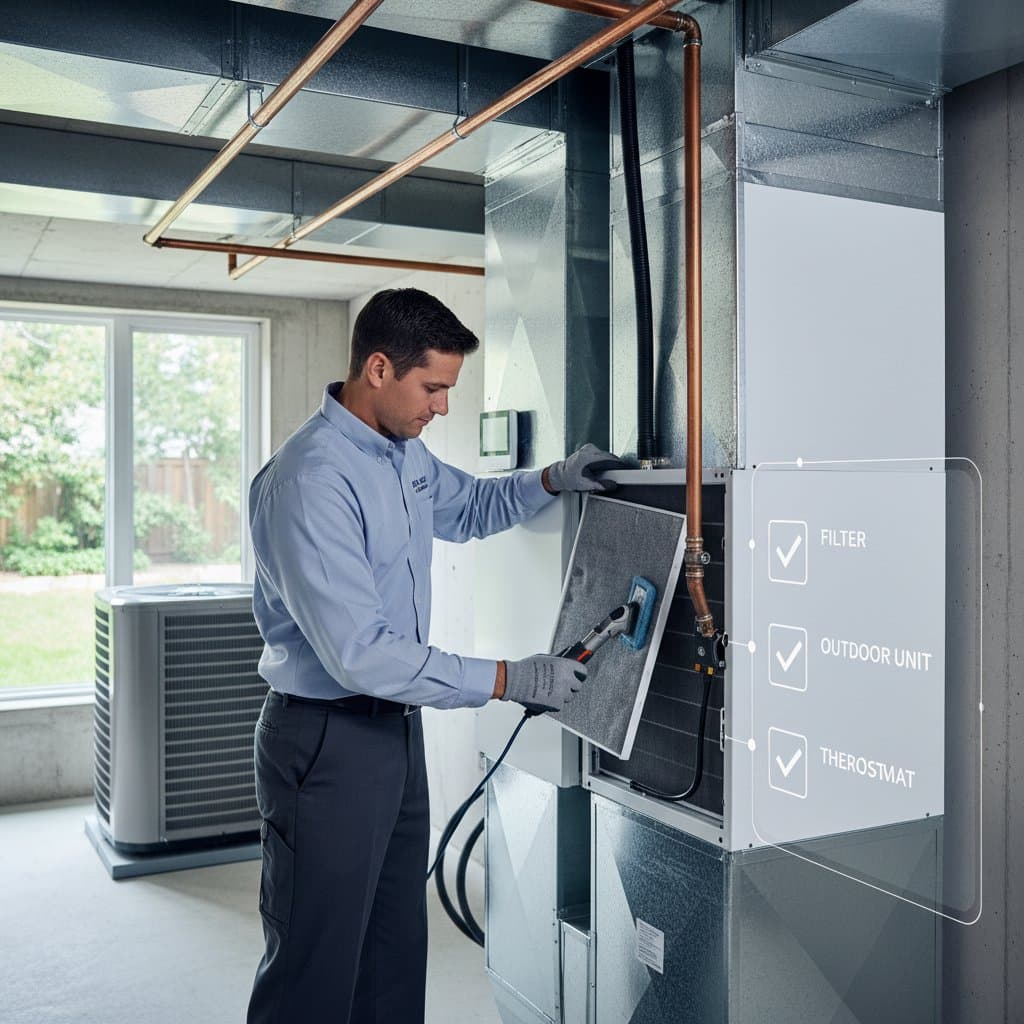
Step 1: Inspect and Replace Air Filters
Air filters capture dust, pollen, and other particles before they circulate through your home. A clogged filter reduces airflow, compels the system to operate inefficiently, and accelerates component wear. Regular inspection prevents these problems and supports better air quality.
How to check and replace filters:
- Switch off the power to the HVAC system at the breaker.
- Locate the filter panel, typically near the return air vent or furnace.
- Remove the filter and hold it against a light source. Replace it if light struggles to pass through.
- Install a new filter, ensuring the airflow arrows point toward the blower.
Select filters appropriate for your household. Pleated filters with higher MERV ratings trap finer particles, benefiting those with allergies or pets, though they require monitoring to avoid excessive airflow restriction.
Step 2: Clean the Outdoor Condenser Unit
The outdoor unit, or condenser, releases heat absorbed from indoors. Debris such as leaves, dirt, or grass clippings can obstruct it, reducing cooling capacity and straining the compressor.
Maintenance steps:
- Turn off power to the unit.
- Clear vegetation and debris from around the unit, maintaining at least two feet of clearance.
- Gently rinse the coils with a garden hose, using low pressure to avoid bending fins.
- Straighten any bent fins with a fin comb if available.
This cleaning improves heat dissipation and can enhance system efficiency by up to 15 percent. Schedule this task early in the season before temperatures rise.
Step 3: Verify Thermostat Settings and Functionality
The thermostat regulates your system's operation, directly impacting comfort and energy consumption. Incorrect settings or a malfunctioning unit can lead to uneven temperatures or excessive runtime.
Key tasks:
- Verify the thermostat switches seamlessly between heating and cooling modes.
- Replace batteries in battery-powered models to prevent failures.
- Program the thermostat to raise the temperature by a few degrees during absences, promoting energy savings.
- For programmable or smart models, confirm schedules align with your routine and update connected applications.
Proper adjustments can reduce cooling costs by 10 percent or more, according to energy experts. Test the display and controls for responsiveness.
Step 4: Inspect Ductwork and Seals
Ductwork delivers cooled air throughout your home, but leaks or blockages diminish effectiveness. Poorly sealed ducts waste energy and allow contaminants to enter the system.
Inspection and repair tips:
- Visually check accessible ducts for visible gaps, holes, or disconnected sections.
- Feel for air escaping around registers and joints.
- Seal leaks with mastic sealant or foil tape, avoiding cloth-backed duct tape.
- Ensure vents and registers remain open and unobstructed by furniture.
Addressing duct issues can recover up to 20 percent of lost efficiency. For complex systems, consider a professional duct sealing service.
Step 5: Examine the Drain Line and Evaporator Coil
During cooling, the evaporator coil removes humidity, with excess water draining through a dedicated line. Blockages from algae or debris cause water backups, potential leaks, and reduced efficiency.
Cleaning procedures:
- Identify the drain line, often a white PVC pipe near the indoor unit.
- Pour a mixture of one part vinegar to ten parts water down the line to dissolve buildup.
- Check the evaporator coil for dirt accumulation or frost formation.
- If frost appears, shut off the system immediately and seek professional help, as it indicates airflow restrictions or low refrigerant.
Routine flushing prevents odors and water damage. Access the coil carefully, as it resides within the indoor unit.
Step 6: Review Electrical Connections and Capacitors
Electrical components power the fans, compressor, and controls. Loose wires or failing capacitors can cause intermittent operation or complete failure under summer loads.
Basic checks:
- With power disconnected, inspect wiring for fraying or corrosion.
- Tighten visible connections using insulated tools.
- Test capacitors if you have a multimeter; replace swollen or leaking ones.
- Ensure the electrical panel supplies adequate amperage without tripped breakers.
These components endure heavy use in summer, so early detection avoids costly repairs. Leave advanced diagnostics to certified technicians.
Step 7: Evaluate Overall System Performance
Once all maintenance is complete, assess the system's operation to confirm readiness. This final test identifies lingering issues before peak demand.
Performance evaluation:
- Operate the system for 15 to 20 minutes and listen for abnormal sounds like grinding or hissing.
- Measure temperature drop at supply vents; it should be 14 to 20 degrees Fahrenheit cooler than return air.
- Observe cooling speed in different rooms and airflow consistency.
Ideal operation includes quiet, steady fan noise, rapid temperature stabilization, and balanced distribution. Persistent problems warrant a professional inspection.
Strategies for Energy Efficiency and Cost Control
Air conditioning represents a significant portion of summer electricity bills. Proactive maintenance and smart habits minimize consumption while preserving comfort.
Proven energy-saving measures:
- Draw curtains or blinds during midday to block solar heat gain.
- Employ ceiling fans to enhance air circulation, allowing a higher thermostat setting without discomfort.
- Apply weatherstripping and caulk to seal drafts around doors, windows, and outlets.
- Install a programmable thermostat to automate temperature setbacks.
For aging systems with low SEER ratings, replacement with a high-efficiency model can slash energy use by 30 percent. Evaluate options based on your home's size and insulation.
Essential Safety Precautions
HVAC maintenance involves electrical hazards and pressurized components. Adhering to safety protocols protects you and your system.
- Disconnect power at the main breaker before any inspection or cleaning.
- Wear protective gloves when handling cold refrigerant lines or sharp coil fins.
- Use sturdy ladders for elevated access and work with a partner if possible.
- Refrain from tampering with refrigerant levels or sealed electrical boxes without proper training.
Prioritize caution to prevent accidents. Consult professionals for tasks beyond basic cleaning.
Sustaining Long-Term HVAC Reliability
Investing time in seasonal preparation extends the lifespan of your HVAC system, typically 15 to 20 years with proper care. Consistent maintenance not only averts emergencies but also improves indoor air quality and stabilizes utility expenses. Pair these DIY steps with an annual professional tune-up for optimal results and peace of mind throughout the hottest months.


