Preparing Your AC for Summer: A Step-by-Step Maintenance Guide
Summer heat demands a dependable air conditioning system. Homeowners often overlook preparation, which results in unexpected failures, elevated energy expenses, and substantial repair costs. Implementing a structured maintenance routine ensures optimal performance, reduces electricity consumption, and prolongs equipment durability.
This guide details essential actions for homeowners. It includes inspections, cleaning procedures, performance evaluations, and guidance on professional intervention. Follow these steps to maintain comfort and avoid disruptions.
Step 1: Clean or Replace Air Filters
Clogged filters restrict airflow, compelling the system to strain and consume more power. This strain accelerates wear on vital parts. Regular filter maintenance restores efficiency and safeguards system longevity.
Action Steps:
- Locate the filter in the return air vent or indoor unit.
- Inspect it against light; replace or clean if visibility is obstructed.
- Rinse reusable filters using mild soap and water, ensuring full drying prior to reinstallation.
- Install new disposable filters matching the manufacturer's size and MERV rating.
Cost Range: Reusable filters range from ten to thirty dollars; disposables cost five to twenty dollars each.
Difficulty: Simple, requiring about ten minutes.
Frequency: Perform every one to three months, adjusted for usage and environmental dust.
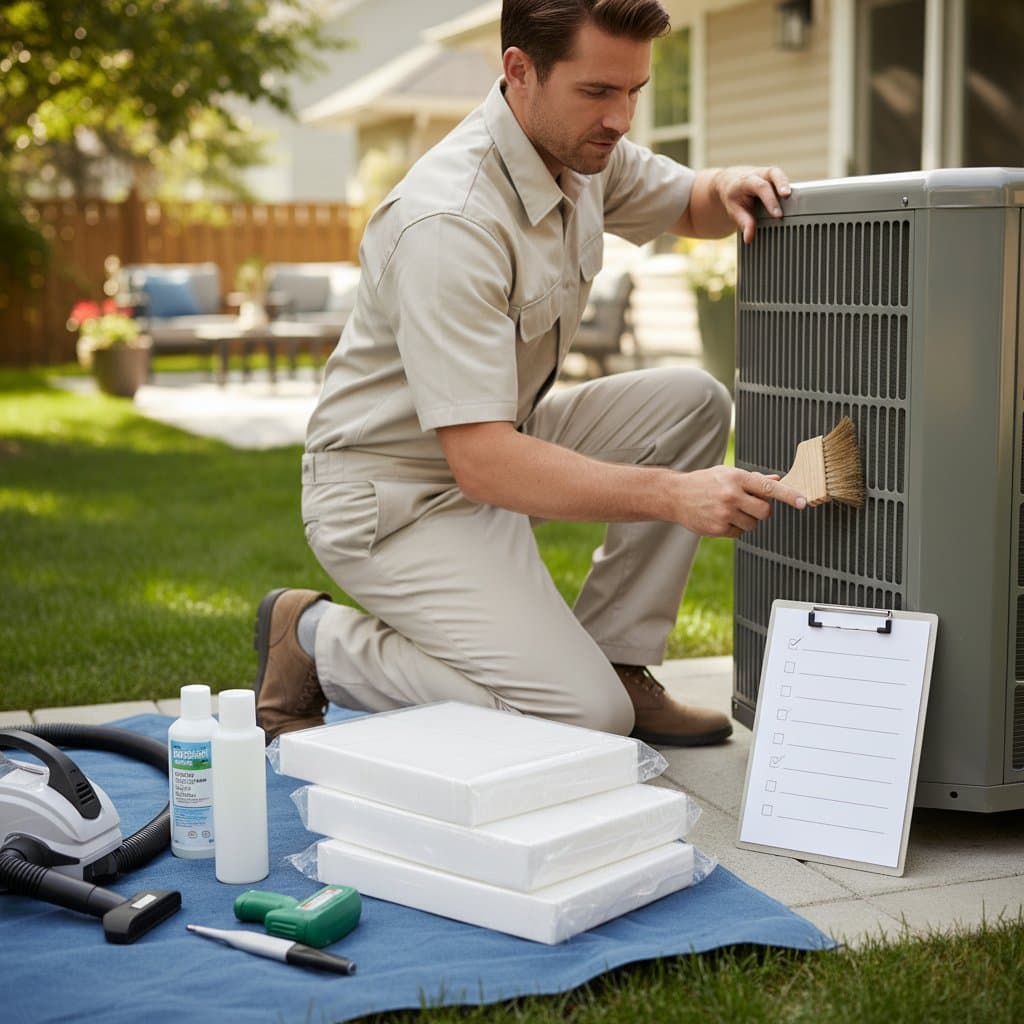
Step 2: Clear Debris Around the Outdoor Unit
The outdoor condenser unit requires unobstructed airflow to dissipate heat effectively. Accumulated leaves, dirt, or vegetation hinders operation and raises energy demands. Clearing this area prevents overheating and maintains cooling capacity.
Action Steps:
- Turn off power to the unit at the breaker.
- Remove leaves, grass, and debris from the unit's fins and surrounding base.
- Trim back shrubs or plants within two feet of the unit.
- Gently rinse the exterior with a garden hose, avoiding high pressure on fins.
Cost Range: No cost beyond basic tools.
Difficulty: Straightforward, taking fifteen to twenty minutes.
Frequency: Check monthly during growing seasons.
Step 3: Inspect Refrigerant Lines
These lines transport refrigerant between the outdoor condenser and indoor evaporator coil. Proper insulation minimizes energy loss and condensation issues. Damaged insulation leads to reduced efficiency and potential moisture problems.
Action Steps:
- Trace the larger copper line from the outdoor unit to the interior.
- Examine foam insulation for tears, gaps, or deterioration.
- Apply new pre-slit foam sleeves over affected sections, securing with tape if needed.
Cost Range: Insulation materials cost ten to twenty dollars for a standard setup.
Difficulty: Accessible for most individuals.
When to Call a Professional: Oily spots or frost formation signal possible leaks; certified technicians handle repairs with required equipment.
Step 4: Clean the Evaporator and Condenser Coils
Coils facilitate heat exchange; dirt accumulation impairs this process, forcing the system to overwork. Cleaning restores thermal transfer and prevents efficiency declines. Homeowners can address surface dirt, but deeper cleaning may need experts.
Action Steps:
- Shut off power to both indoor and outdoor units.
- Use a soft brush or compressed air to remove loose dust from coils.
- Apply a coil cleaner spray, following product instructions, and rinse gently.
- Allow complete drying before restoring power.
Cost Range: Cleaner products cost five to fifteen dollars.
Difficulty: Moderate, approximately thirty minutes.
Frequency: Annually or as dirt buildup occurs.
When to Call a Professional: Bent fins or heavy soiling require specialized tools.
Step 5: Clean the Condensate Drain Line
Cooling generates moisture that the drain line expels. Blockages from algae or sediment cause overflows and interior water damage. Routine flushing keeps water flow unobstructed.
Action Steps:
- Identify the PVC drain line exiting the indoor air handler.
- Introduce a cup of white vinegar or soapy warm water solution into the line.
- Allow it to sit briefly, then flush with plain water.
- For stubborn clogs, attach a wet-dry vacuum to the exterior end and suction.
Cost Range: Under five dollars for household supplies.
Difficulty: Basic, about fifteen minutes.
Maintenance Tip: Conduct this procedure every one to two months.
Step 6: Verify Thermostat Functionality
The thermostat regulates system cycles; inaccuracies lead to uneven cooling or excessive runtime. Testing ensures precise temperature control and energy savings. Simple adjustments often resolve minor issues.
Action Steps:
- Compare thermostat reading to a separate thermometer in the same location.
- Set to desired temperature and observe system response.
- Clean sensor areas and replace batteries if applicable.
- For programmable models, confirm schedule settings align with usage patterns.
Cost Range: Batteries or basic tools under ten dollars.
Difficulty: Easy, five to ten minutes.
Frequency: Biannually, before heating and cooling seasons.
When to Call a Professional: Persistent discrepancies indicate calibration needs.
Step 7: Examine Electrical Components and Connections
Faulty wiring or components risk circuit interruptions or total failure. Visual assessments identify early wear. Limit interventions to safe, superficial checks.
Action Steps:
- Disconnect power supply before accessing panels.
- Scan for damaged insulation, scorch marks, or rust on connections.
- Secure loose terminals using a screwdriver, avoiding overtightening.
- Defer capacitor or contactor replacements to qualified personnel unless experienced.
Cost Range: Parts like contactors or capacitors range from twenty to sixty dollars; inspections cost one hundred to one hundred fifty dollars.
Difficulty: Varies from moderate to advanced based on electrical familiarity.
Step 8: Test Overall System Performance
Final verification confirms integrated operation. Monitoring airflow, temperature differentials, and noise levels detects subtle inefficiencies. This step validates prior maintenance efforts.
Action Steps:
- Restore power and run the system for thirty minutes.
- Measure supply and return air temperatures; a ten to twenty degree drop indicates proper function.
- Assess airflow strength at vents and listen for irregular sounds.
- Note energy usage via utility meter if possible.
Cost Range: None required.
Difficulty: Observational, twenty to thirty minutes.
Frequency: After each major maintenance session.
When to Call a Professional: Deviations from norms suggest underlying problems.
Step 9: Schedule Professional Maintenance
Home efforts complement but do not replace expert analysis. Technicians access specialized diagnostics for comprehensive evaluation.
Technician Services:
- Assess and recharge refrigerant levels.
- Evaluate compressor operation and electrical loads.
- Inspect motors, belts, and bearings.
- Calibrate thermostats and clean inaccessible areas.
Cost Range: One hundred to two hundred dollars per visit.
Benefits: Industry sources indicate these services yield savings through optimized efficiency and averted breakdowns. Seasonal plans often bundle services at reduced rates.
Addressing Frequent AC Problems
Reduced Cooling Output: Inspect filters, settings, and insulation first. Persistent issues may involve ductwork or refrigerant shortages.
Frequent On-Off Cycles: Examine condenser cleanliness, unit sizing, or thermostat faults.
Interior Water Accumulation: Address drain clogs and ensure line pitch.
Abnormal Sounds: Loose parts cause rattles; refrigerant escapes produce hisses. Cease operation and seek expert help for ongoing noise.
Sustaining Long-Term AC Reliability
Establish a maintenance schedule post-checklist completion. Log filter changes, cleanings, and service dates. This practice minimizes surprises and supports warranty compliance.
Dedicated upkeep preserves home comfort and financial stability. Proactive measures transform potential crises into manageable routines, ensuring reliable cooling amid peak demands.